
Friction Circle - Part 2
In Friction Circle - Part 1 we covered some of the basics of how we represent the available grip and forces being applied to a tyre, if you havent done so already, go and read Part 1 then come back here as we dig a little deeper.
Now we`ve learnt a little about how we represent the available grip and forces being applied, lets make the scenario a little more complex. We have four wheels, so actually we have four Friction Circles to consider. The front tyres twist to apply the steering while the rears stay fixed, but still need to come around the corner. Most of the braking force is done by the front wheels with bigger brakes. Depending on your car the driven wheels will either be the front, the rear, or all four, so the acceleration forces will be applied differently. So lets start by expanding our representation to include a Friction Circle for each wheel/tyre.
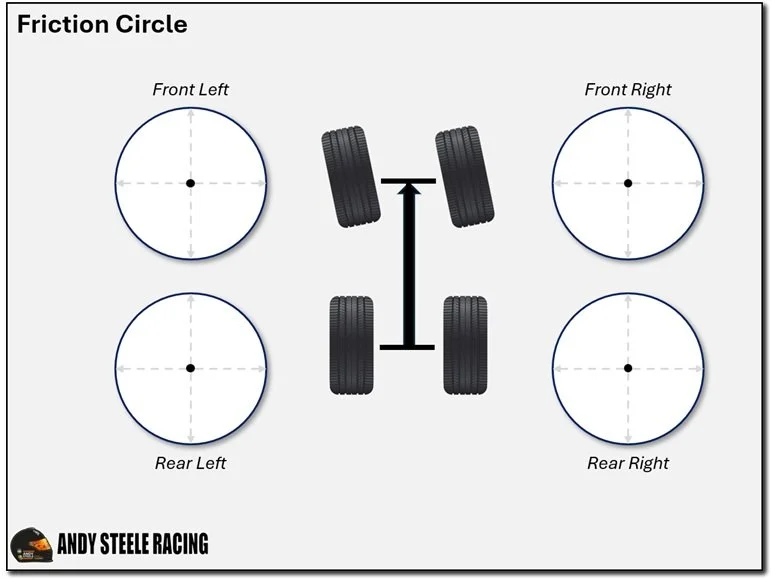
Four Friction Circles, one to represent each tyre, and their relative grip and forces.
Using this expanded model, lets consider a rear wheel drive car, accelerating while going through a left hand corner. With the rear wheel drive, acceleration forces are being applied to the rear wheels, this is where we need the grip from the rear tyres to put the power down and push the car forwards. Whereas the front wheels in this situation are being asked to turn, so the grip required for the from the front tyres is required to apply those turning or lateral forces.
There is still some turning force applied to the rear tyres as they are being pulled around the corner, while similarly there is a small amount of acceleration force being applied to the front tyres as they are being push forwards. So this shows the forces on each tyre is always different, depending on what we are asking each tyre to do.
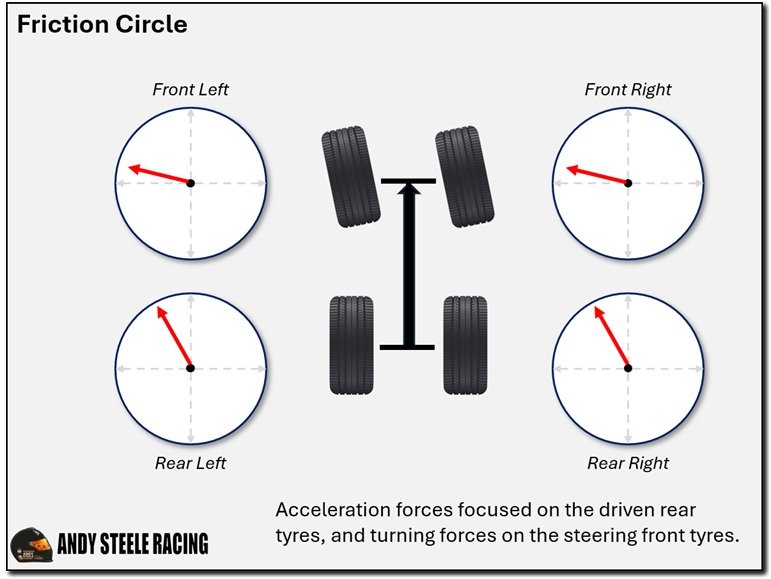
Four Friction Circles, one to represent each tyre, showing the forces for acceleration and turning at the same time, for a rear wheel drive car.
For a front wheel drive car where the front tyres are managing the majority of the acceleration forces as well as the turning forces we need to consider even more the balance of acceleration and turning than in a rear wheel drive car, as the front tyres are doing most of the work, and the rear tyres are following the steering and being dragged along.
Similarly braking forces are applied more on the front wheels than the rear, cars have bigger, more powerful front brakes as this is where we want to apply more of the braking force (see Part 3 for more on this as we consider how the grip levels change, and hence the sizes of each of the Friction Circles). Again, in this scenario we need to consider what else we are asking the tyre to do, if we want to brake very strongly hence using the available grip for those deceleration forces, there isn’t grip left to turn the car at the same time.
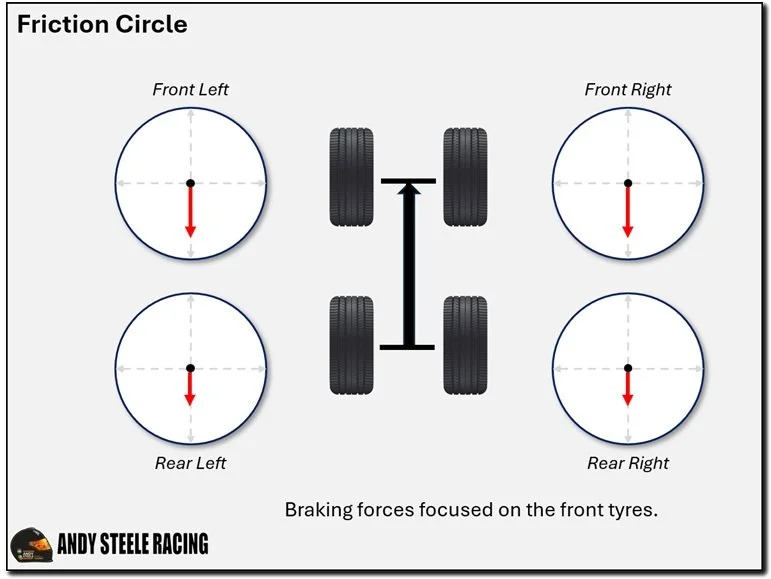
Four Friction Circles, one to represent each tyre, showing the forces for braking, with more force on the front tyres than the rear.
Come back for Part 3, where in the final post on Friction Circles we`ll look at how the grip levels change, and hence the size of the circles, and how we can manipulate this to our advantage to improve lap times.