
Beginners track guide to Thruxton Circuit
Here's my beginners guide to Thruxton Race Circuit. As one of the Instructors at Thruxton I`ve helped many first timers experience the 'Fastest Circuit in the UK', so this is my corner-by-corner guide for those wanting to get their head around what is a very fast and very technical circuit.
Introduction to Thruxton
The Thruxton Circuit is 2.35 miles (3.8 km) long, originally constructed as an RAF World War 2 airfield. The current circuit follows the airfield's perimeter road was established in 1968 and was resurfaced in 2000 with a very abrasive, high grip, and hence tyre killing surface. The title of fastest circuit in the UK comes from the fact that whatever you drive here you`ll see your fastest average speed across the lap, which includes the confidence demanding super fast Church corner.
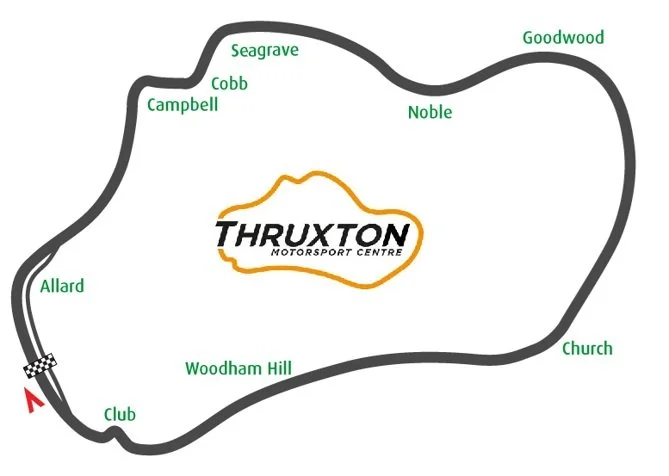
Thruxton track map with corner names
Thruxton is made up of 8 main corners, we`ll address these in sections, as one of the key challenges to Thruxton’s high speed lap is how one corner feeds into the next, so we`ll always thinking about what’s coming up next, rather than just optimising the current corner. But when you connect the corners up and follow the line that flows from one to the next its an amazing feeling. The sections well use as:
Allard - as the first corner this one sits largely on its own, but by no means a simple corner
Campbell, Cobb, Seagrave - known as ‘The Complex’
Noble and Goodwood - fast and flowing
Church - the fastest corner and warrants its own section
Club Chicane - slowest part of the circuit at the end of the lap
Turn 1 - Allard
We approach Allard across the start/finish line, keep the car to the left as we line up for the corner. Allard is fast, and challenging, you will likely need a brush on the brakes before the turn in, to scrub off some speed. It requires a late turn in, but as you can’t see the apex point when you start to take the corner, it can be difficult to judge. It’s easy to turn in too early, take an early apex and then run out wide on the exit, limiting ability to get on the power early, which is what we want to do. The apex point is hidden behind the pit exit armco barrier which curves round to the right, it comes into view part way around the corner, and is essentially around the of the outer section of the barrier. You want to visualise this point as we think about where to turn in and focus on a late turn in point. Once at the apex we can be accelerating out, judging the amount of power with the space available on the exit, you don’t want to end up on the grass.
On exit, if you do use all the width to the left, you need to think about getting the car back towards the right, as we prepare to go over the crest and round to the left on approach to The Complex.
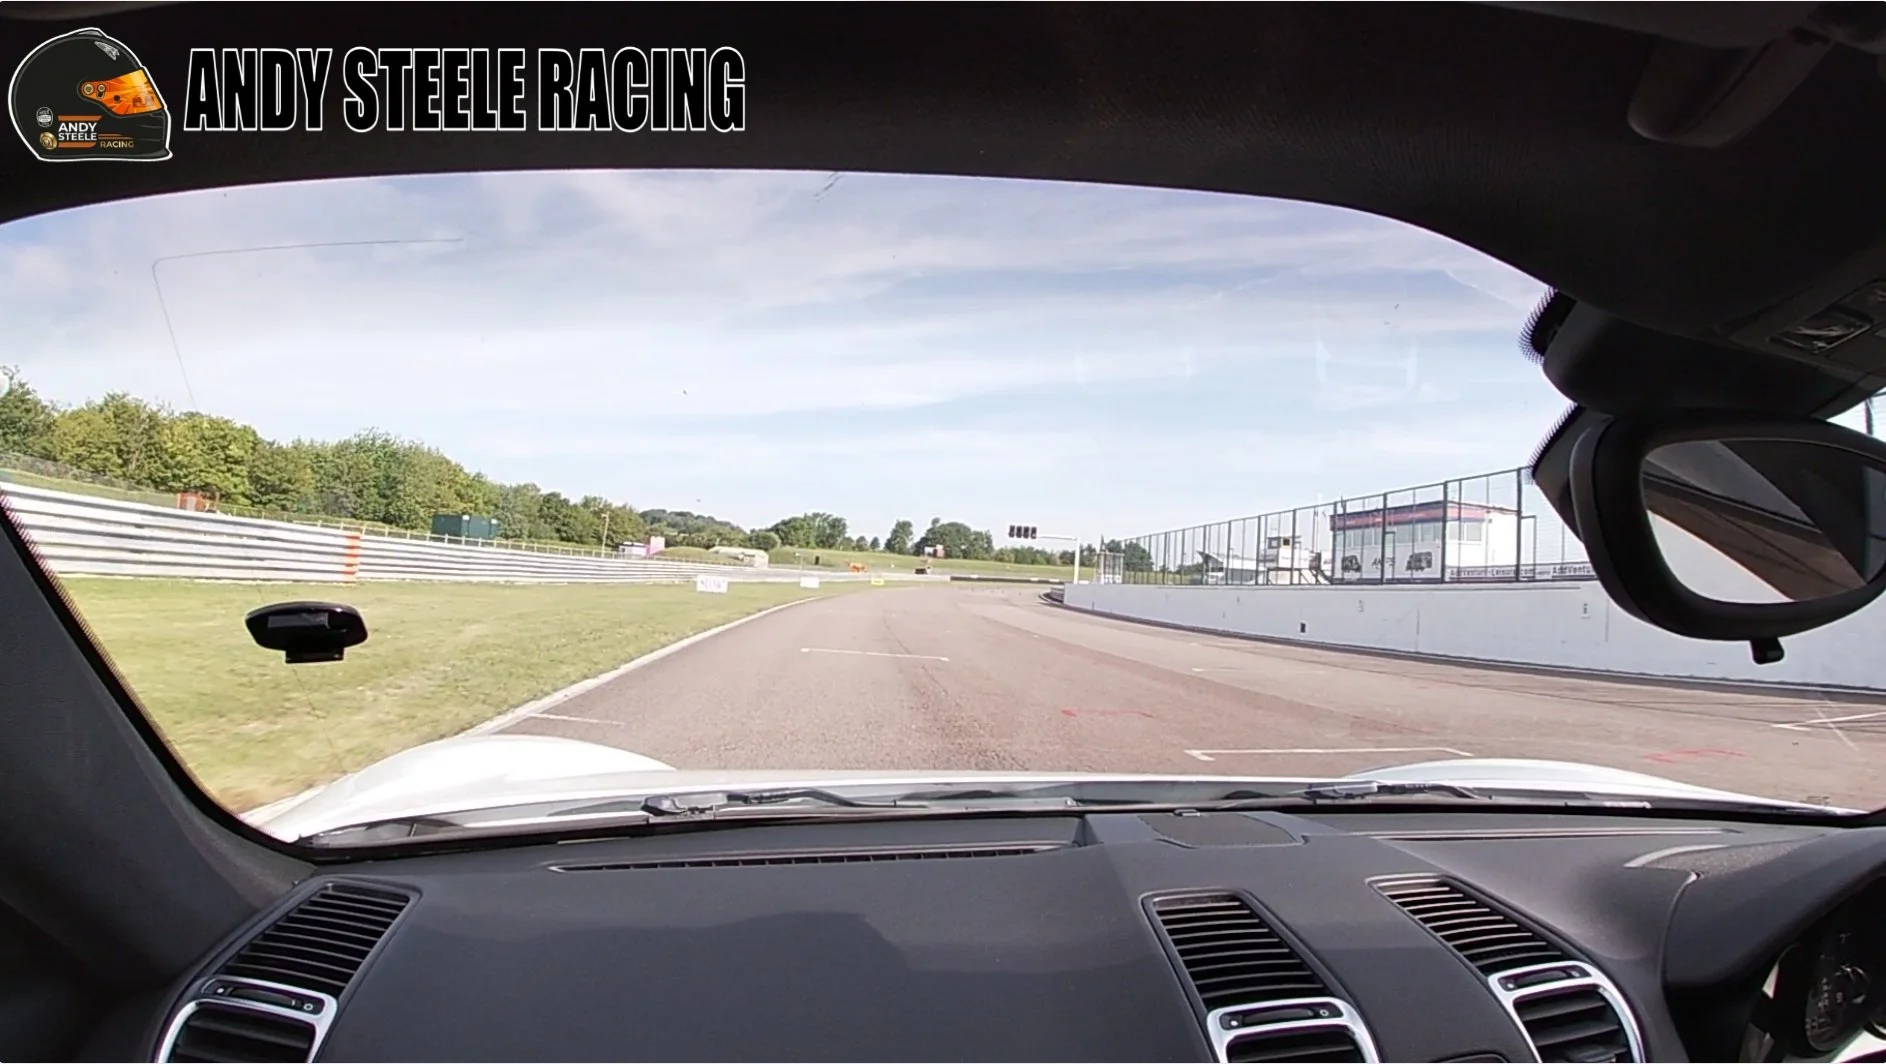
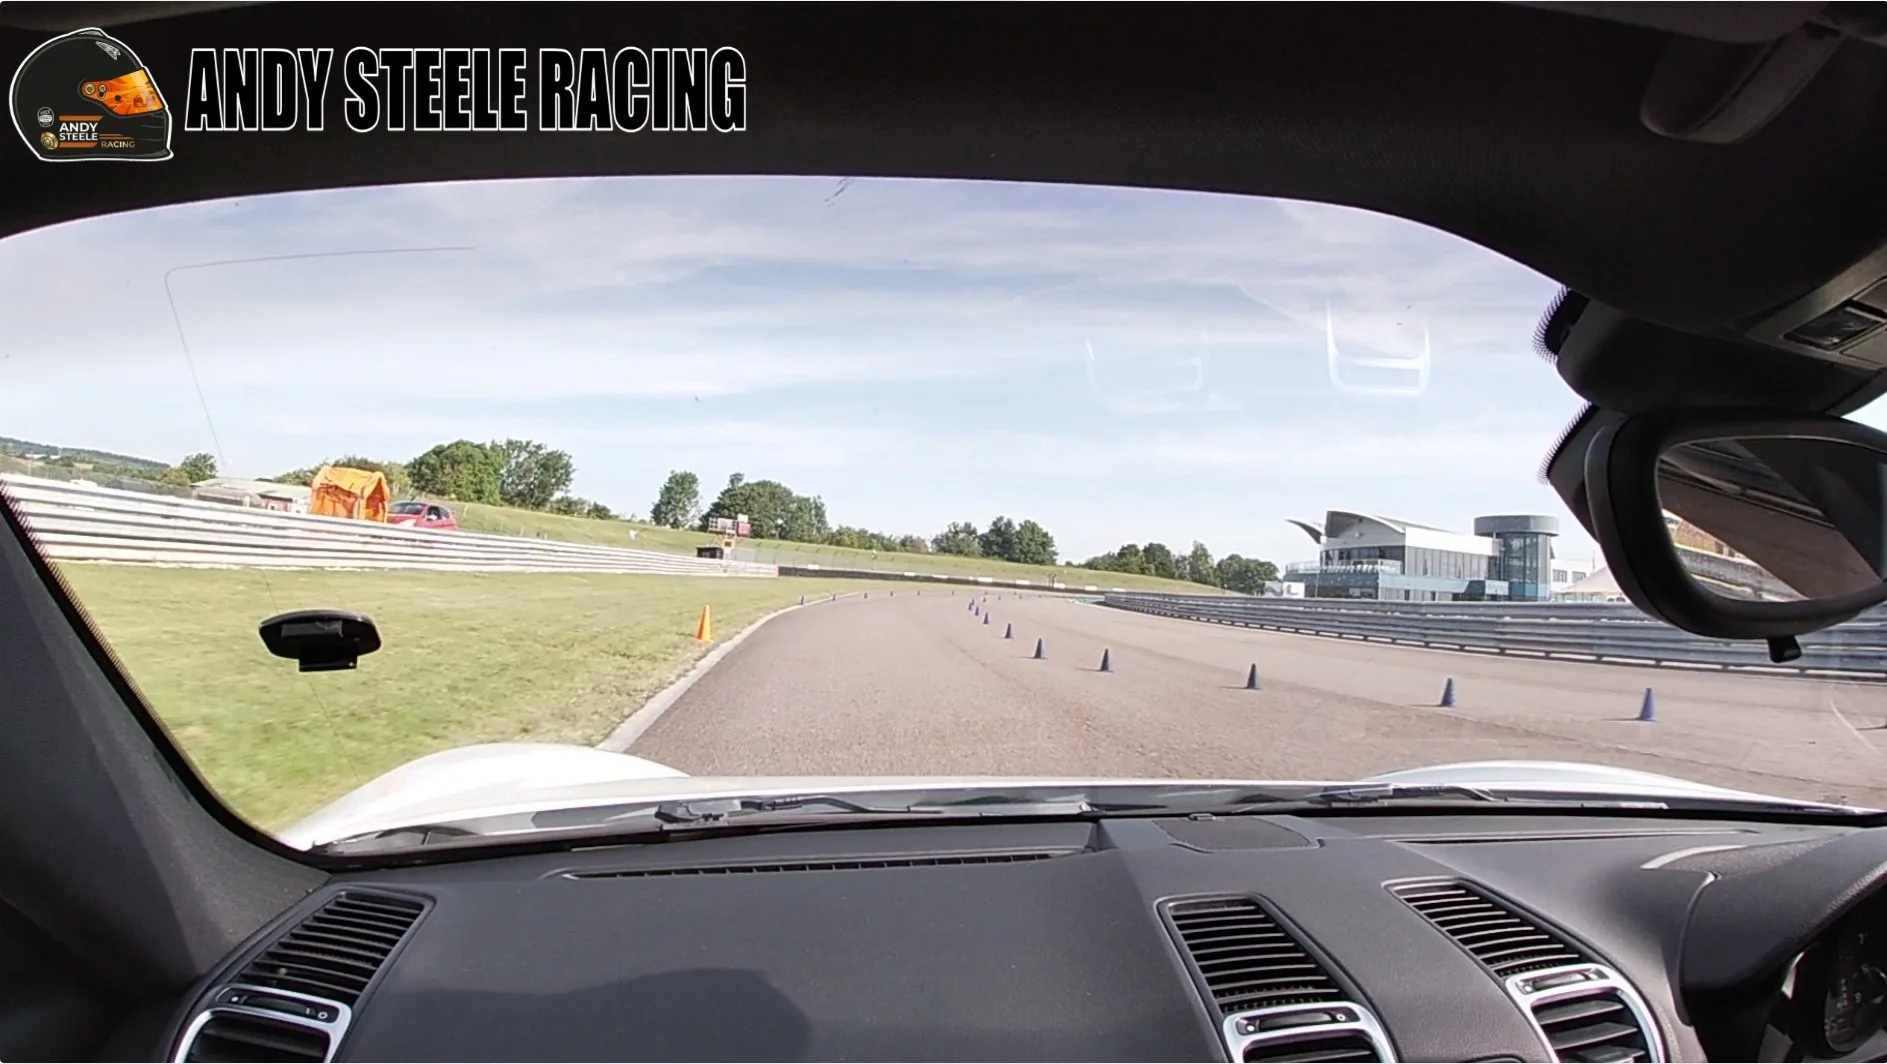
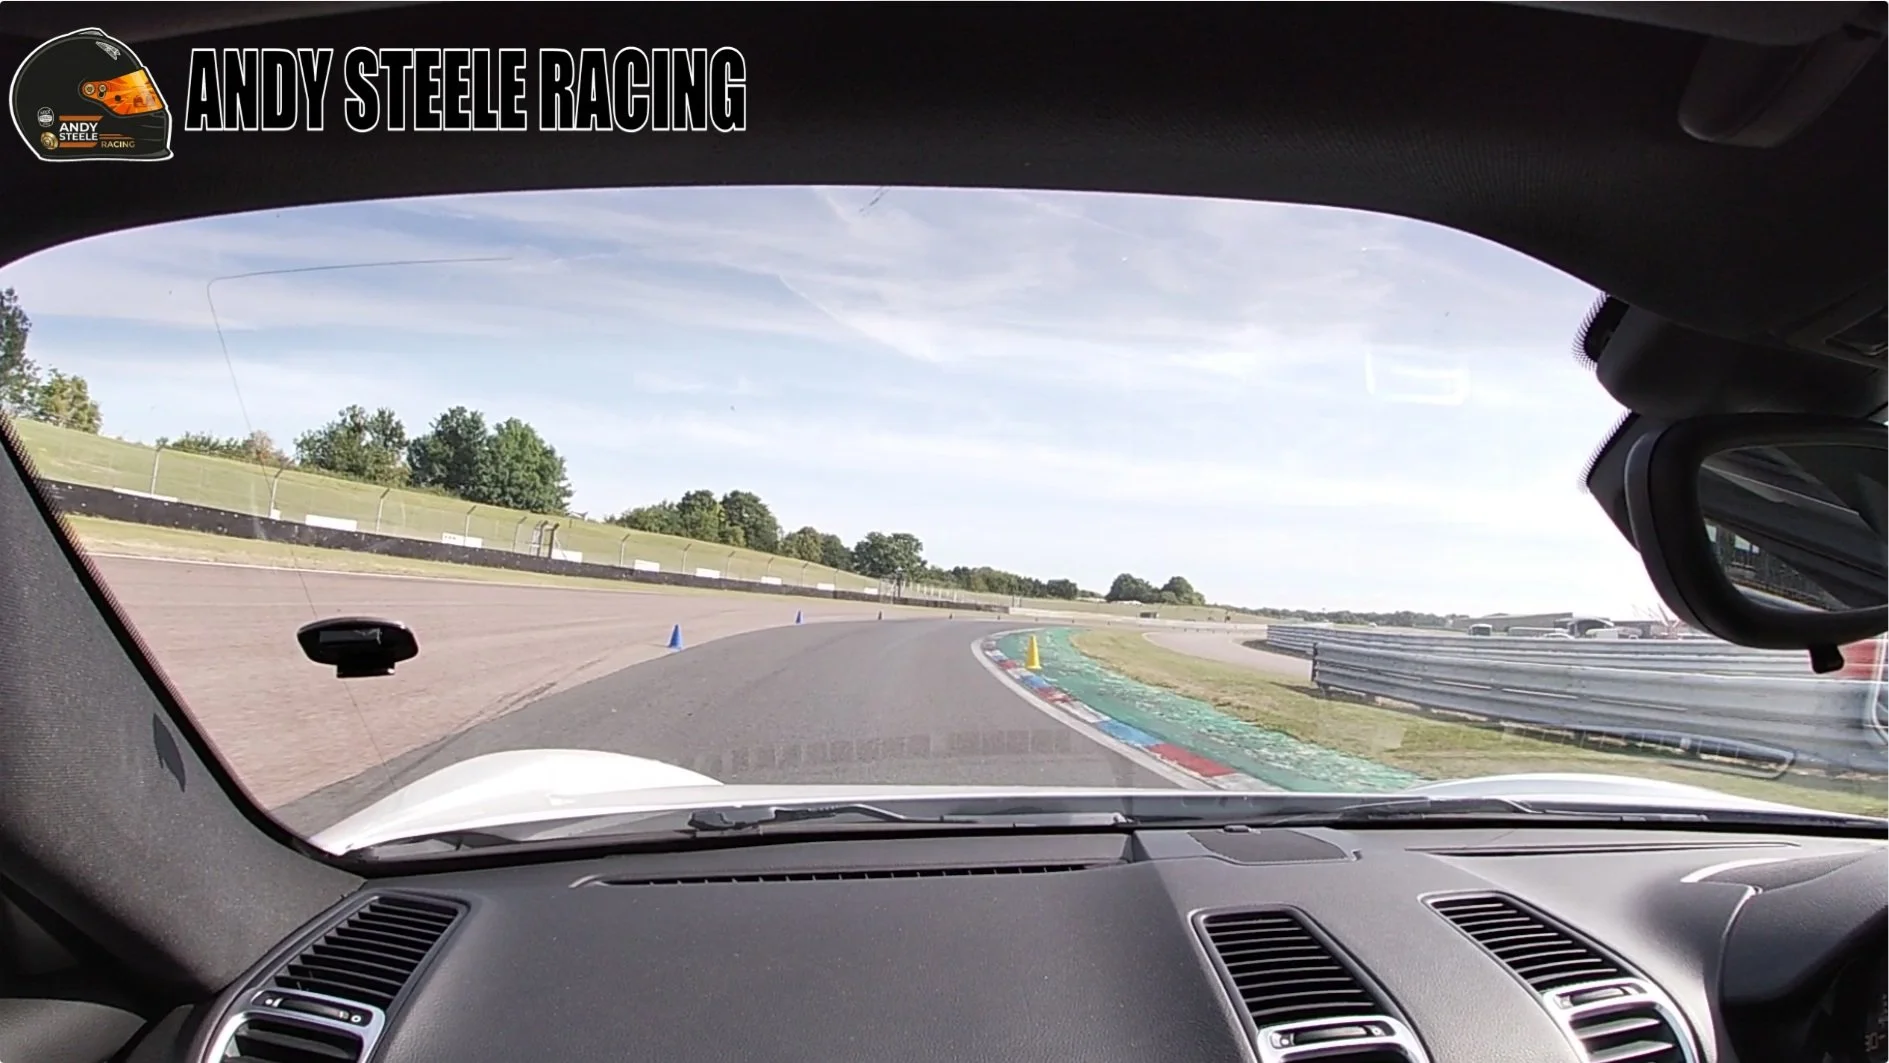
‘The Complex’ - Campbell, Cobb and Seagrave
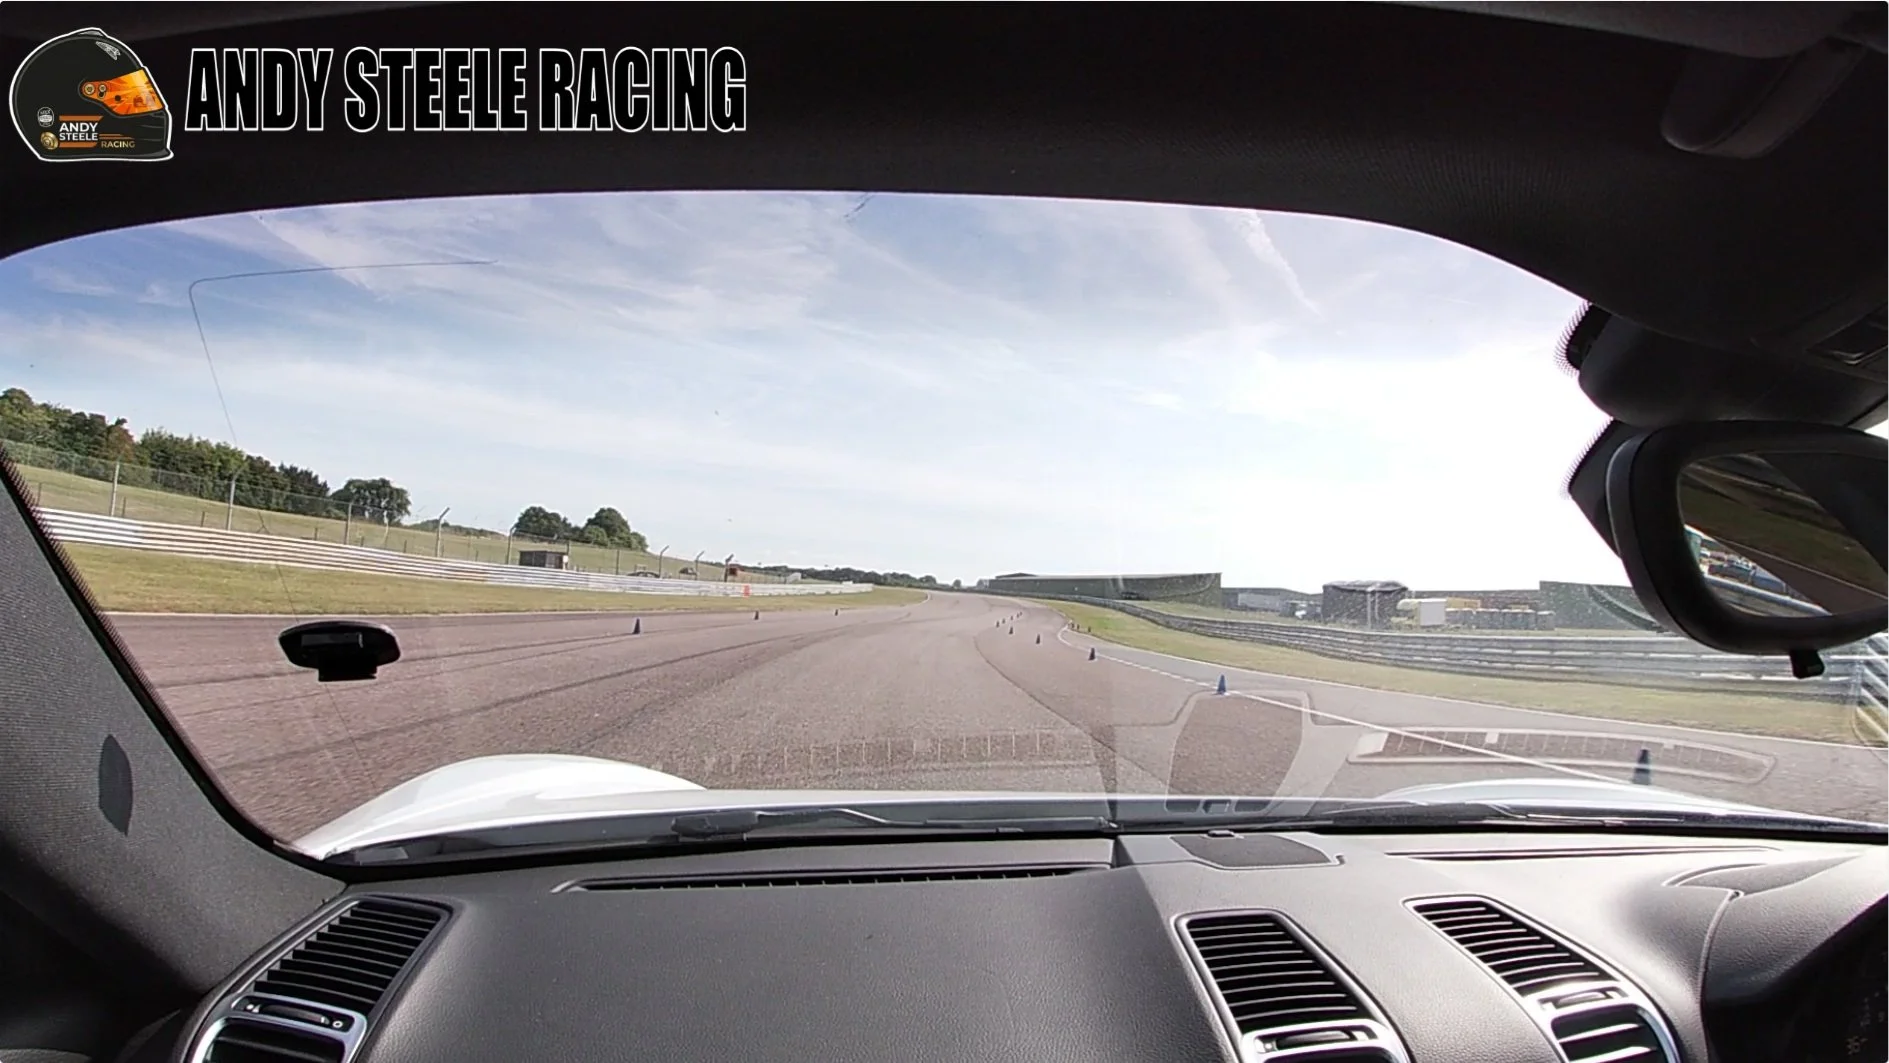
We consider these three corners together as we want to consider them as connected and we`re looking to get the best flow through the whole section, and out onto the fast back section. Key to lap times around Thruxton is to get the best exit from Seagrave, the final corner of The Complex, as the speed you exit here can be carried around the fast sweeping corners to follow, all the way to the final chicane. Thankfully Seagrave is more open that the preceding Campbell and Cobb, and there is loads of space on the exit to carry to the speed and continue to accelerate out. To get the best run through here we compromise the first right hander, Campbell, to get a good entry to the left of Cobb, and accelerate through Seagrave.
But first we need to navigate the difficult entry to Campbell. As we exited Allard, i mentioned getting back over to the right, here the circuit curves round to the left as it goes up and over a crest, this feeds directly into the braking zone for Campbell. As we go round this left we want to be in the middle of the track, or slightly to the right (there is a central crease line which you can follow), importantly you don’t want to be tight to the left. This central line means as we come over the crest we can then easily pull the car to the left for a straight line braking zone. Ideally you`ll not get onto the brakes until the car is straight, depending on the car you might need to feather the throttle as we come round the final part of the left. If we take the tighter line round this left hander, we struggle to follow this tight to the left braking line and end up pointing diagonally across the track at the apex when on the brakes, and making the corner much tighter when we get there.
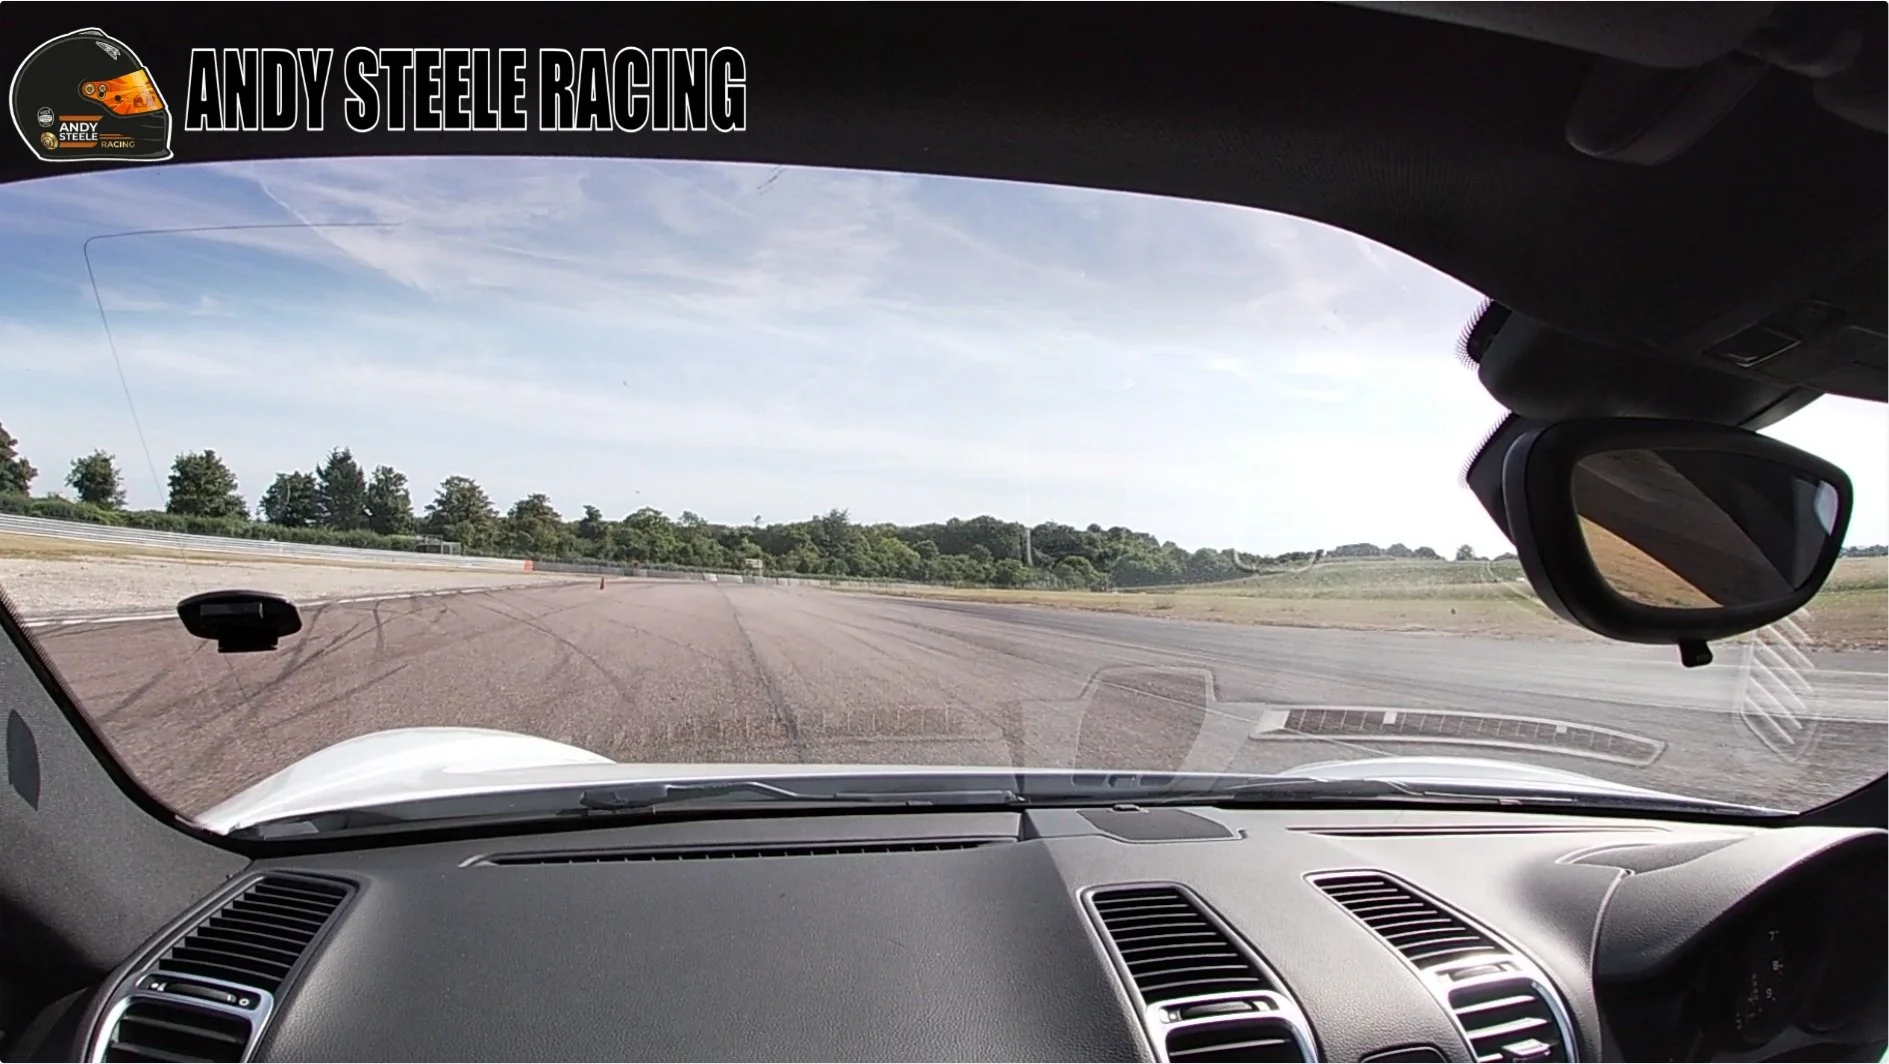
We go into Campbell slightly slower than you might think, with a very late turn in, focused on the exit, we do not want to run out wide to the left, we want to keep the car to the right hand side, after the apex, so we have the widest entry into Cobb. If we get the wide entry to Cobb, we can start to accelerate from this point, steadily building speed through Cobb and Seagrave. From the Cobb apex, again don’t let the car run too far to the right hand side, middle of the circuit is fine, then get the car back to the left for the turn into Seagrave. From this turn in, we can increase the rate of acceleration, while focusing on the exit, use all the width out to the painted curb, unwinding the steering from apex as the speed builds.
The Fast Sweepers - Noble and Goodwood
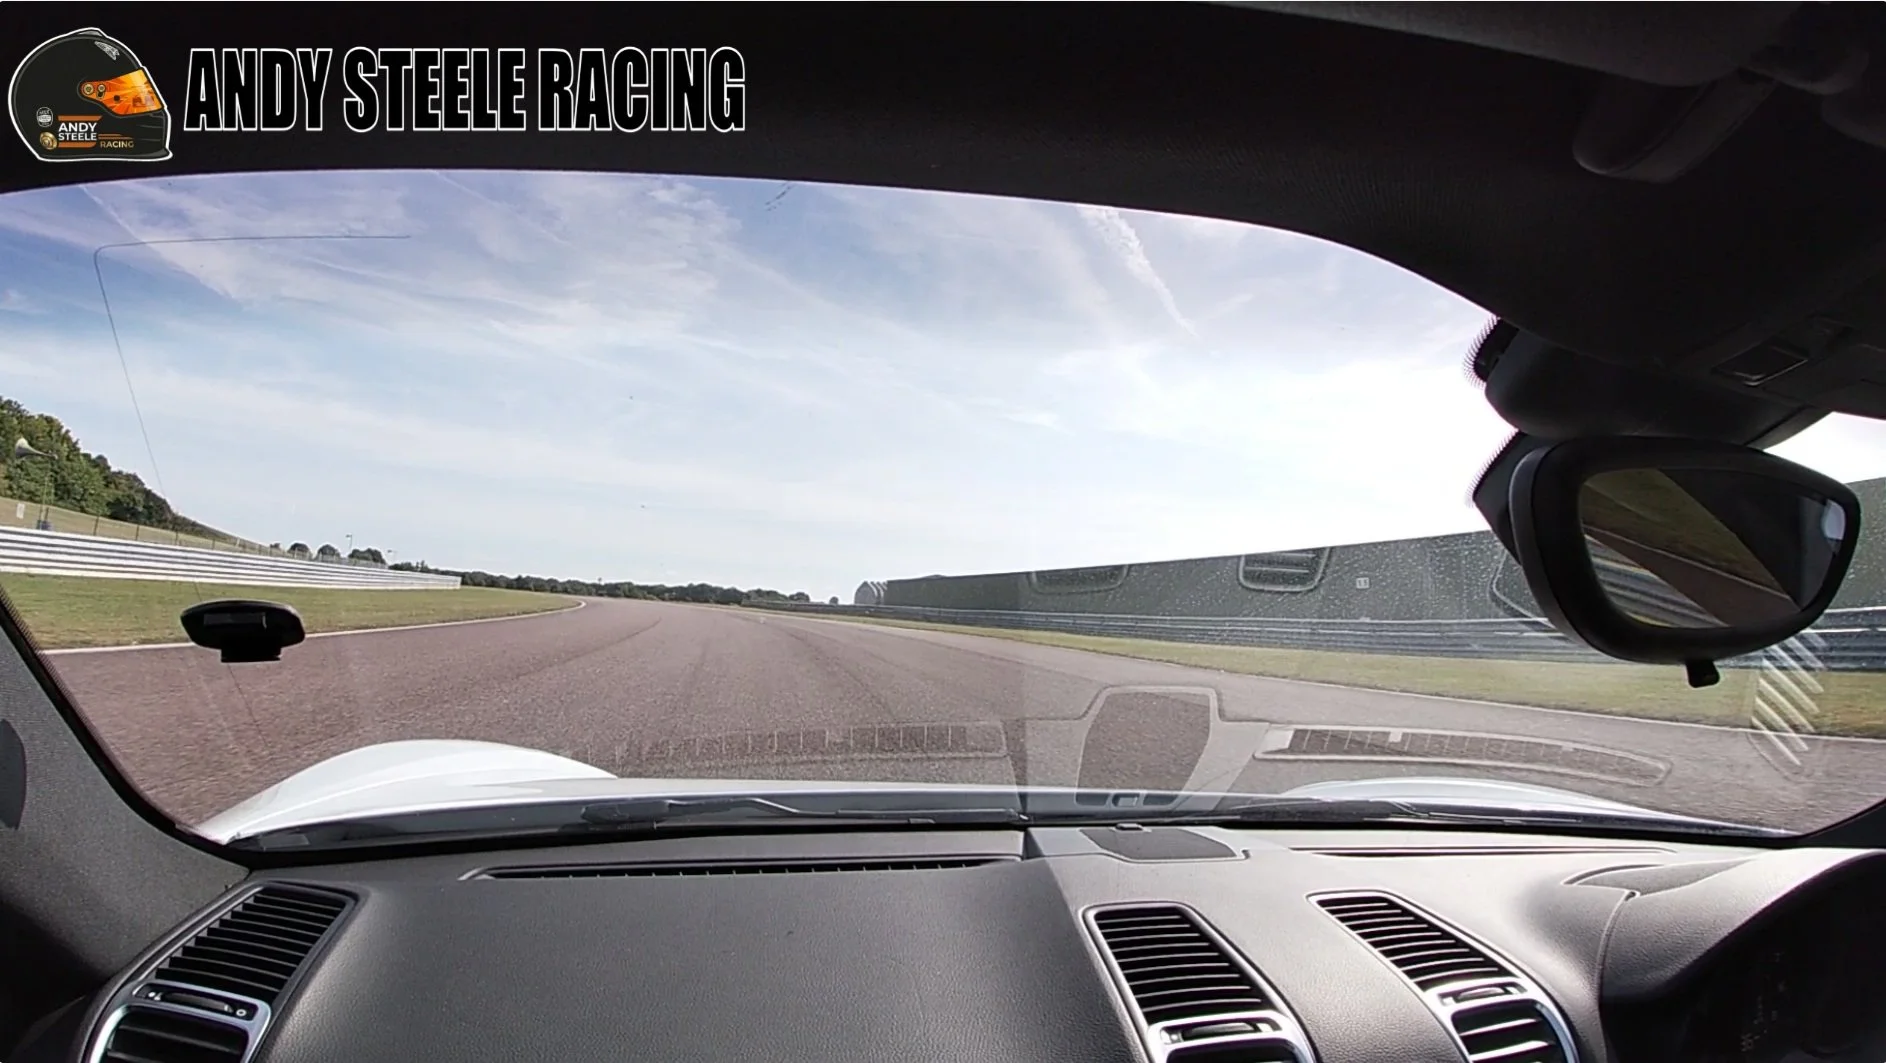
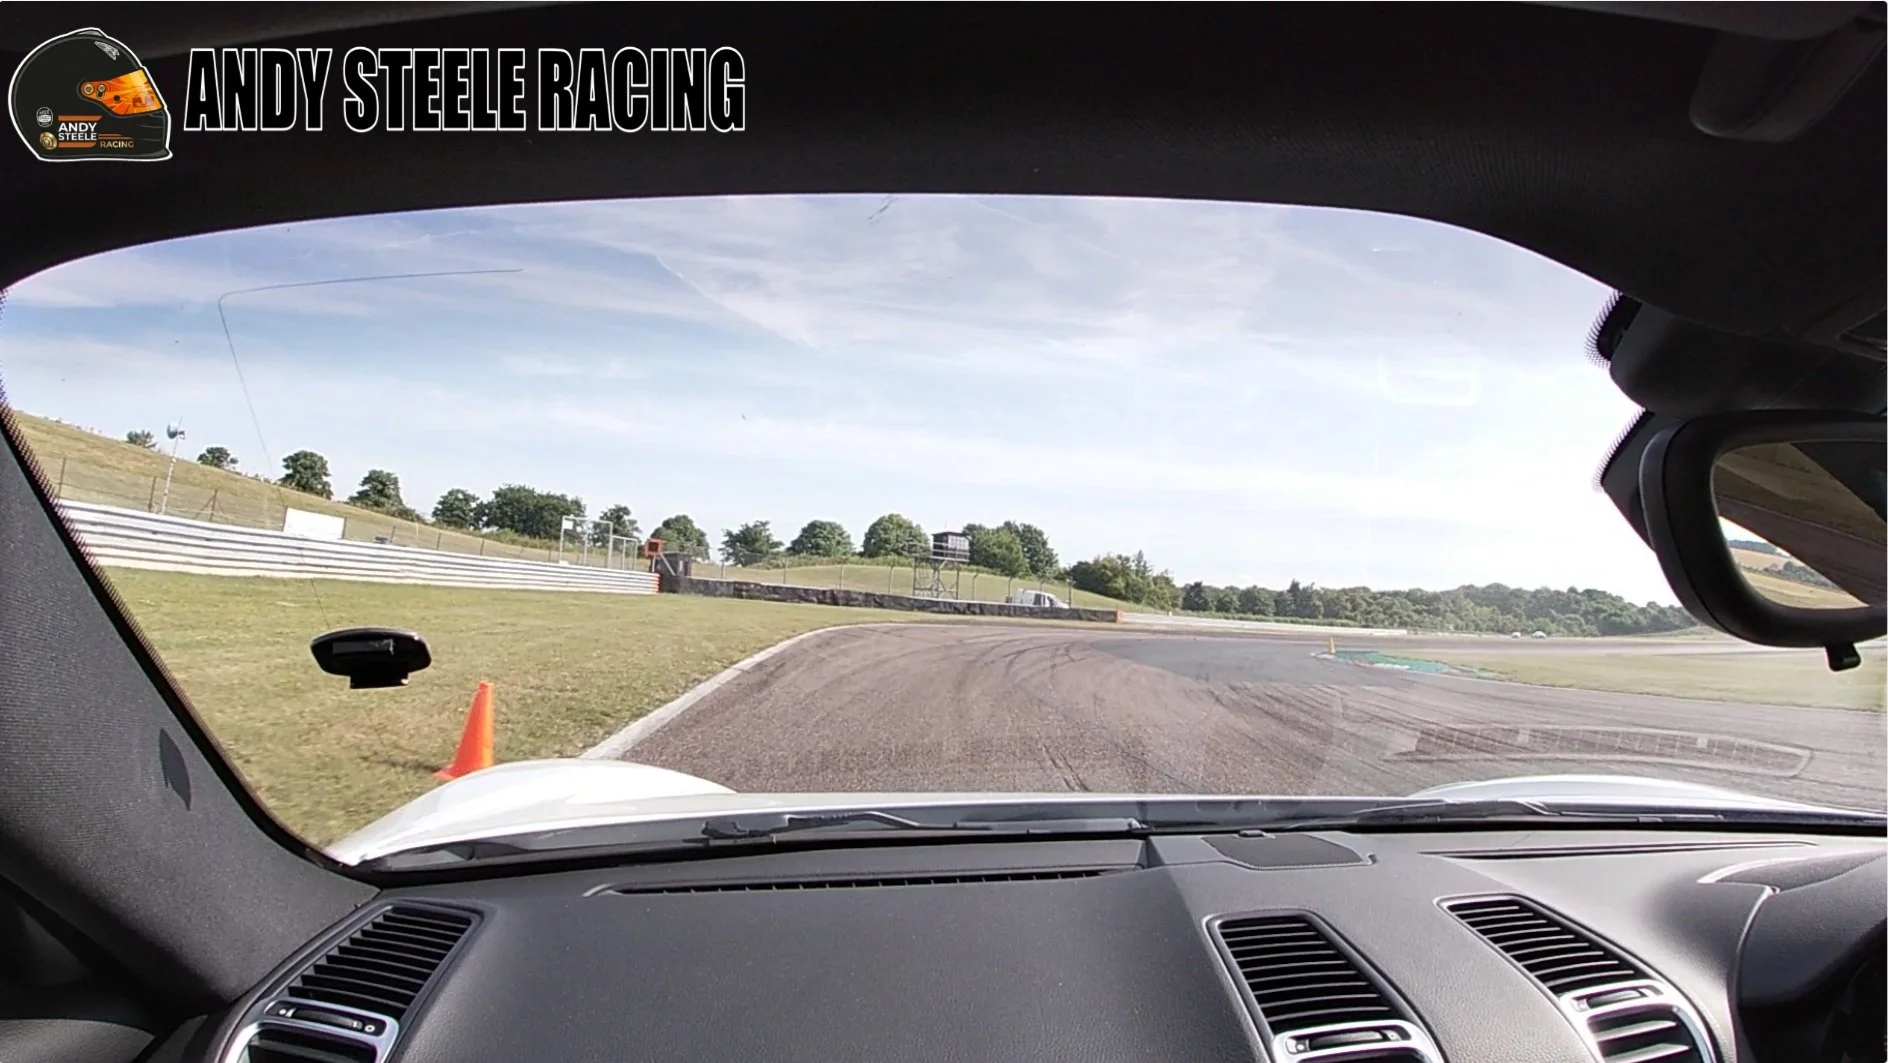
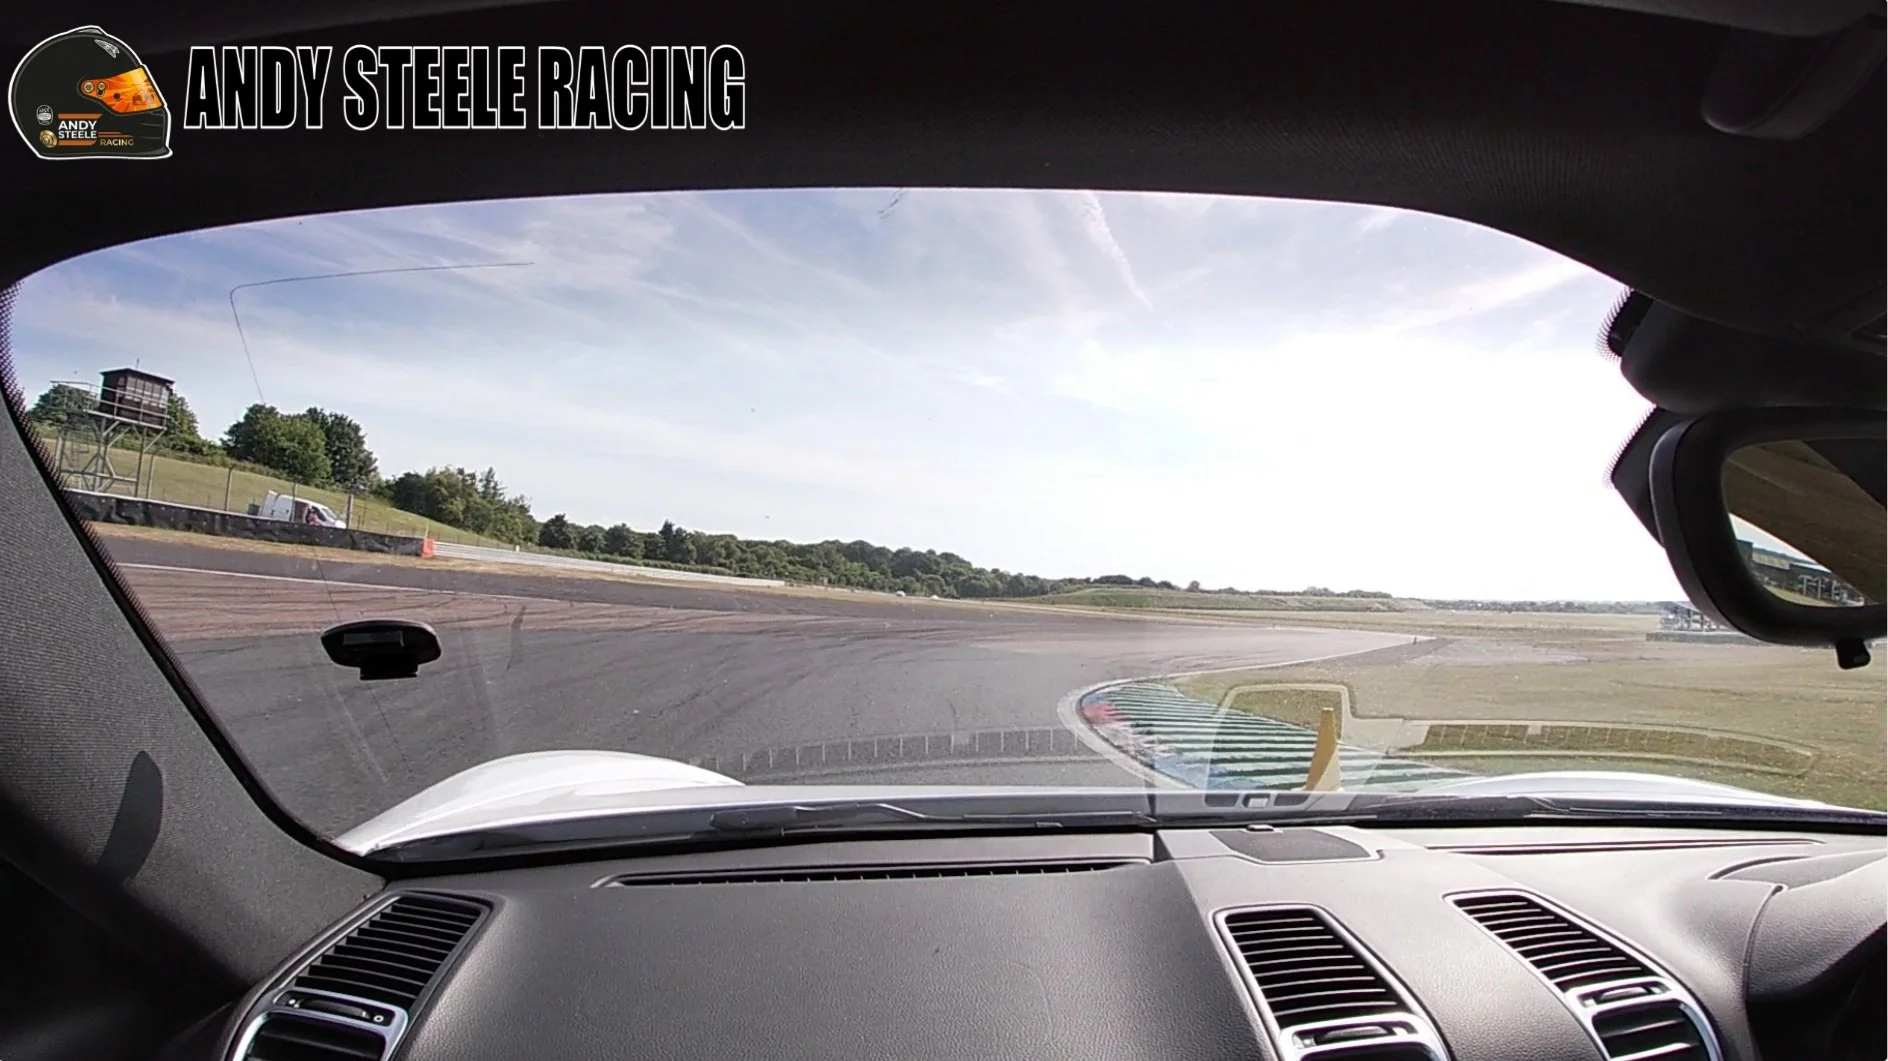
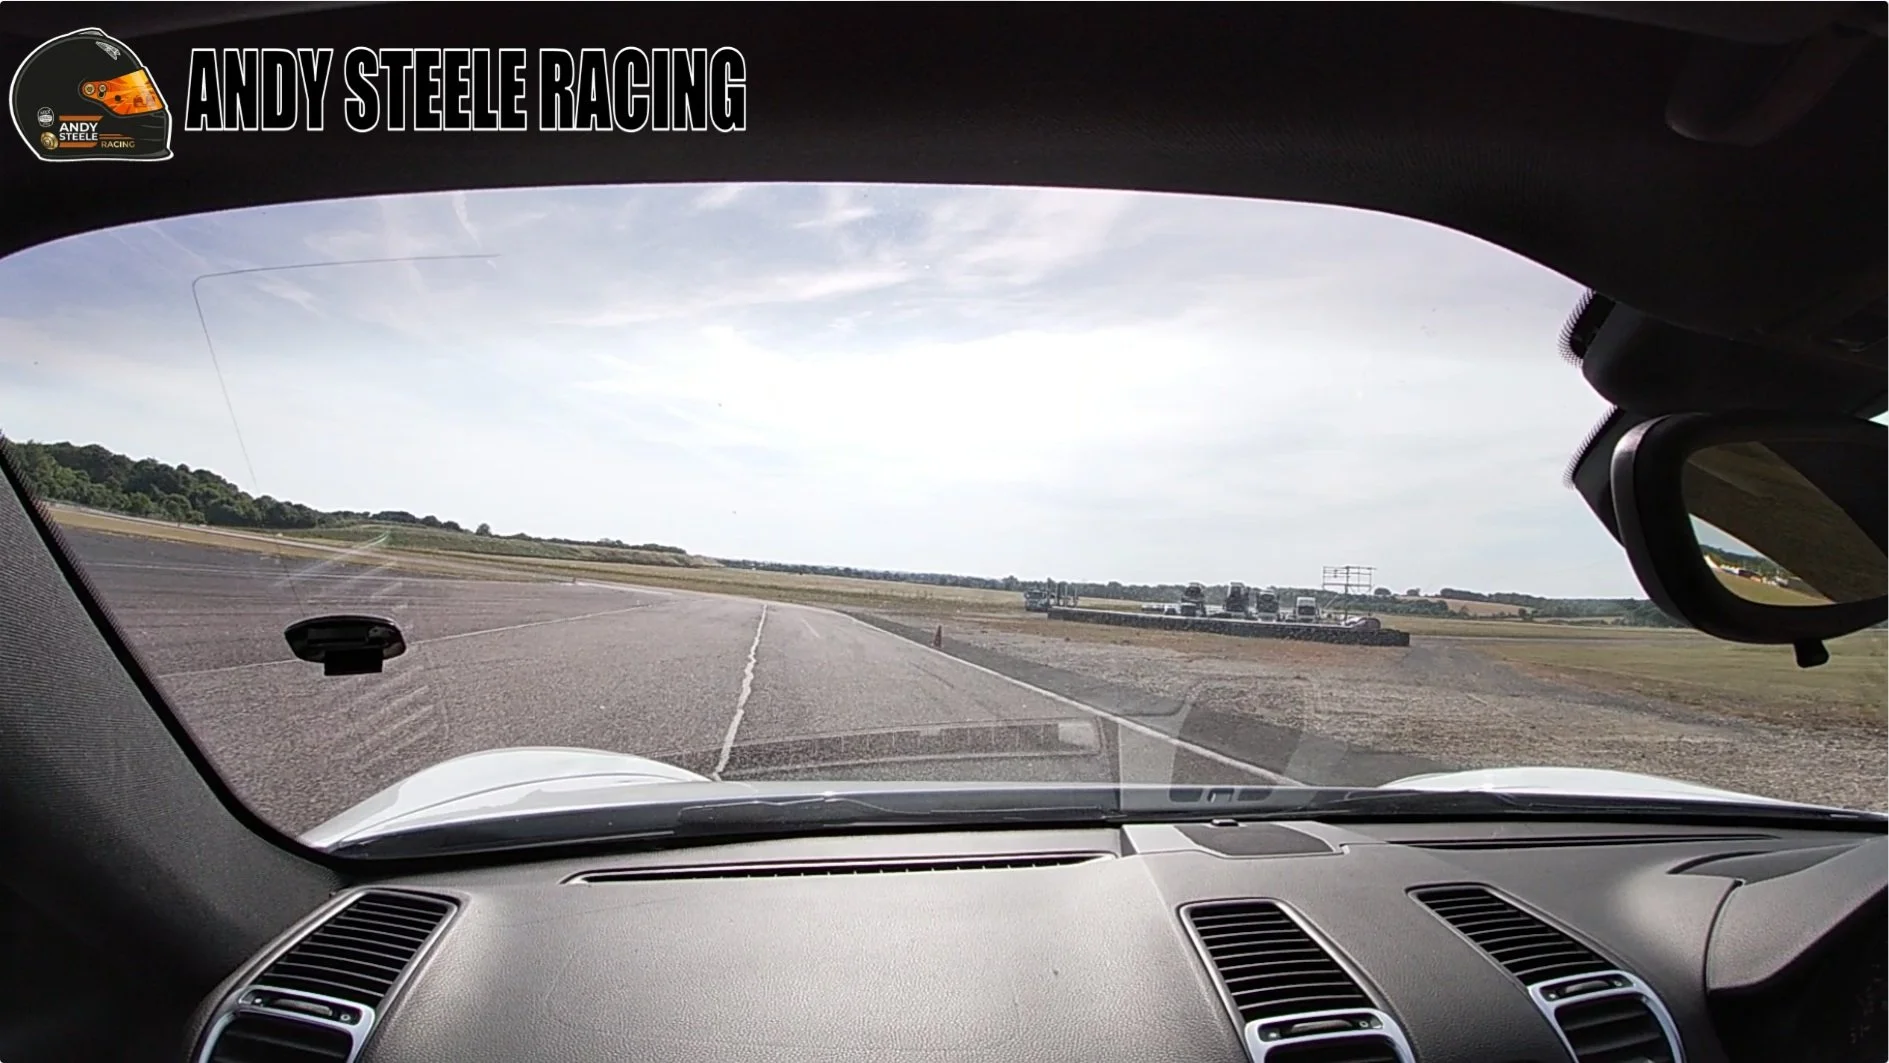
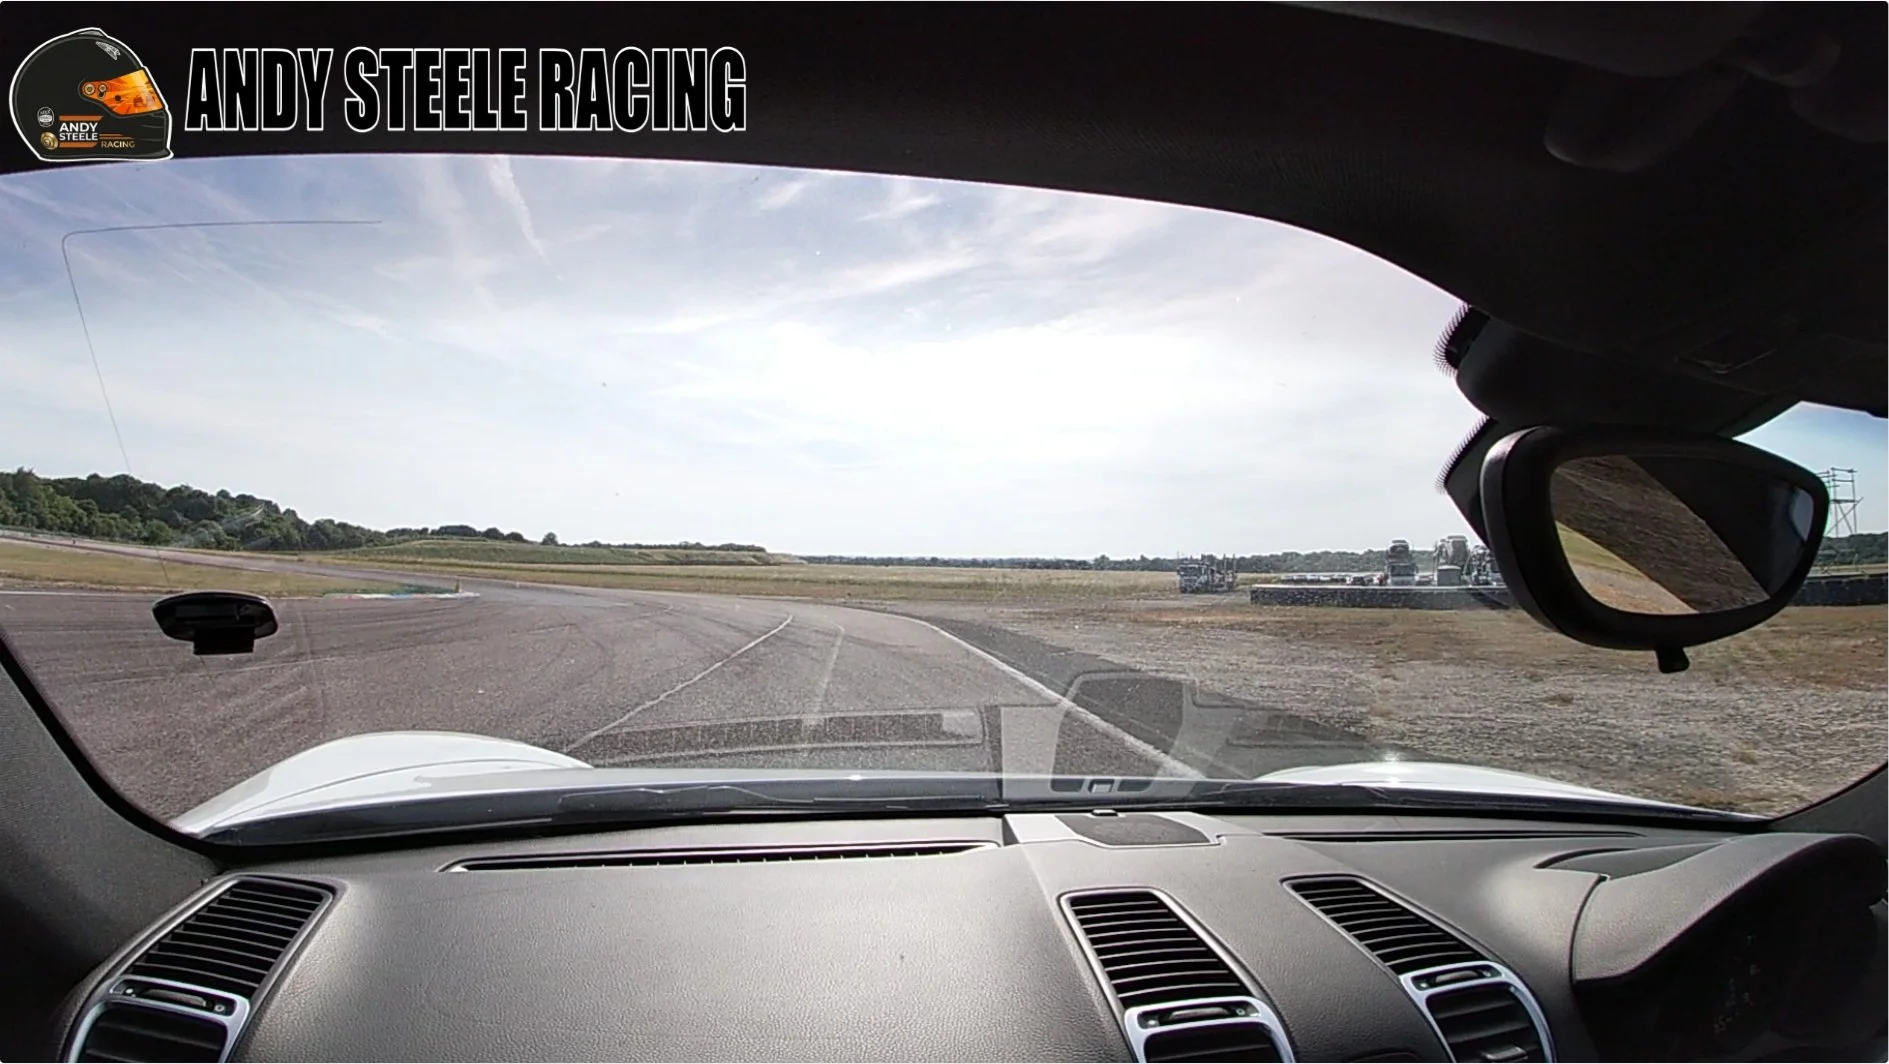
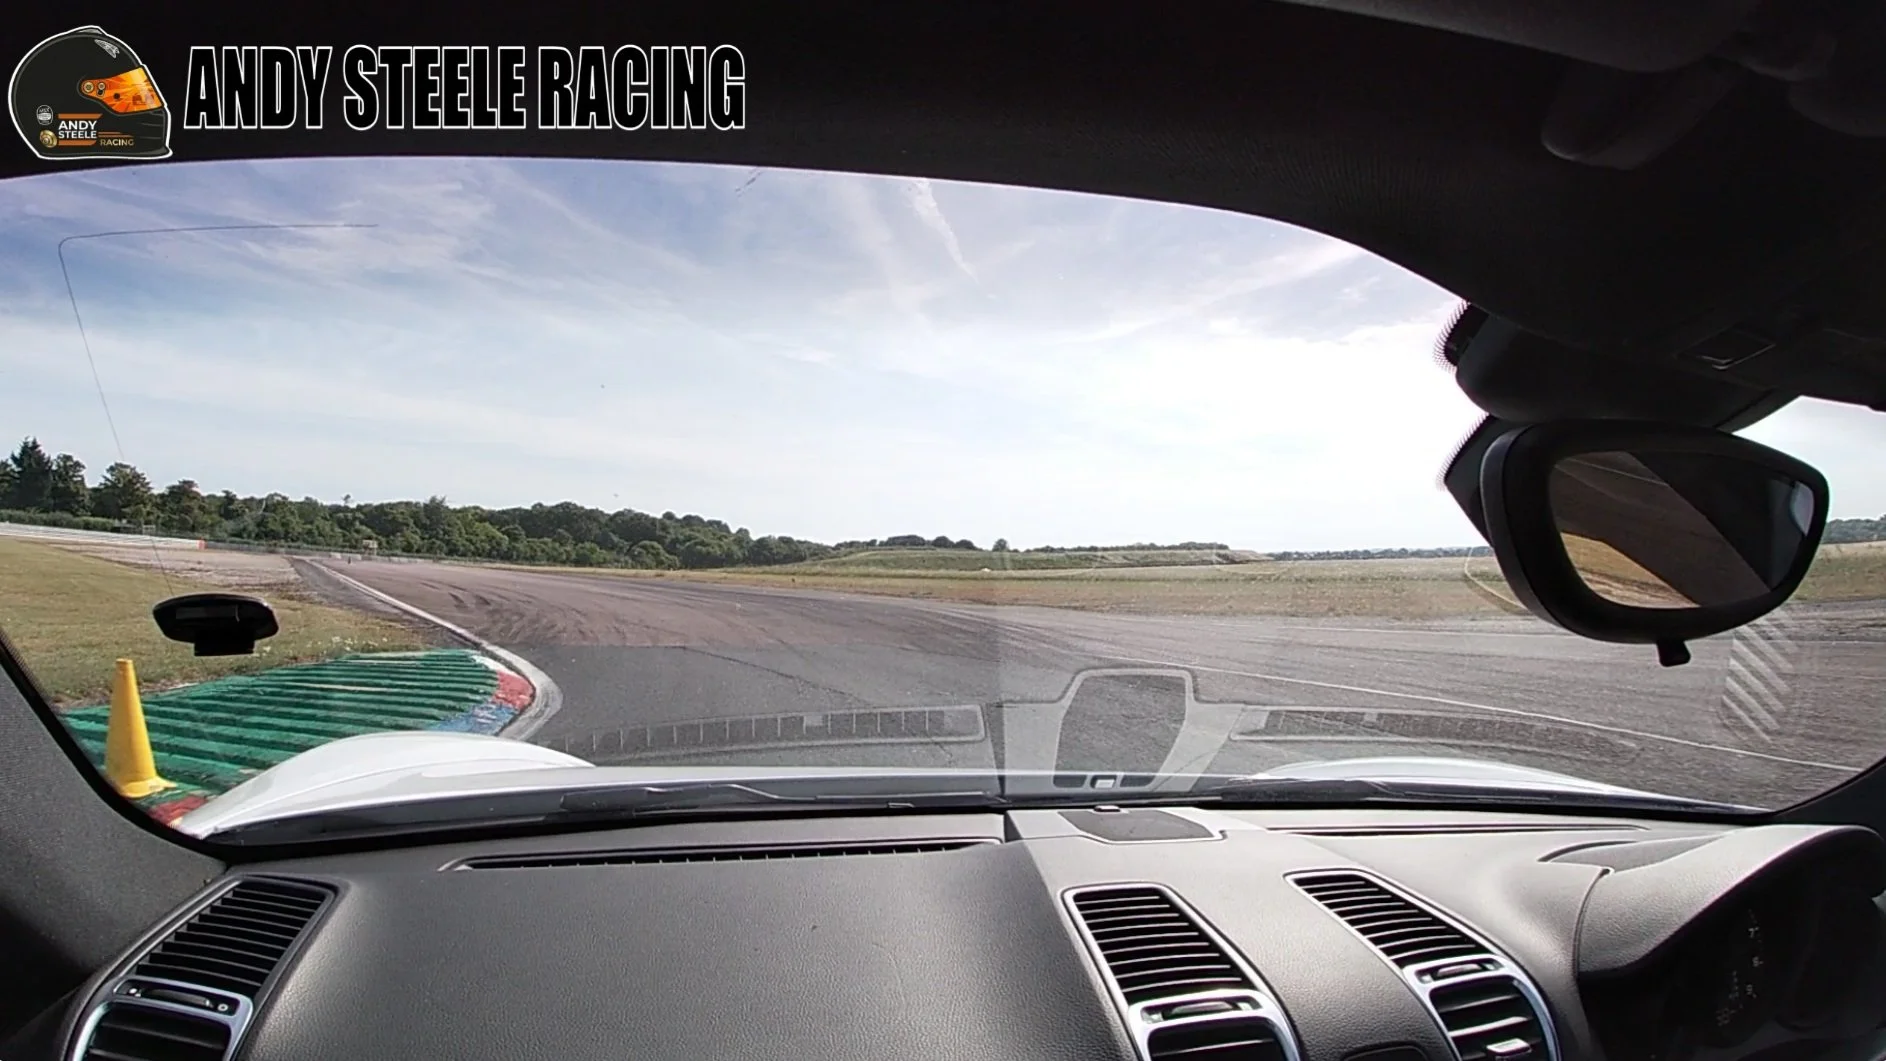
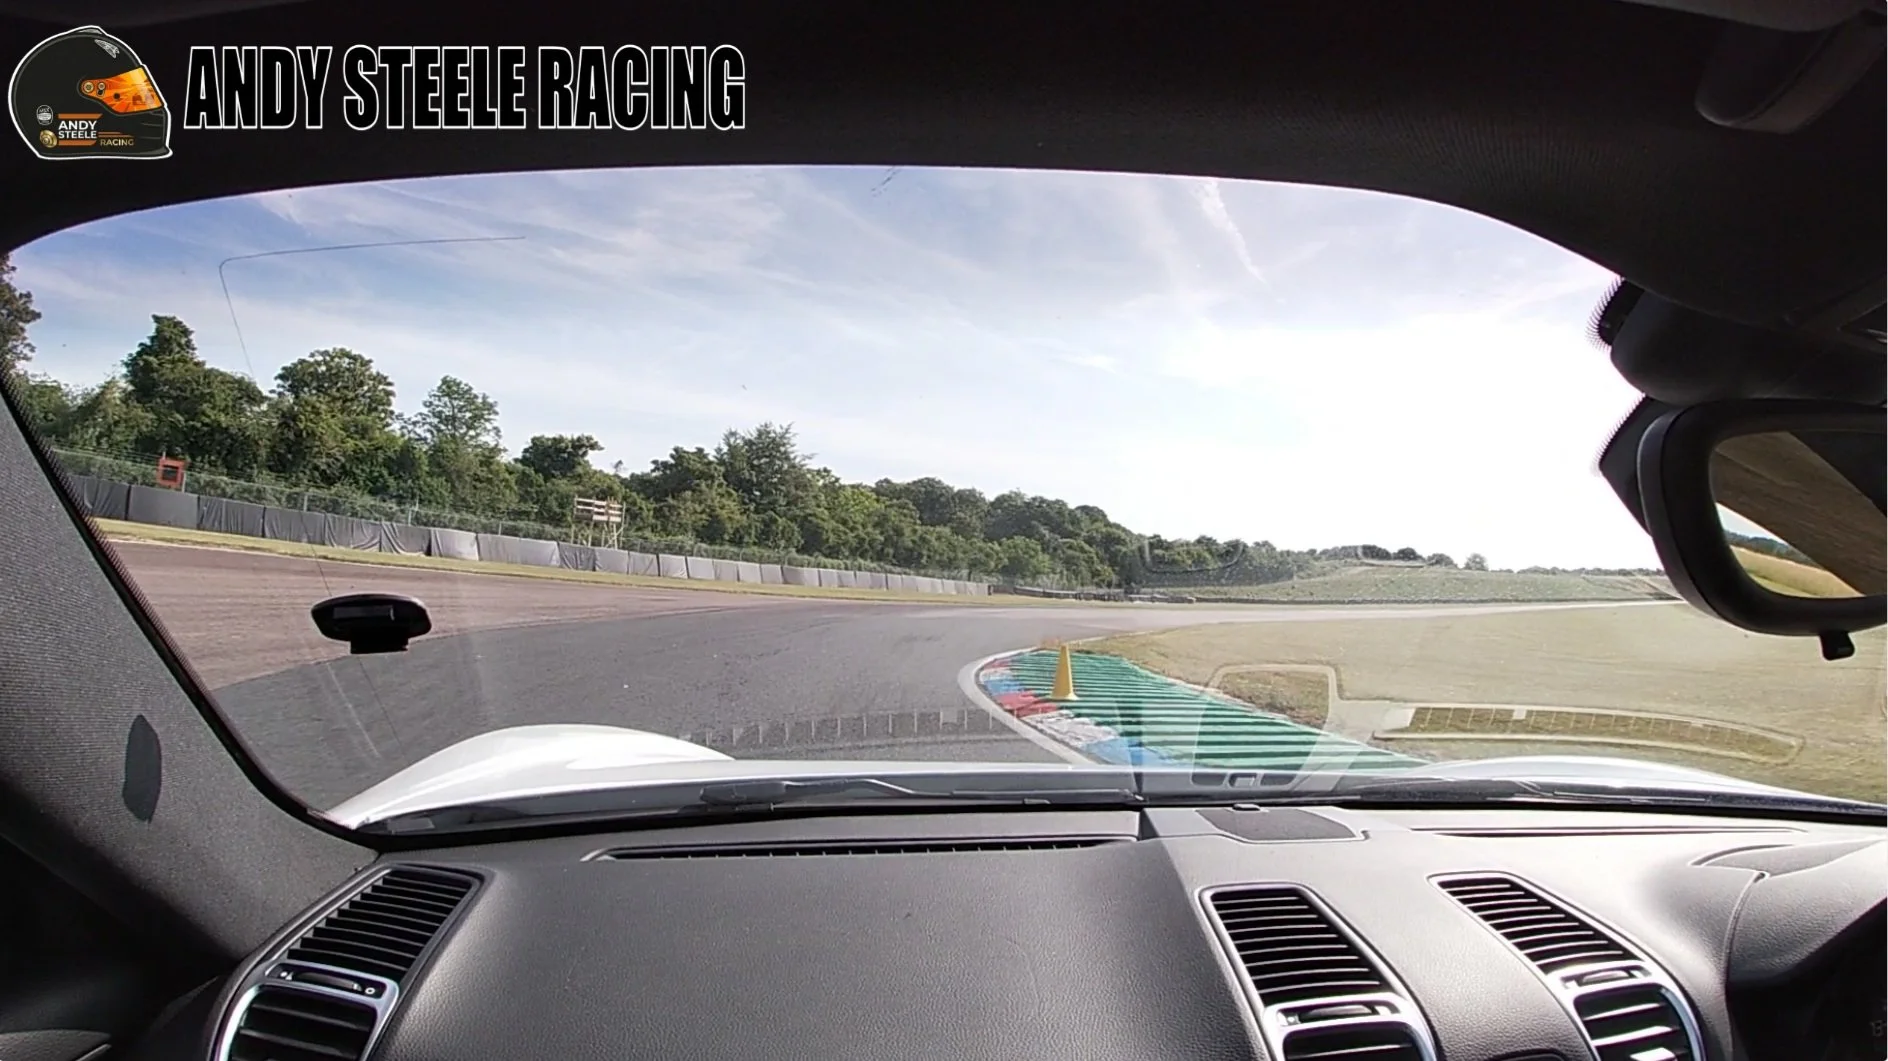
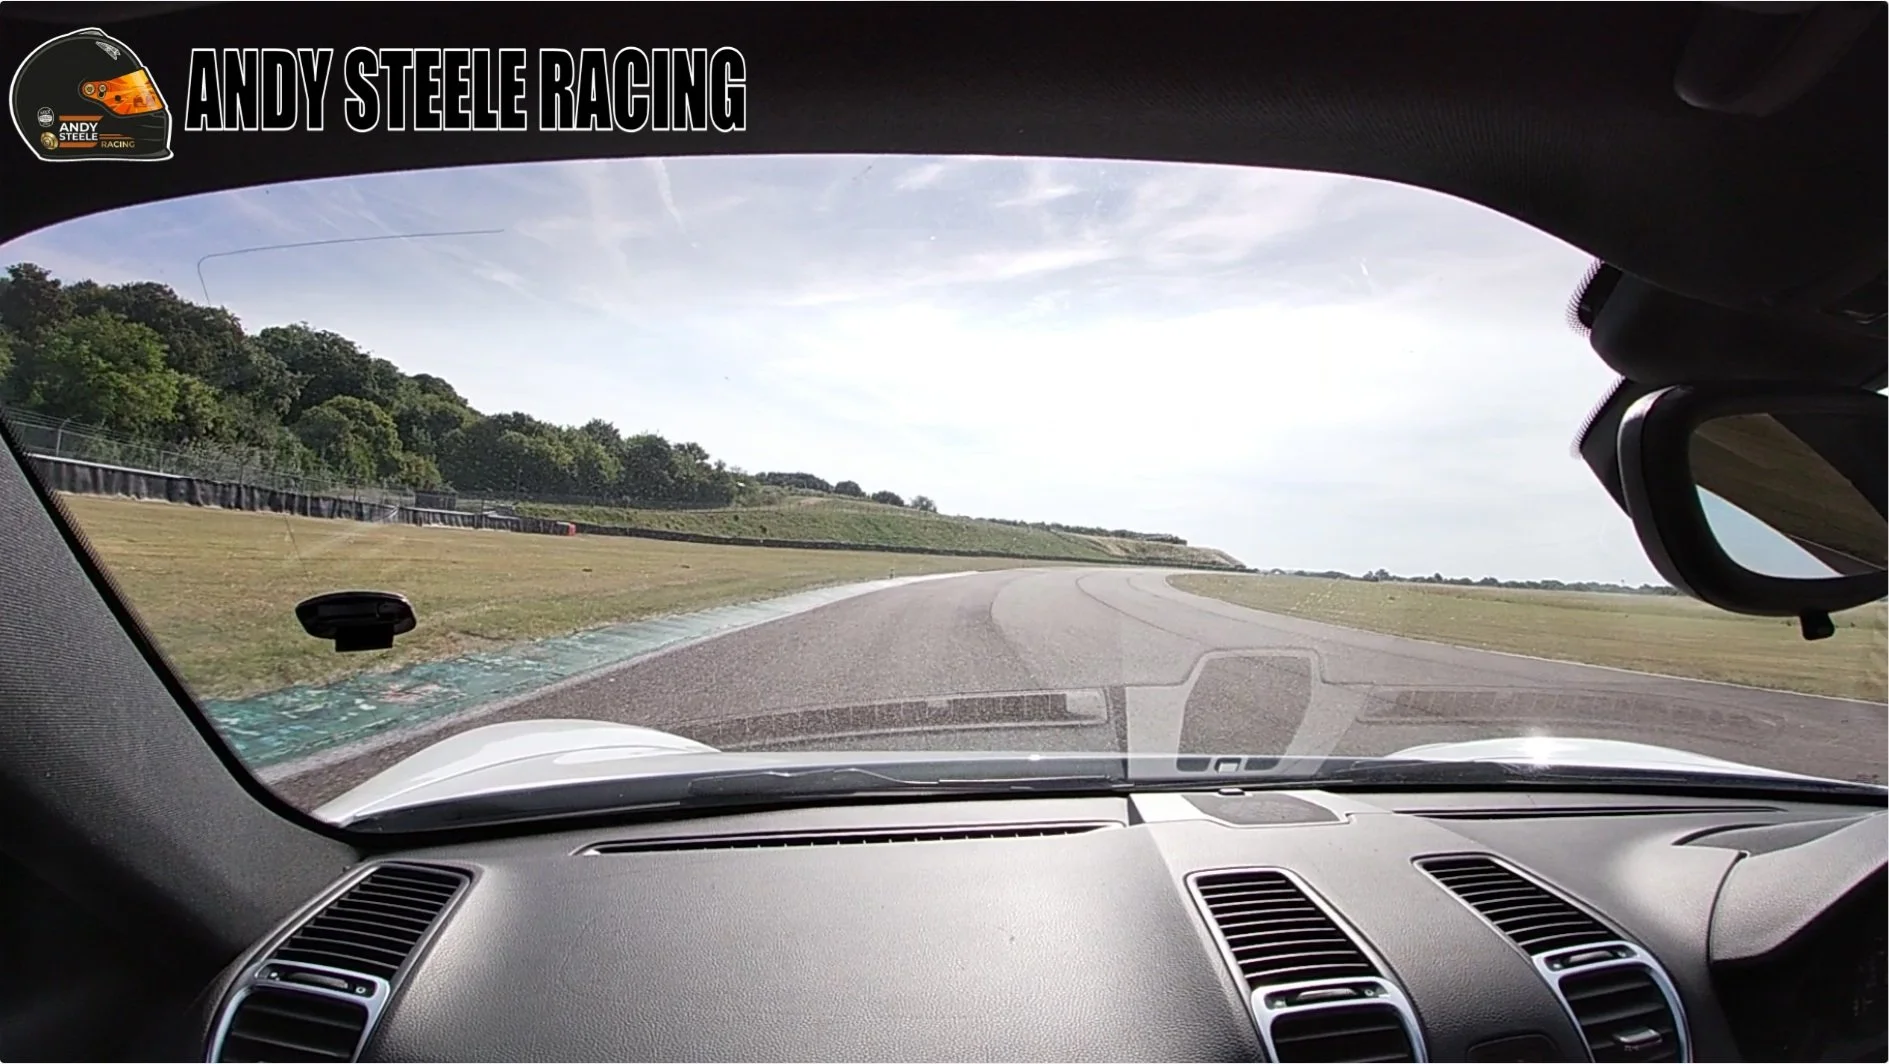
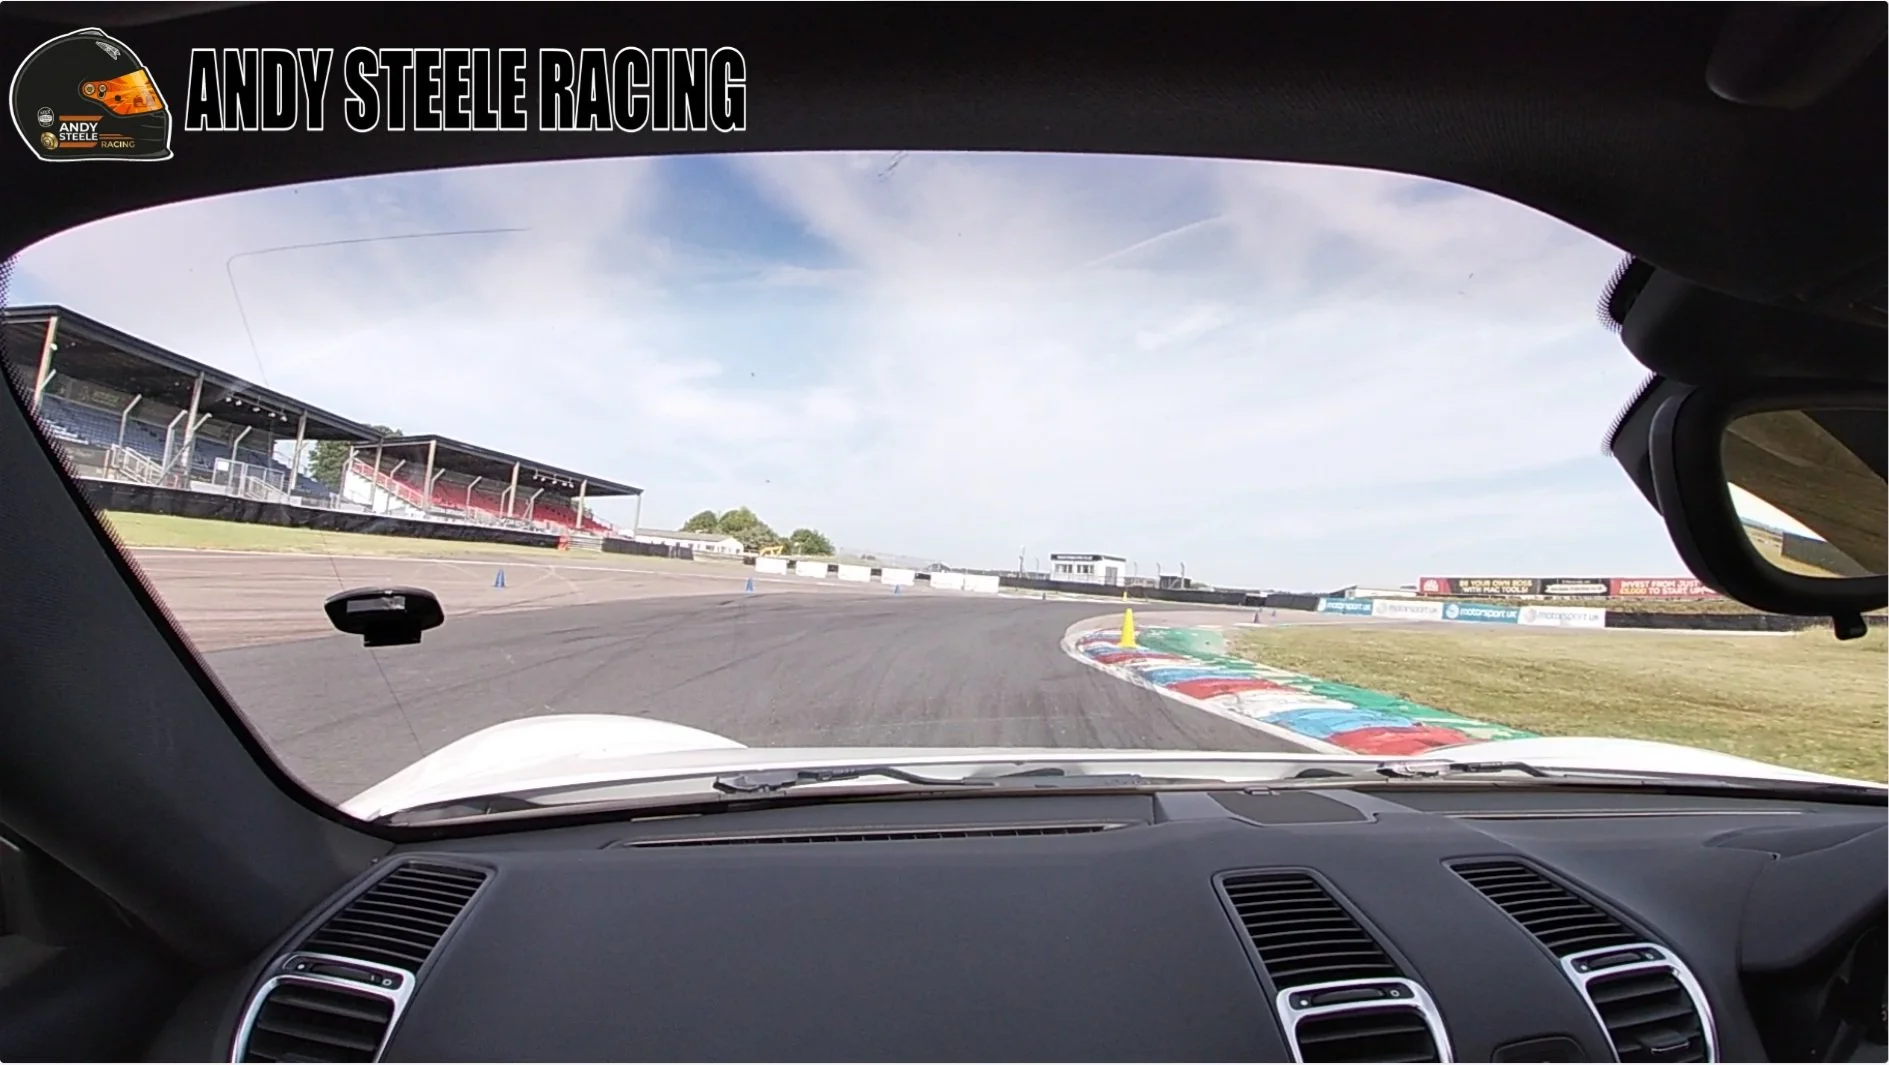
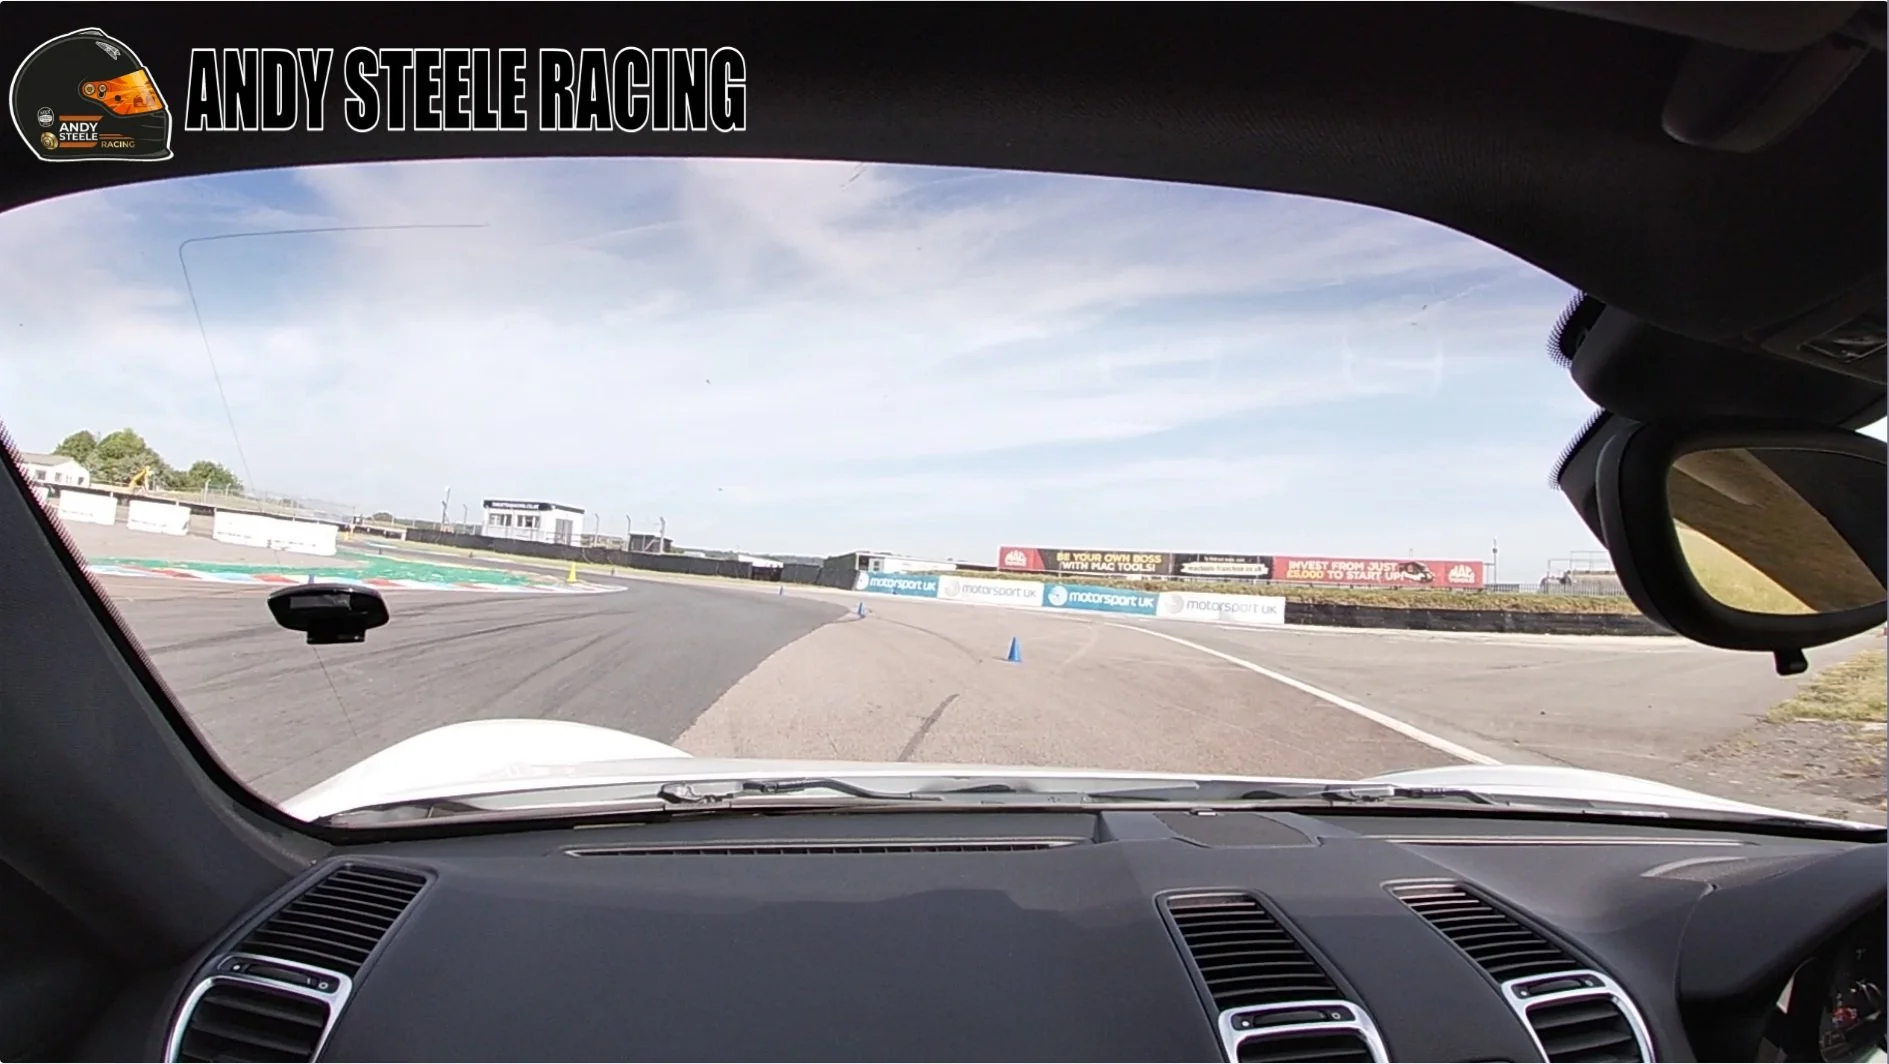
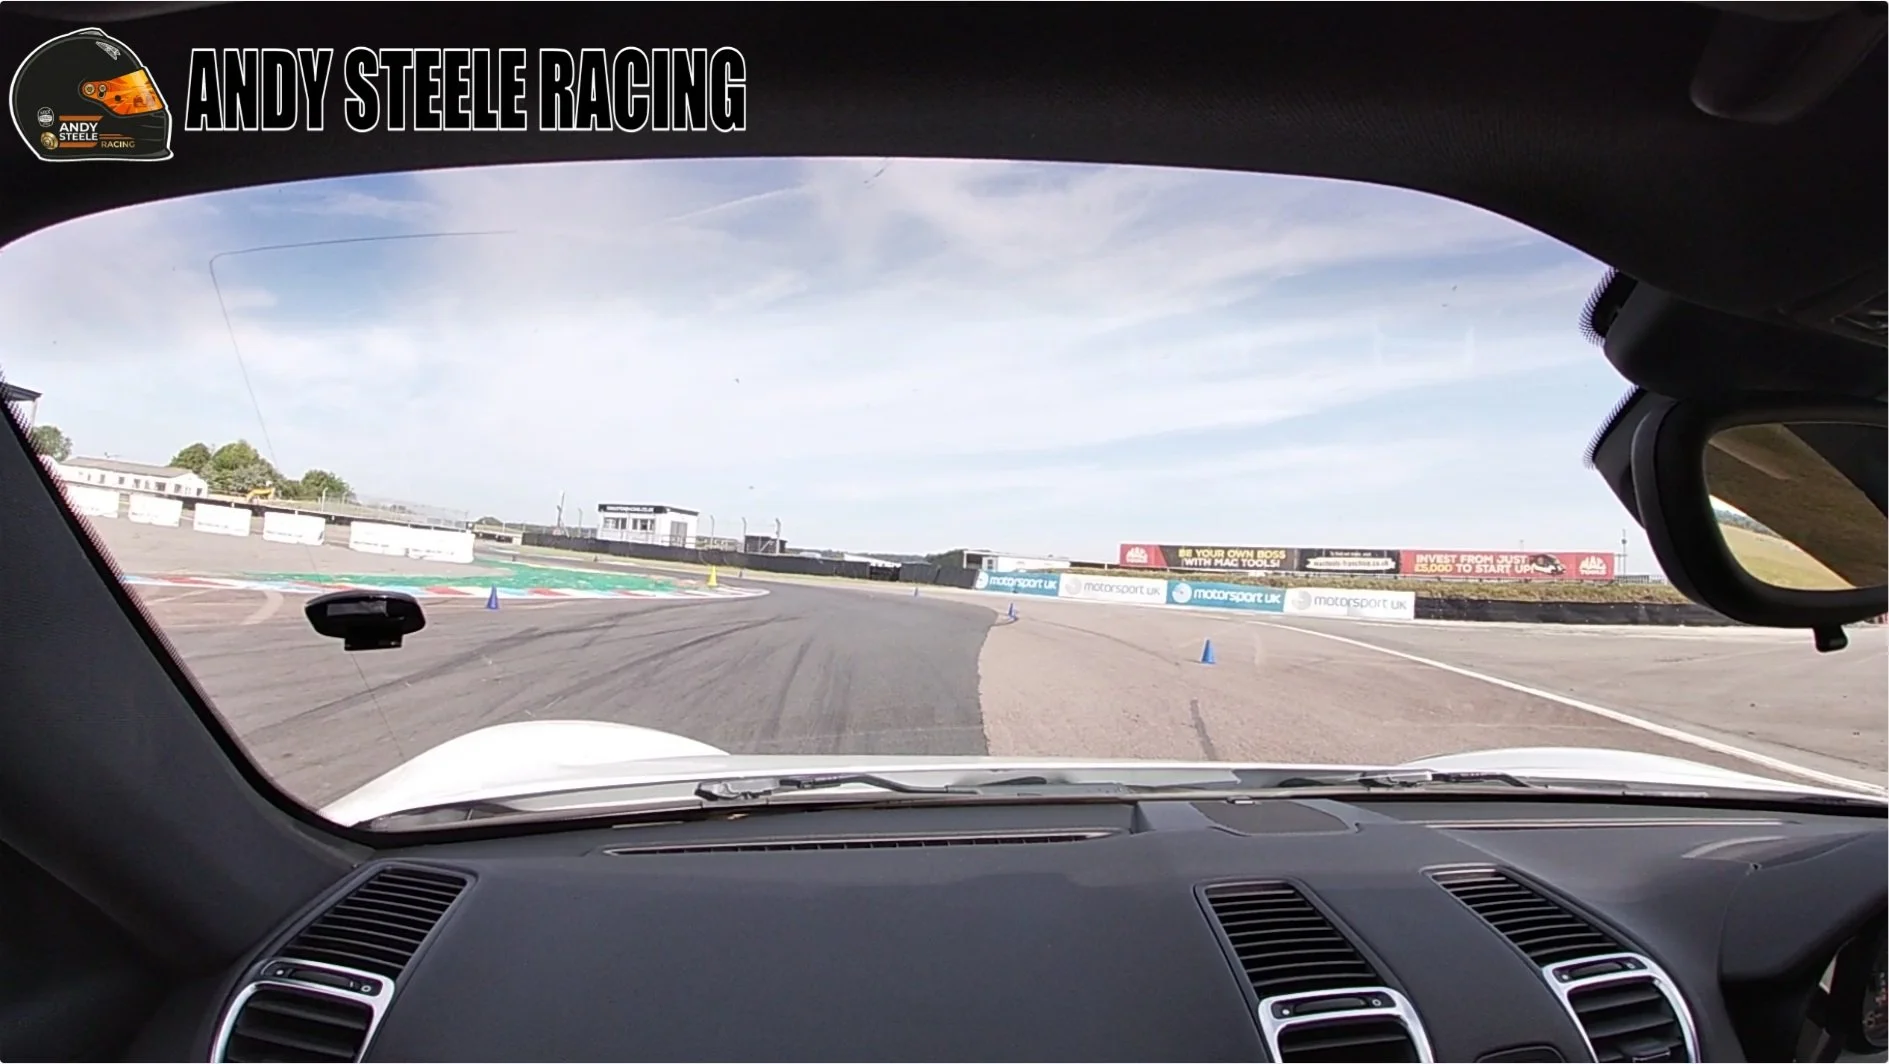
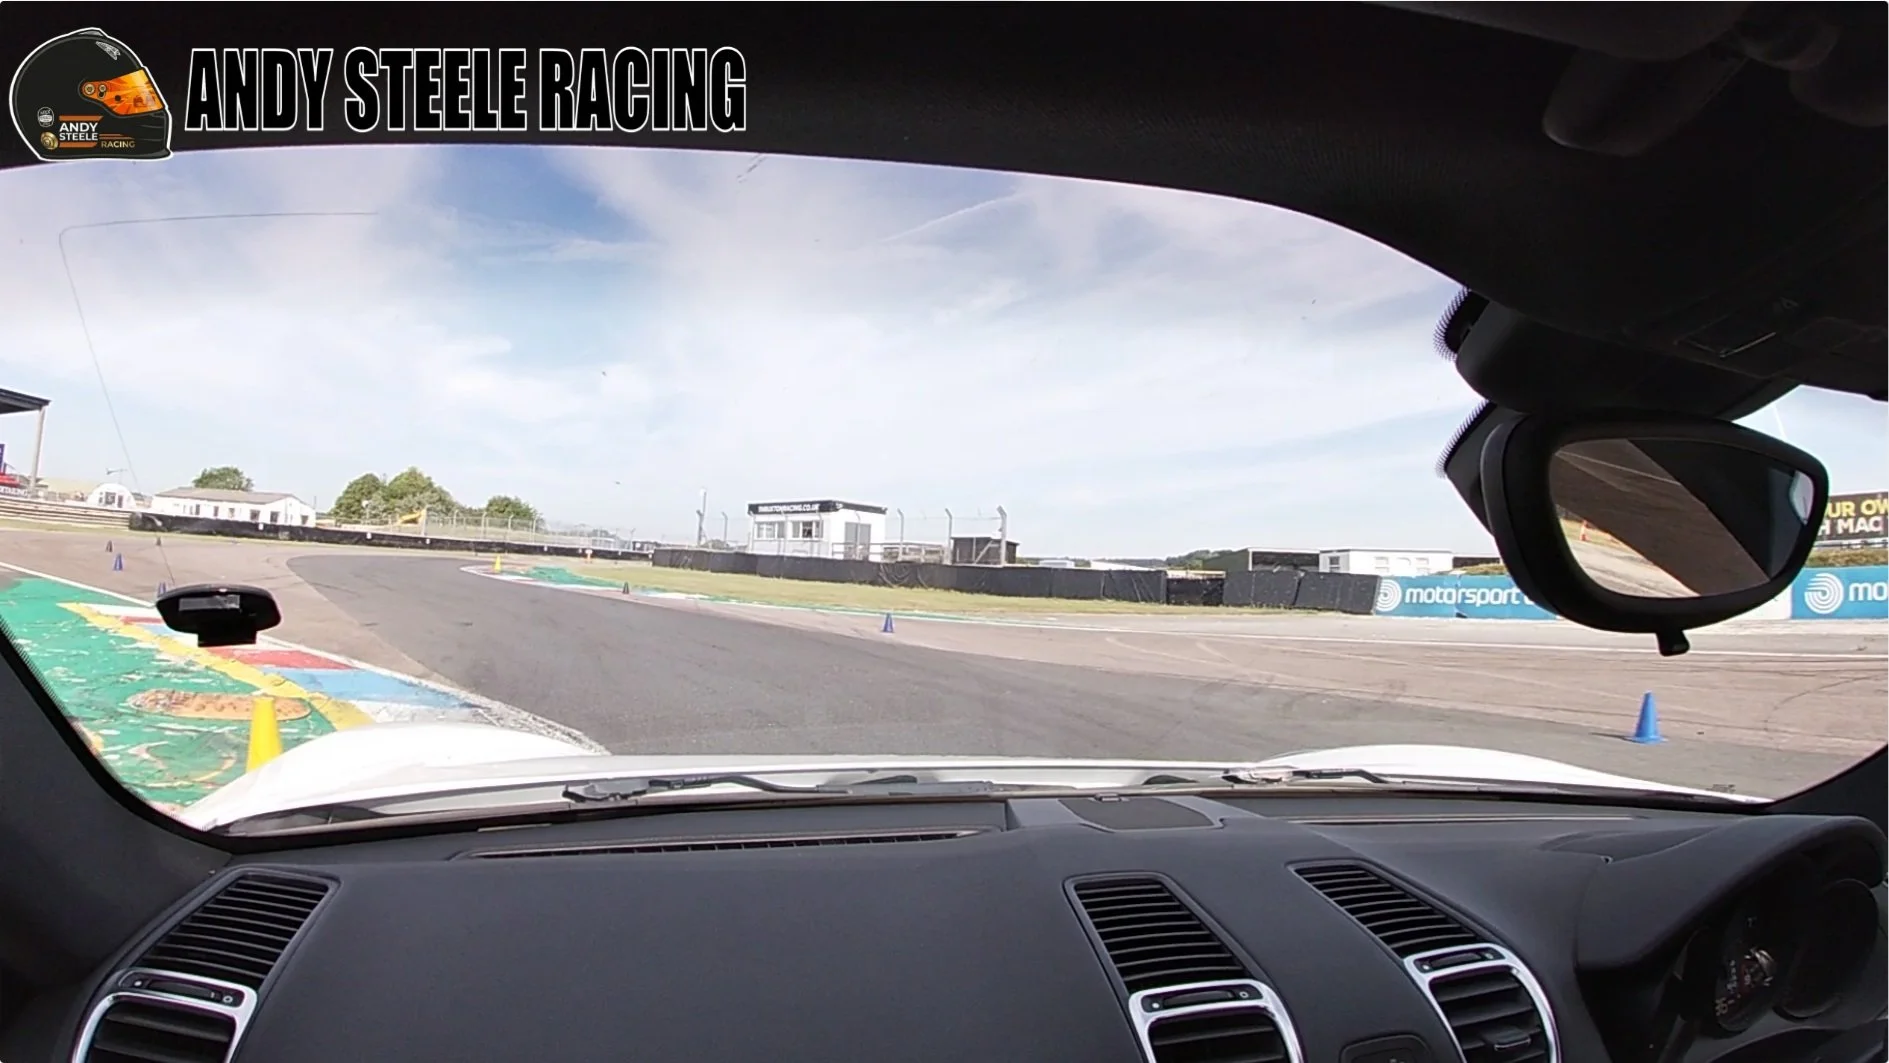
We exit The Complex on the left hand side, but the next corner is the left of Noble, so we need to bring the car across the track to the right as we continue at accelerate out of Seagrave. As we get over to the right hand side there is a section of green painted curbing to follow. As Noble leads us straight into the right hander of Goodwood, we plan our run through Noble to ensure we get the best entry to Goodwood, this means for Noble we want a late apex to enable us to keep the car to the left on exit. So to get the late apex we want a late turn in and a wide entry into Noble. As we approach Noble, its a fast corner where you can carry good speed, but depending on the car you may need a slight brush on the brakes, or just a lifting off the throttle.
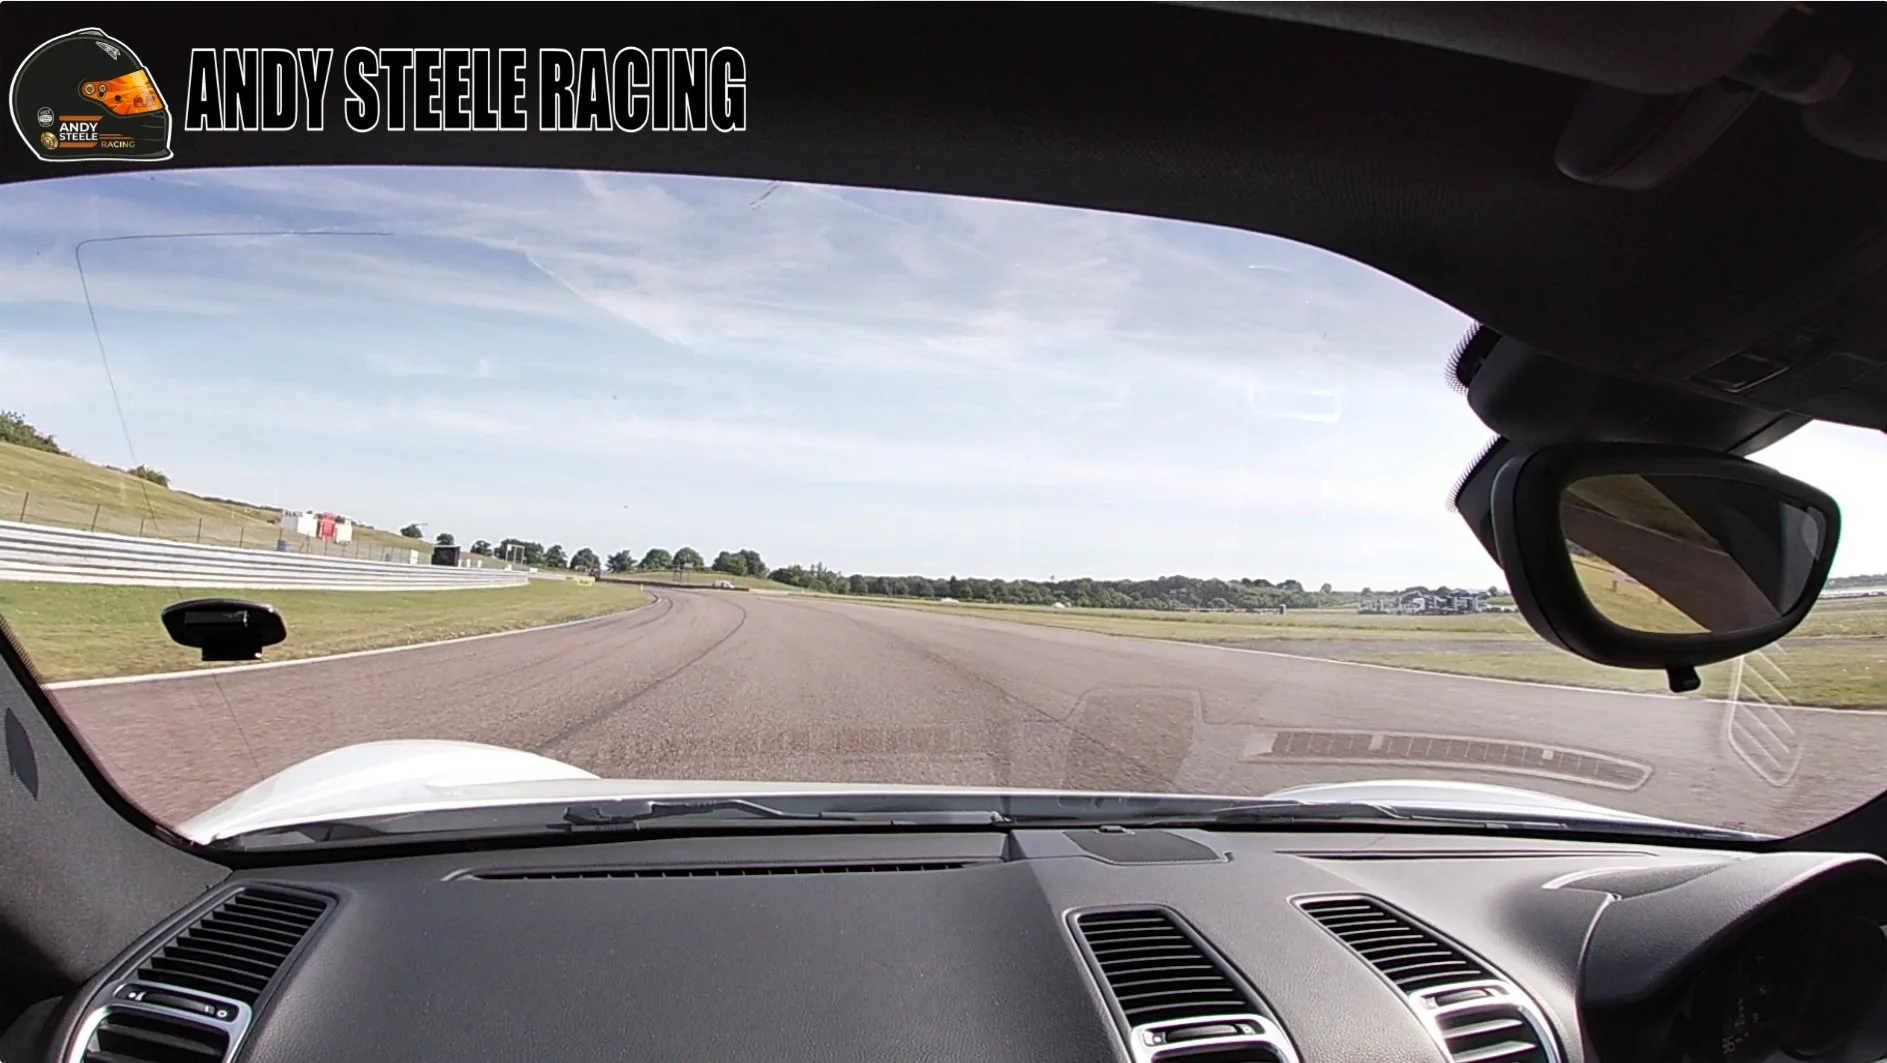
I always advise to turn in a couple of car lengths after the end of the green painted curb on the right. You can see the circuit appears to curve round to the right before the start of the left curve for Noble, and even a slight tweak of the steering to the right here helps to open up the corner entry. As we turn in to the left, I recommend a lazy turn in, so and steady building of the steering lock, rather than a sharp turn, most important is not to come in tight to the curb on the inside of the corner to begin with, bring the car initially to the middle of the track, you`ll see the crease lines of the four lanes of how the tarmac was laid, you want no tighter than the second lane from the left. As we progress through the corner gradually bring the car to the late apex towards the end of the curbing on the inside.
If you`ve gotten this part right you should be able to keep the car over the left ready for Goodwood, however if you took a tighter line and/or earlier apex you`ll end up running wide on exit of Noble and hence a tighter entry into the right hander of Goodwood.
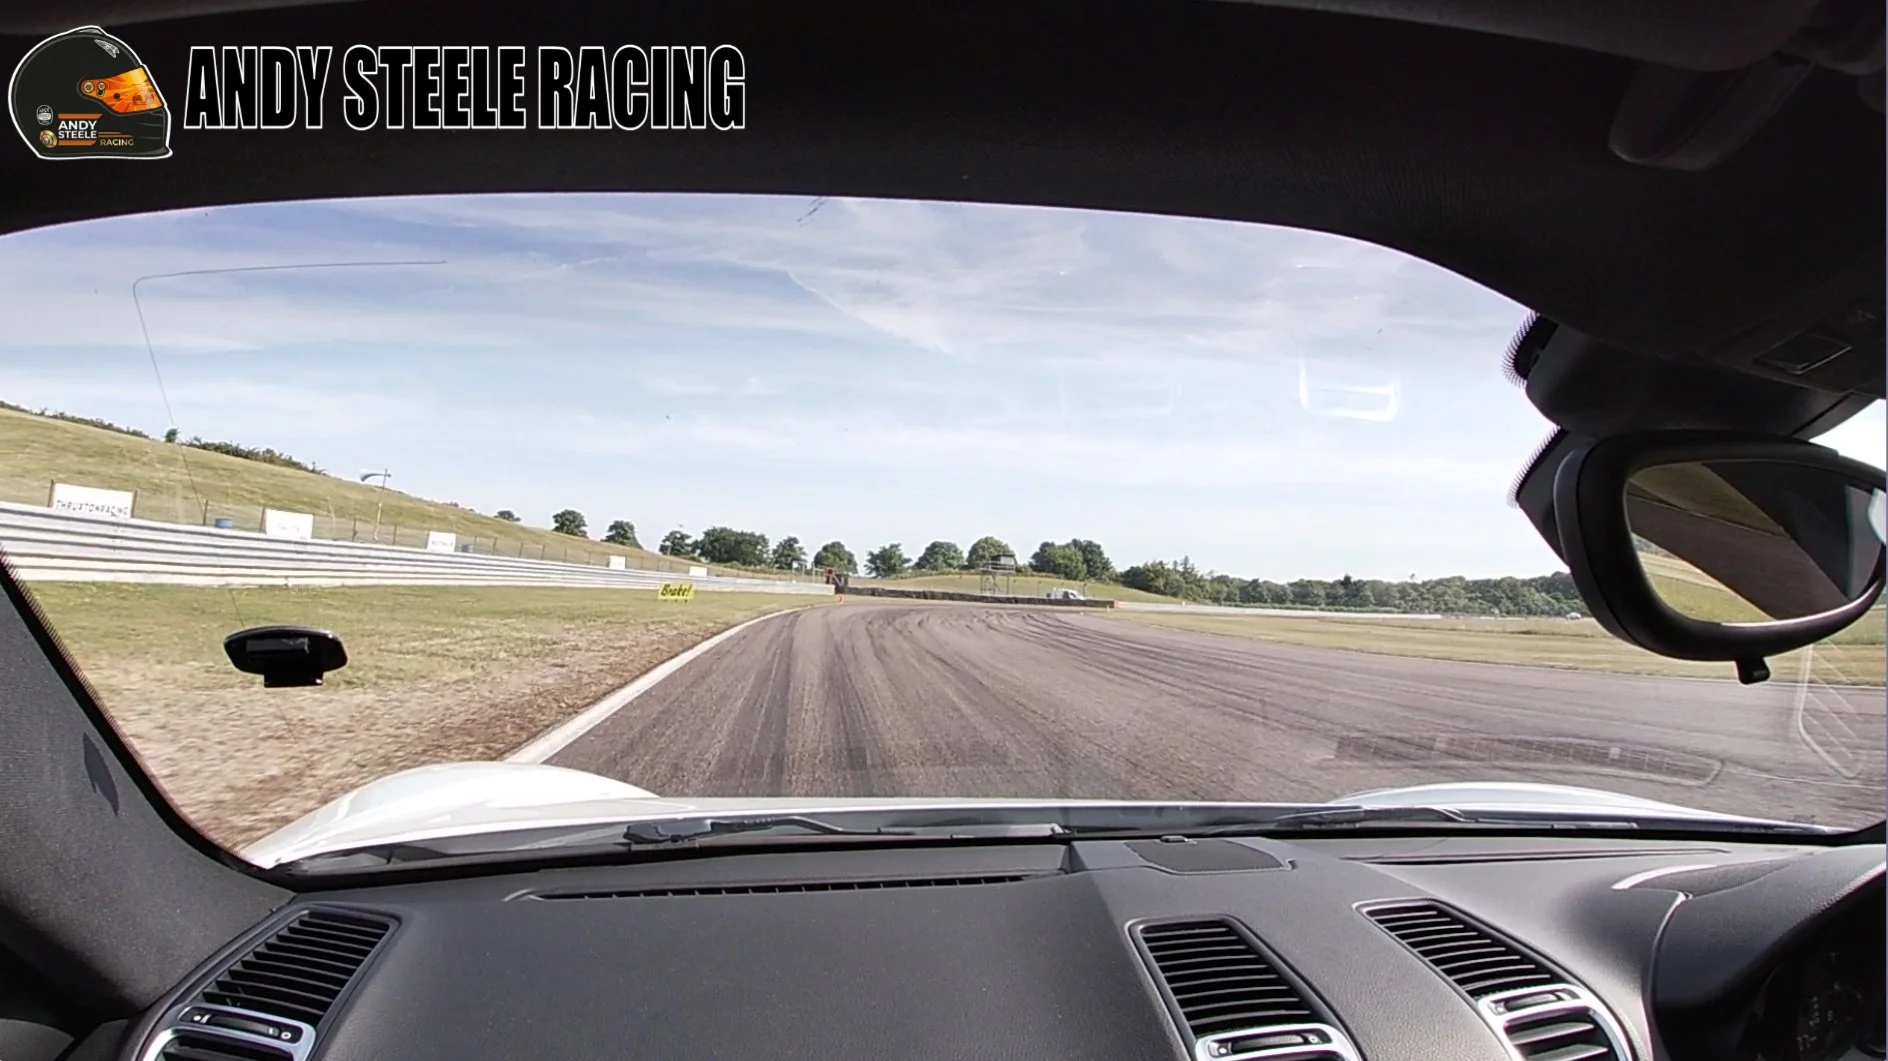
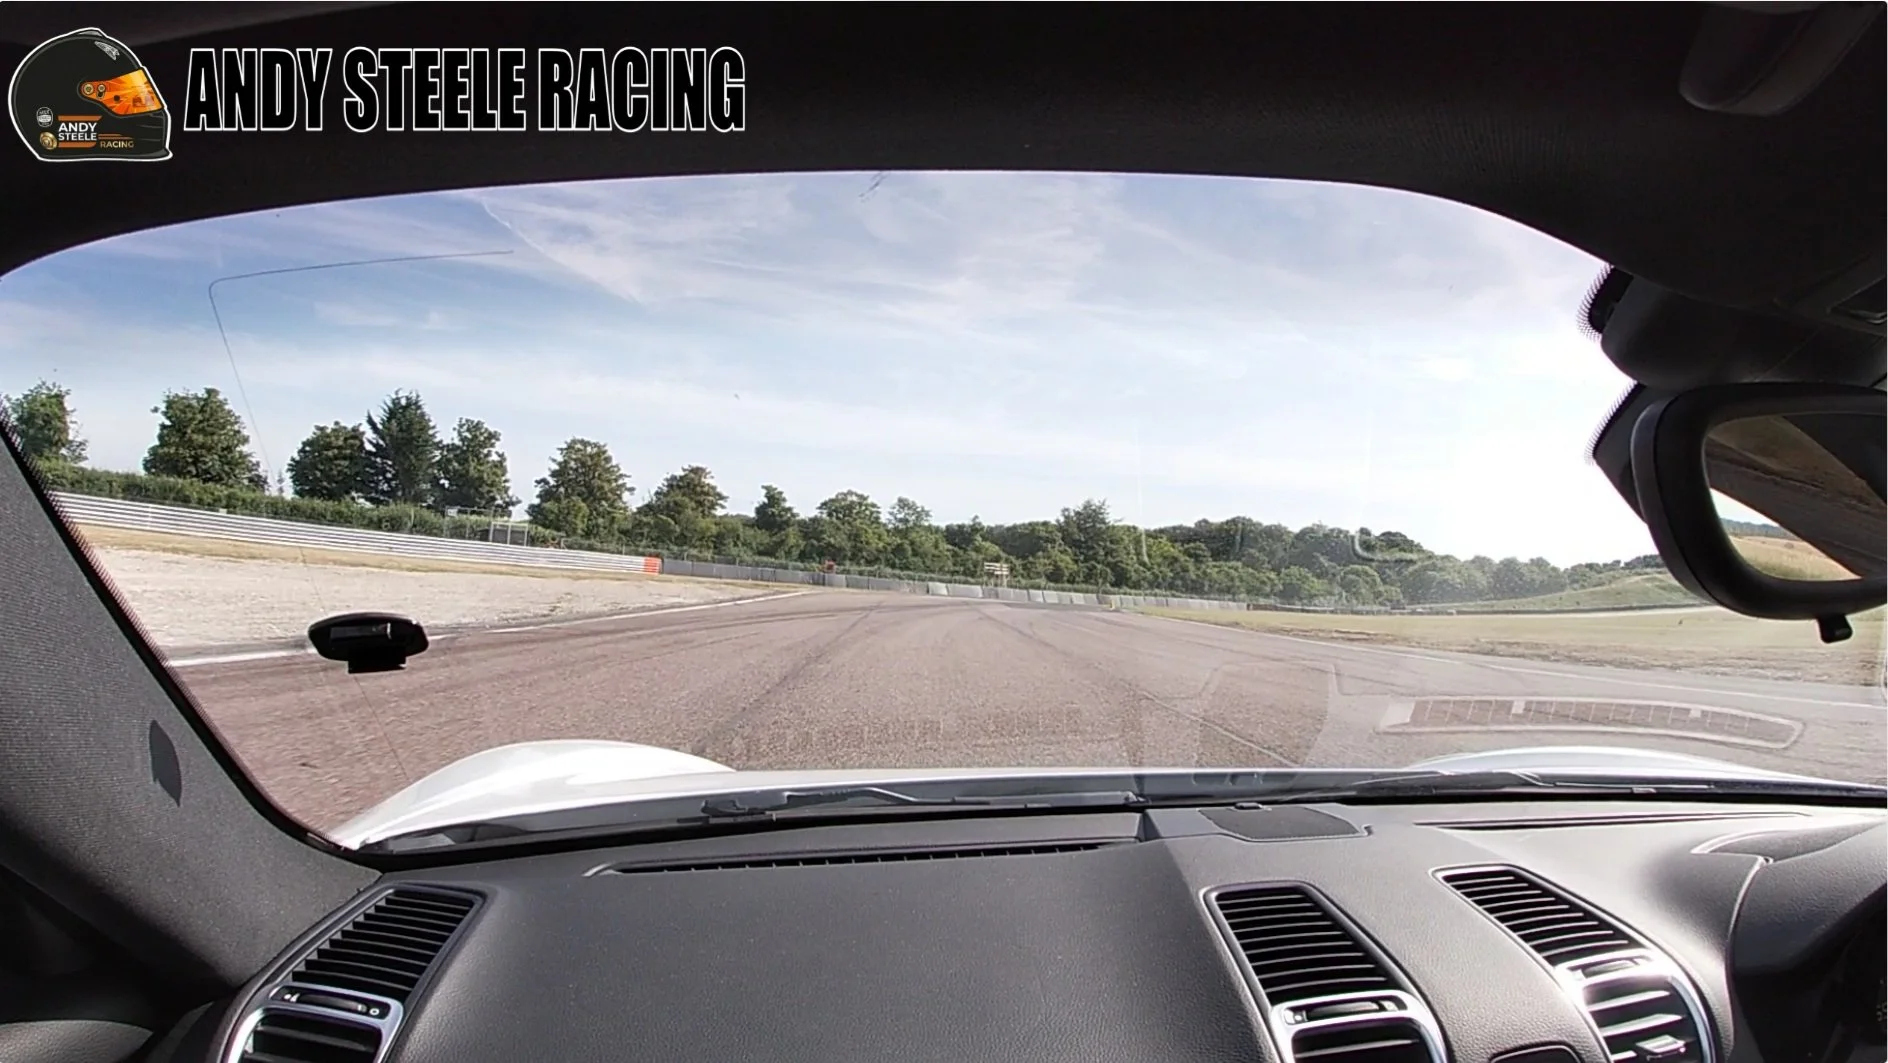
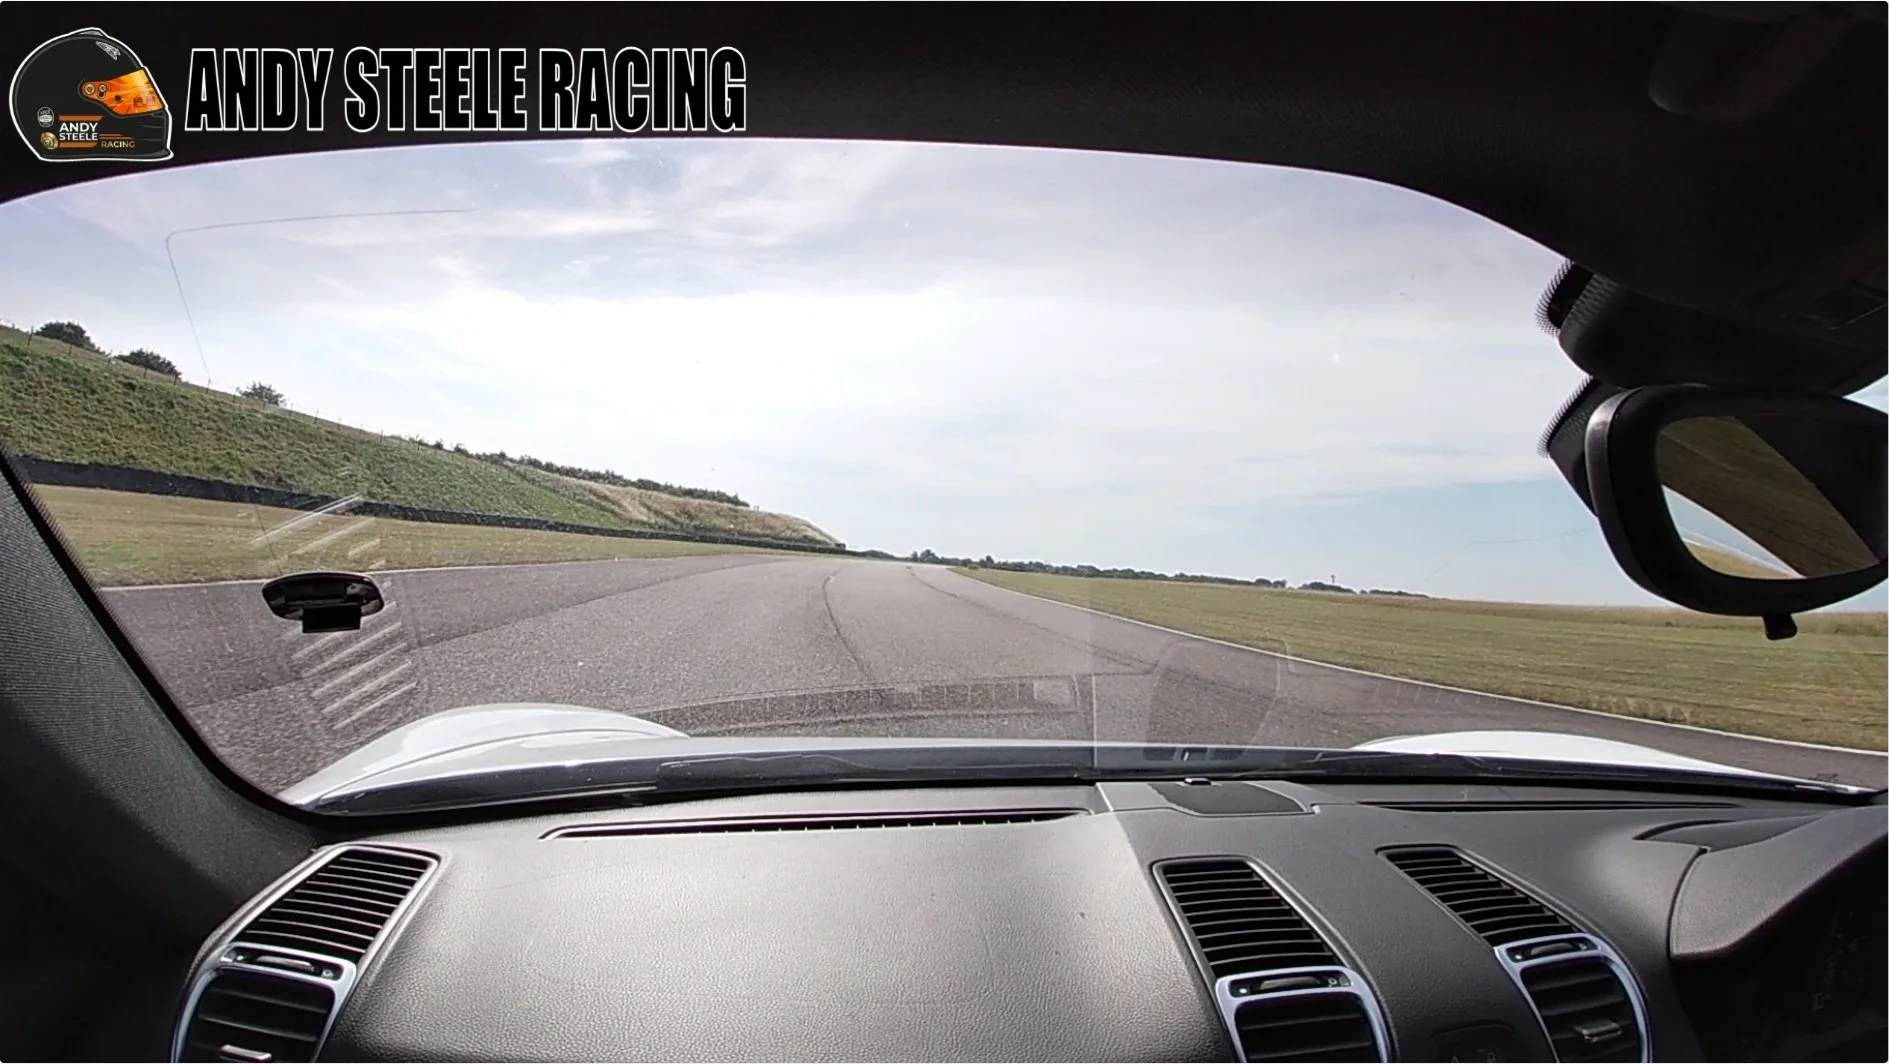
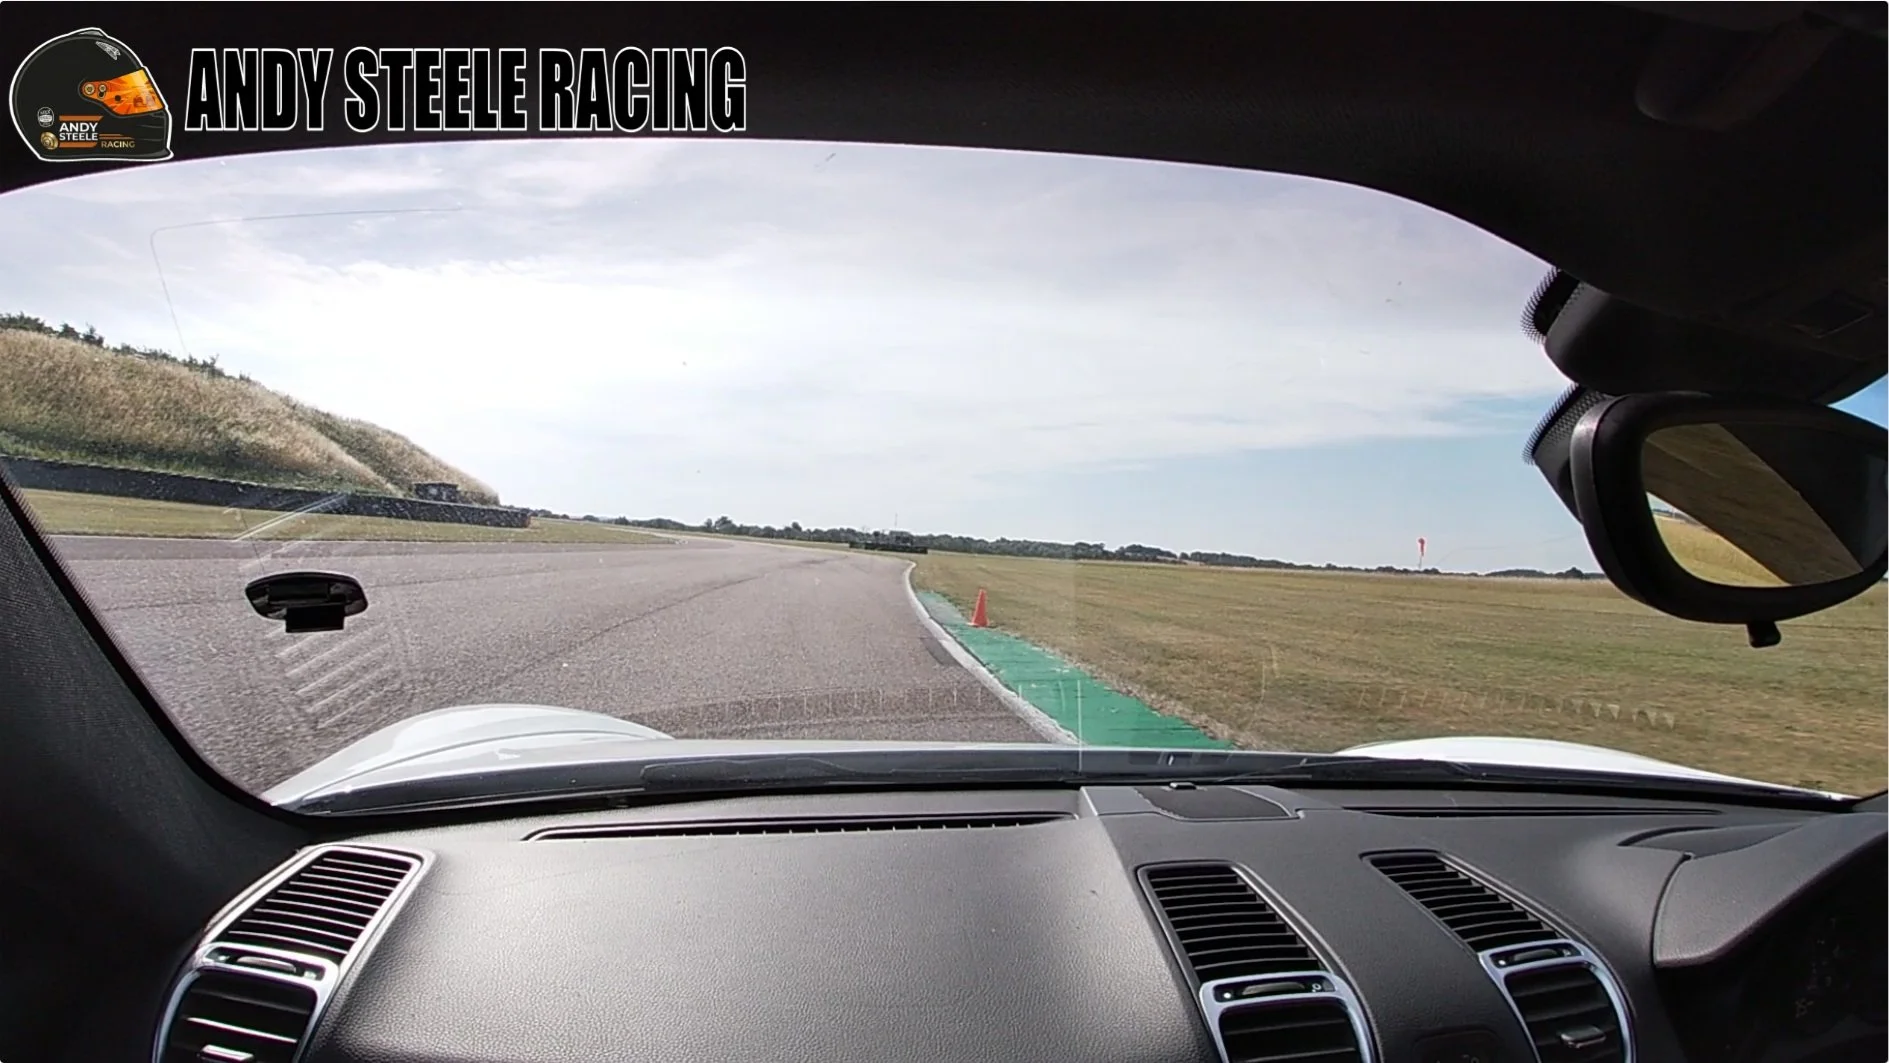
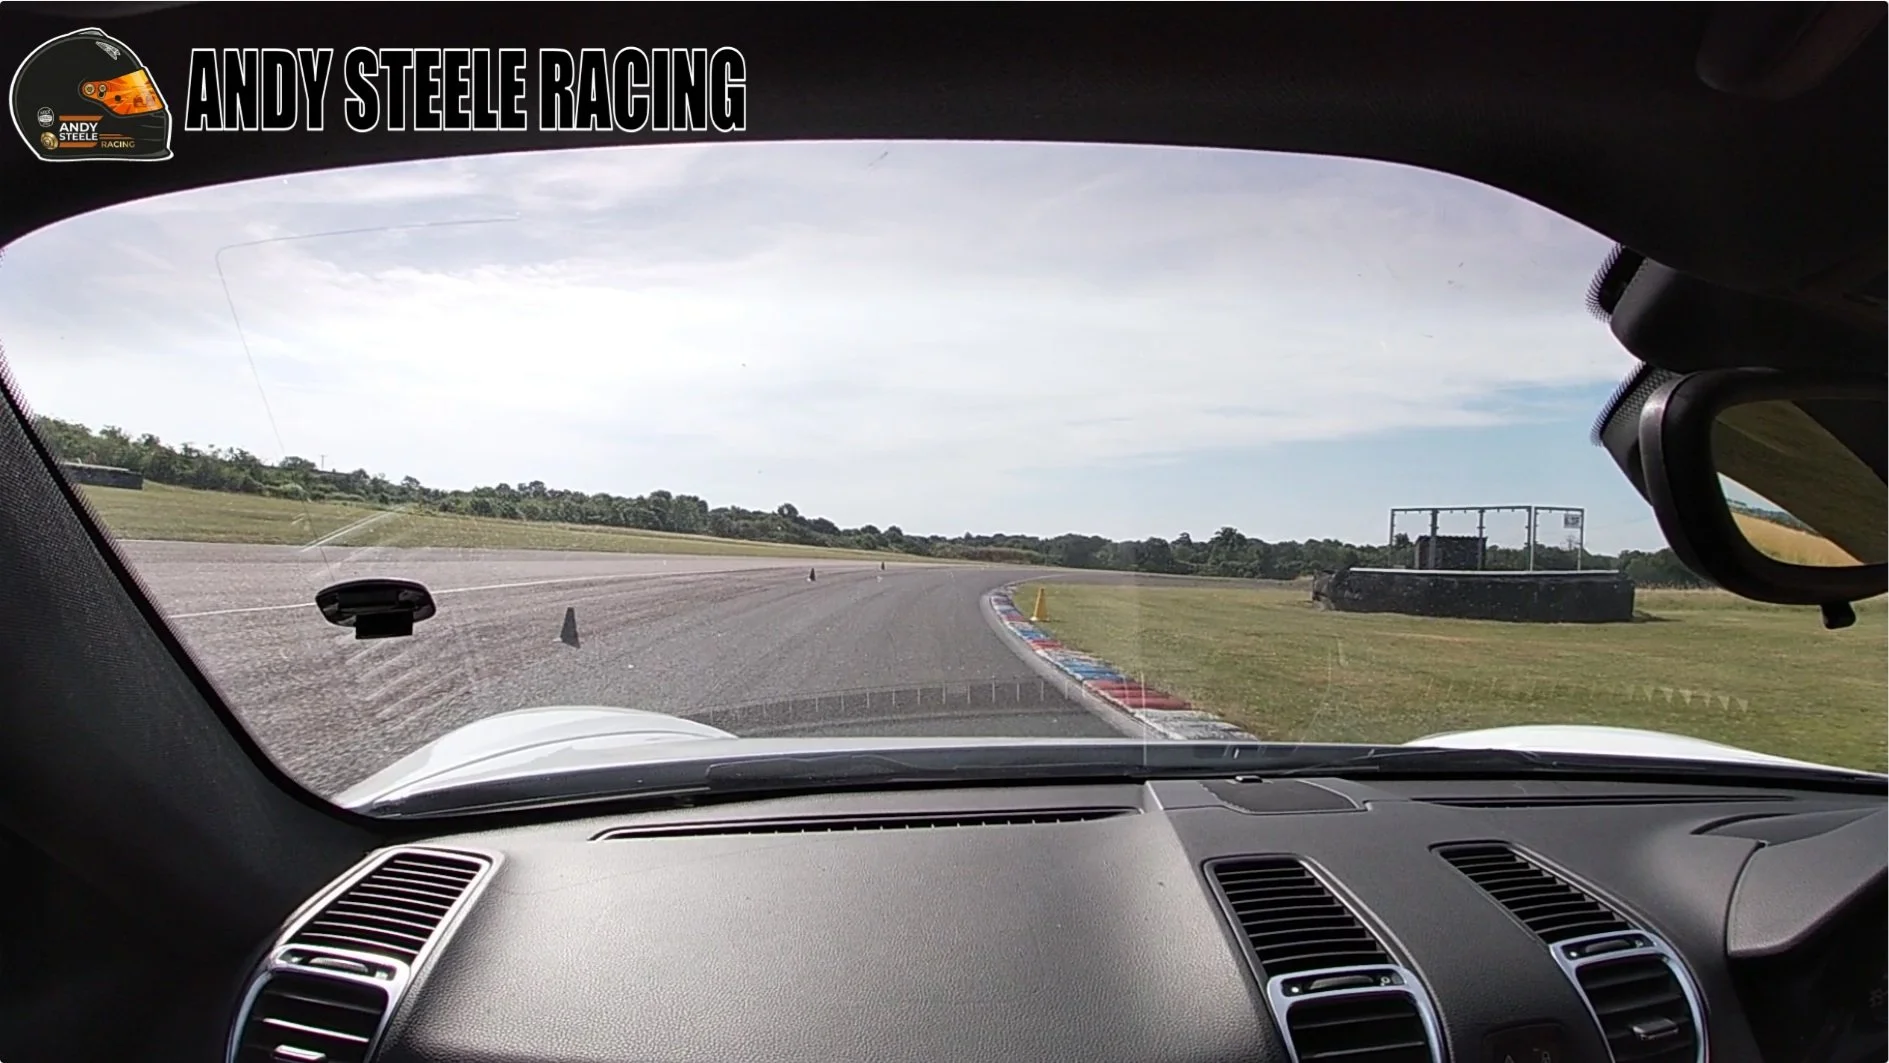
Goodwood is a very long right hander, and again, we look for a wide arch in to a late apex, which lets us then get on the power on exit. Entry to Goodwood from the left hand side, you`ll see a section of resurfaced tarmac, its slightly darker, we want the car to be out wider, to the left, of this section to begin with, and we start our wide arch entry. If we are counting the lanes from the left, we have the car in lane 2, where lane 3 is the resurfaced section. We`ll gradually bring the car over this darker section, and then the resurfacing moves from this lane 3 to lane 4, the inside of the corner, and again continue bring the car tighter into the corner. You`ll see the first marshals post on the inside, this is a good reference point for the apex.
If you gotten the wide arch entry into this apex point, you`ll be pointing nicely out of the corner, else you`ll be pointing towards the grass on the outside, as the circuit continues to curve to the right. From the apex we can start to apply some power, but we need to judge the space on the exit, and balance the accelerate, more power pushes the car out wide. We want to use that space, out to an exit point around the second marshals post on the inside of the circuit.
Super-Fast Church
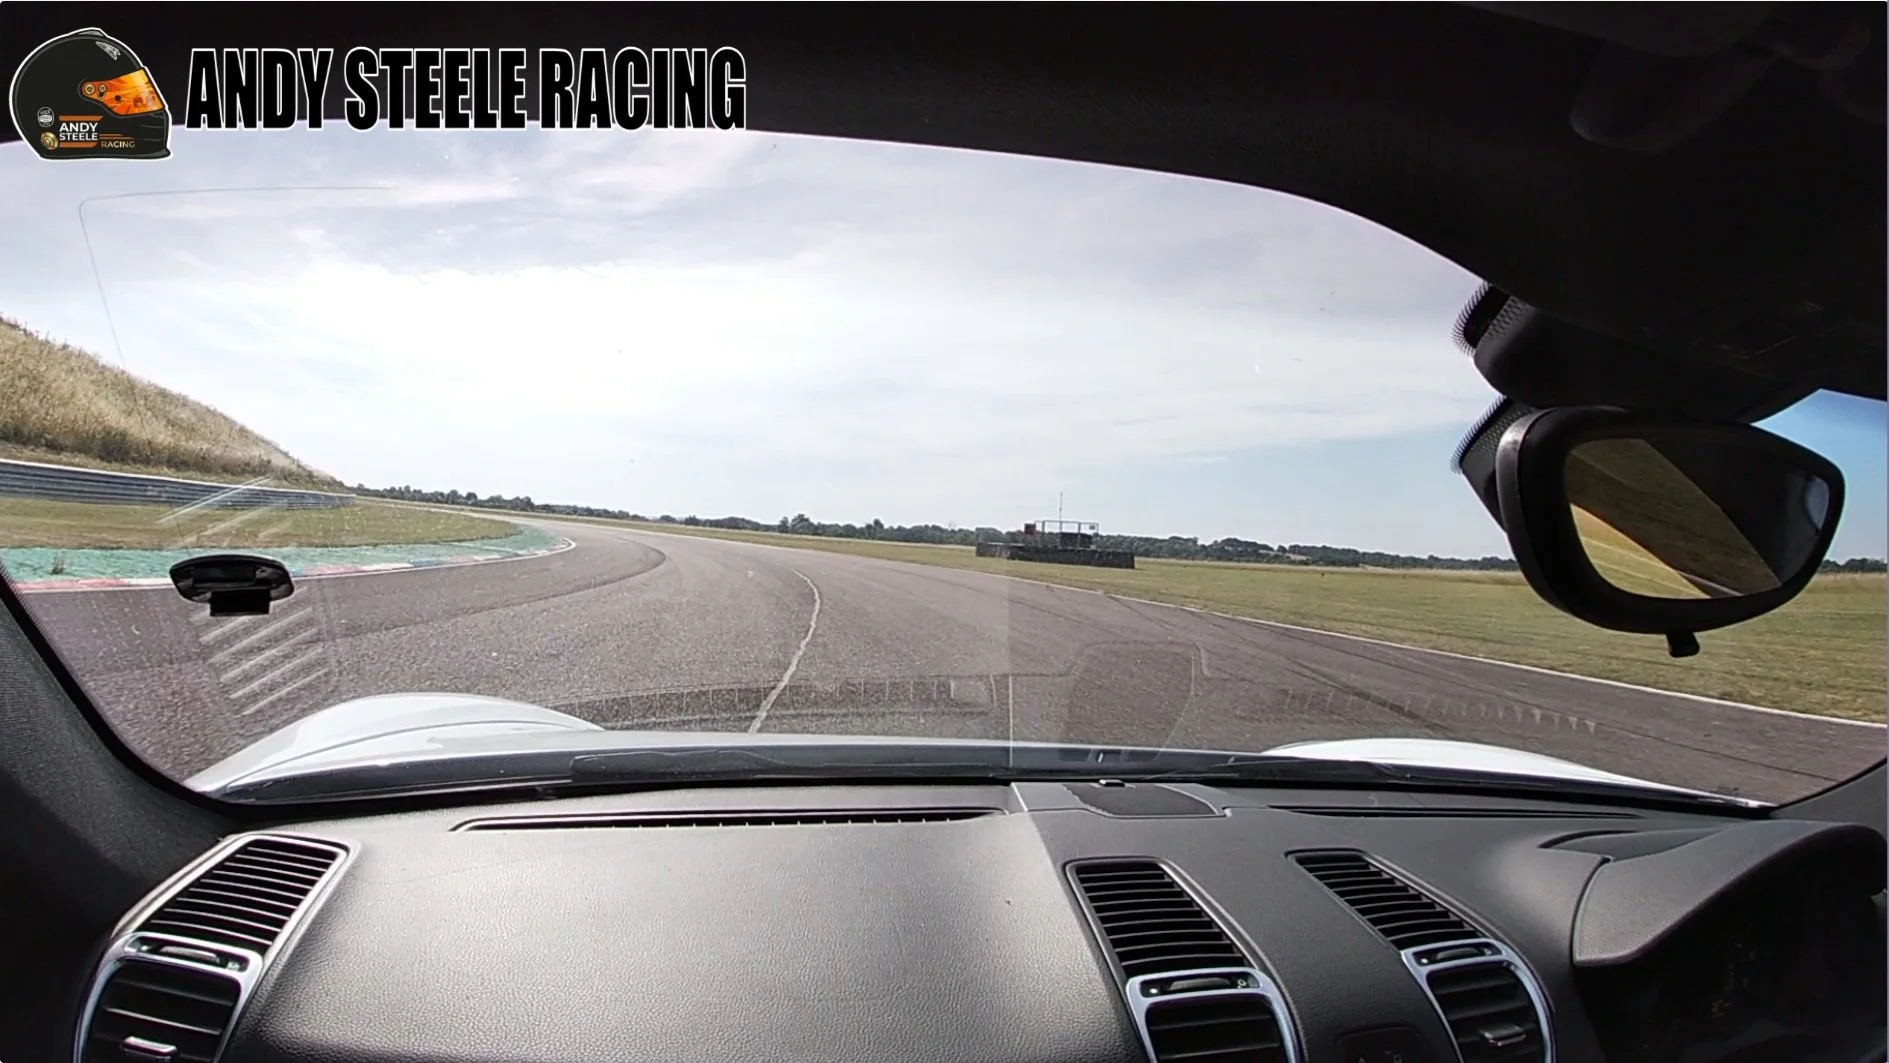
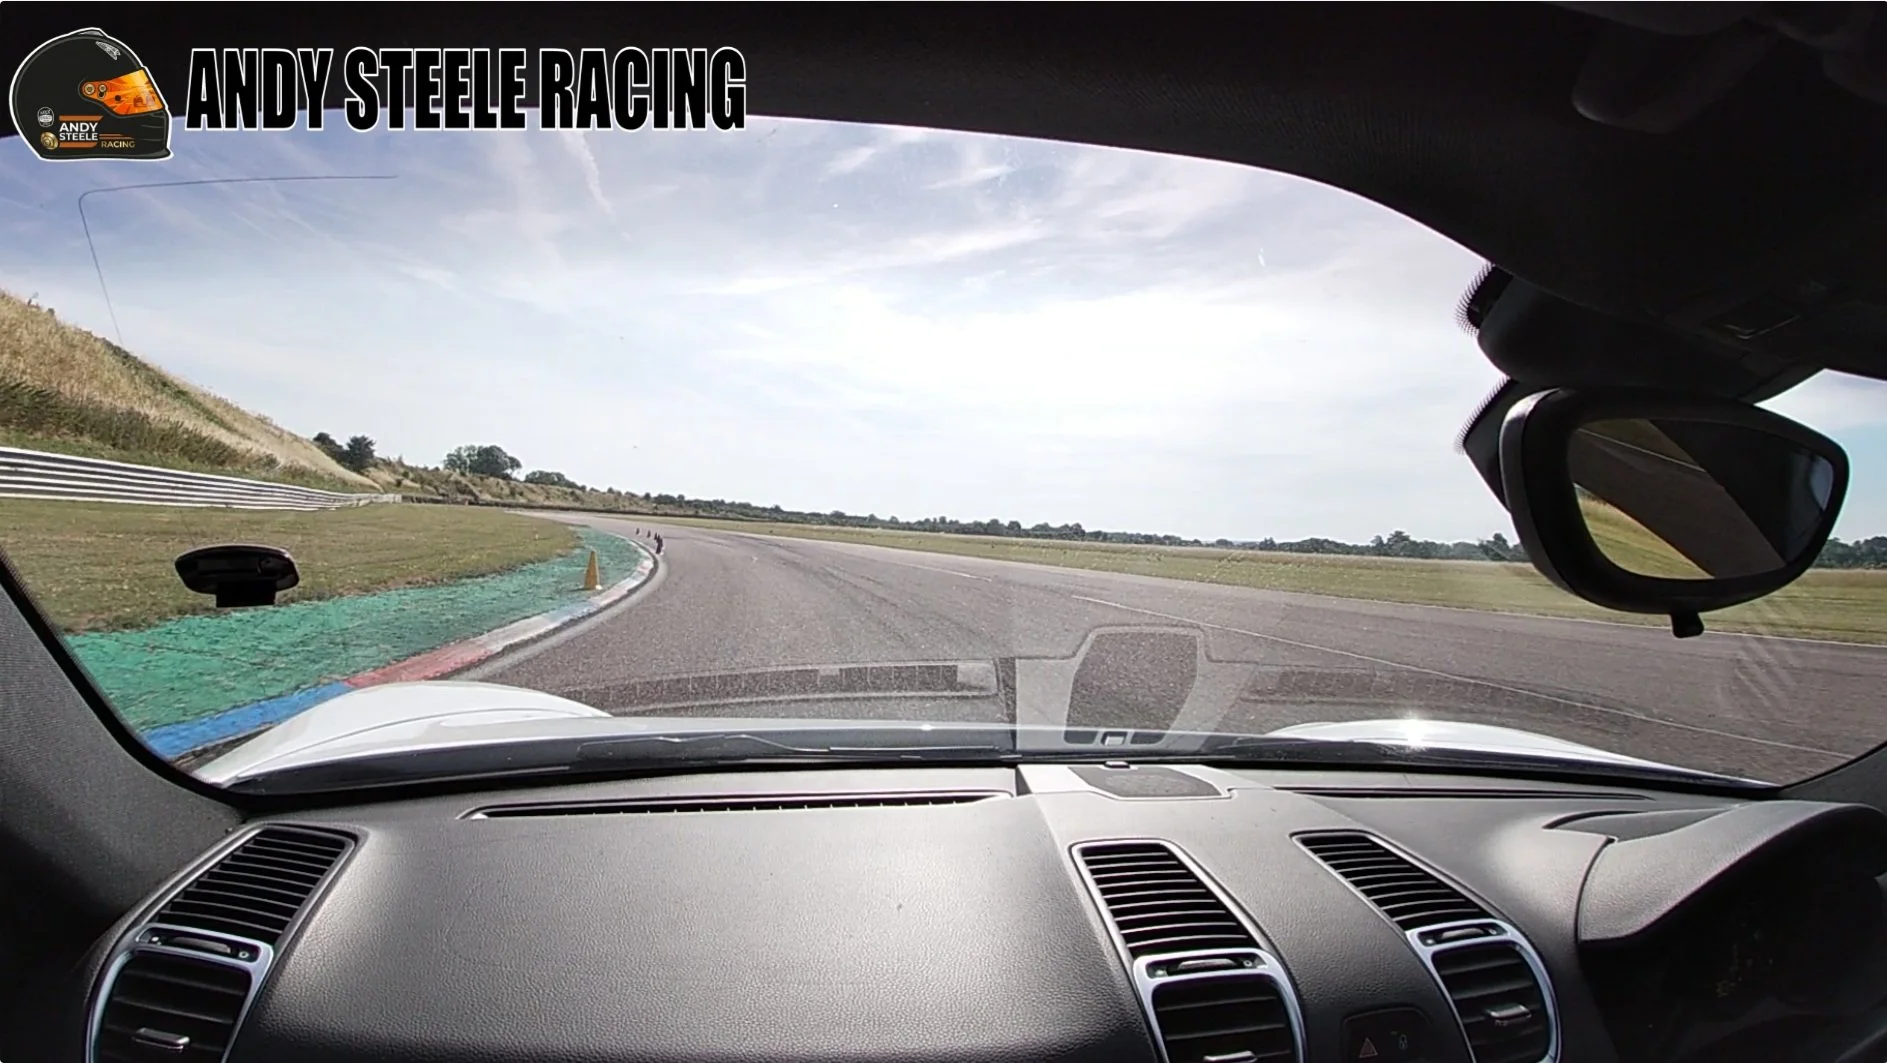
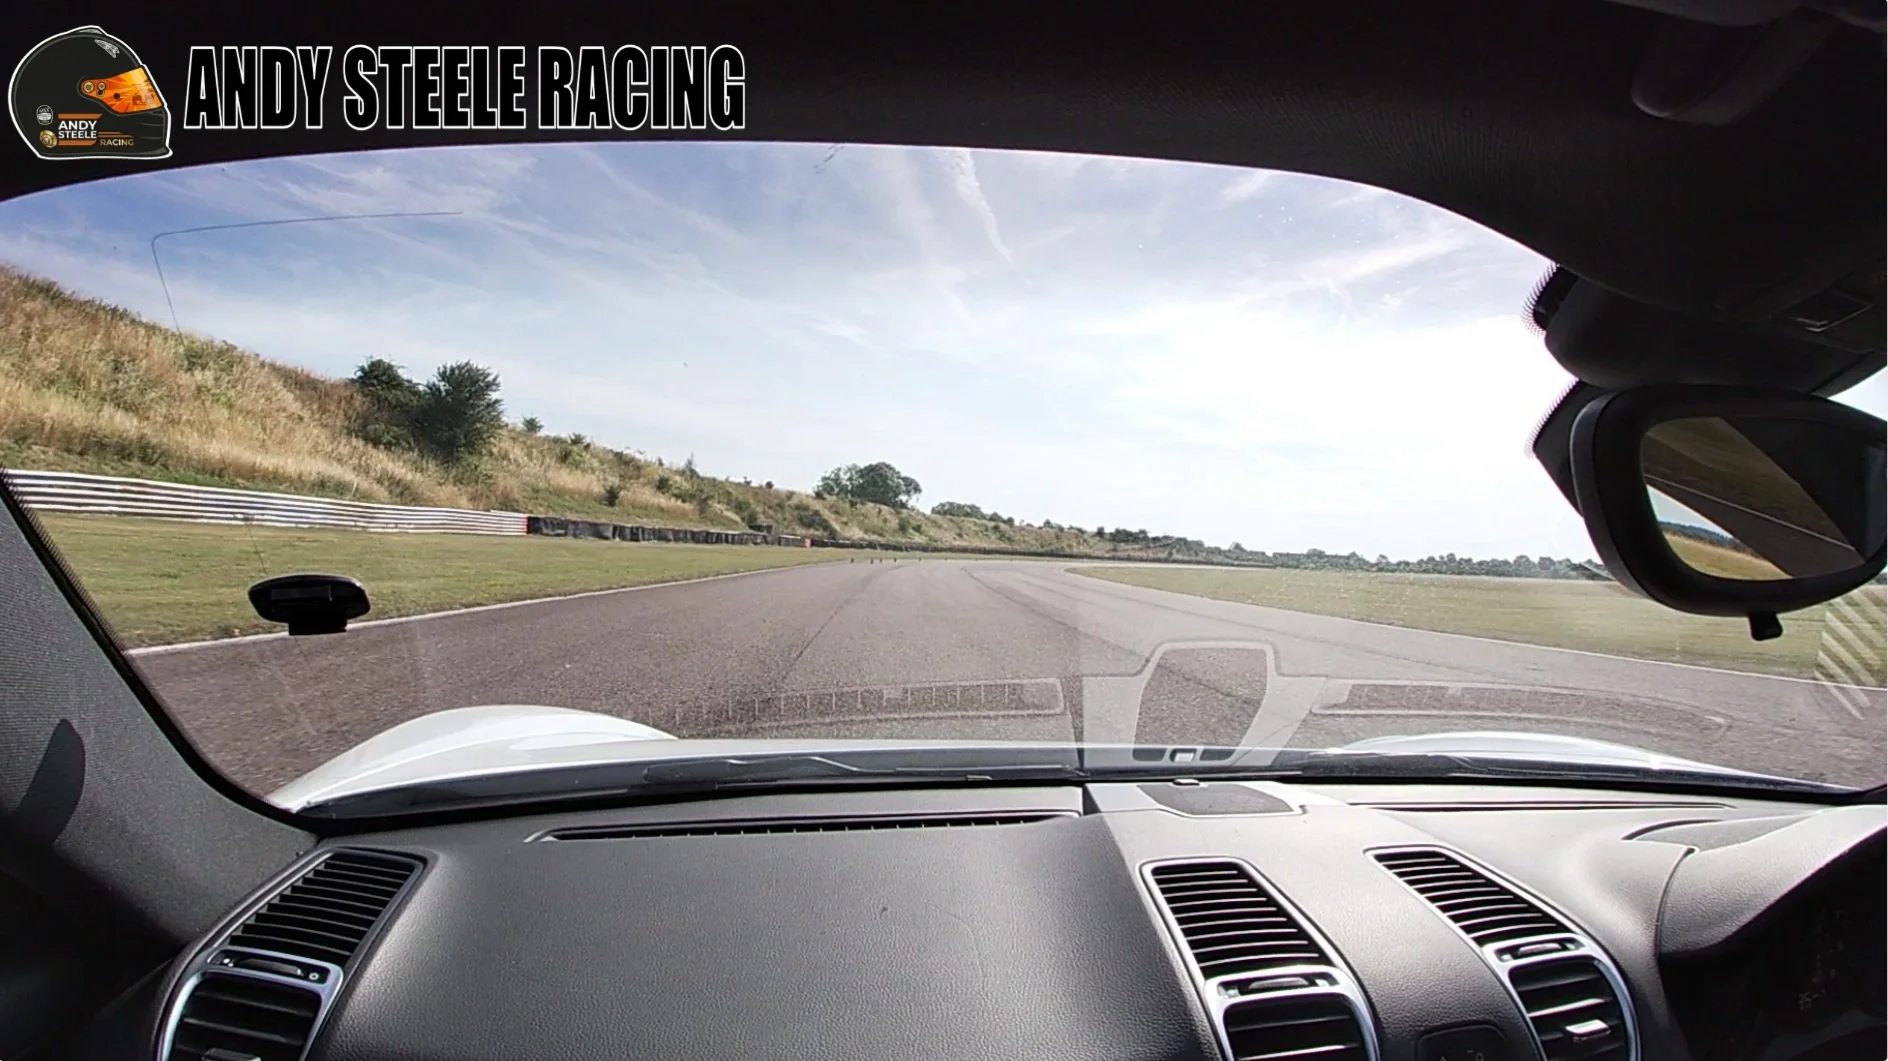
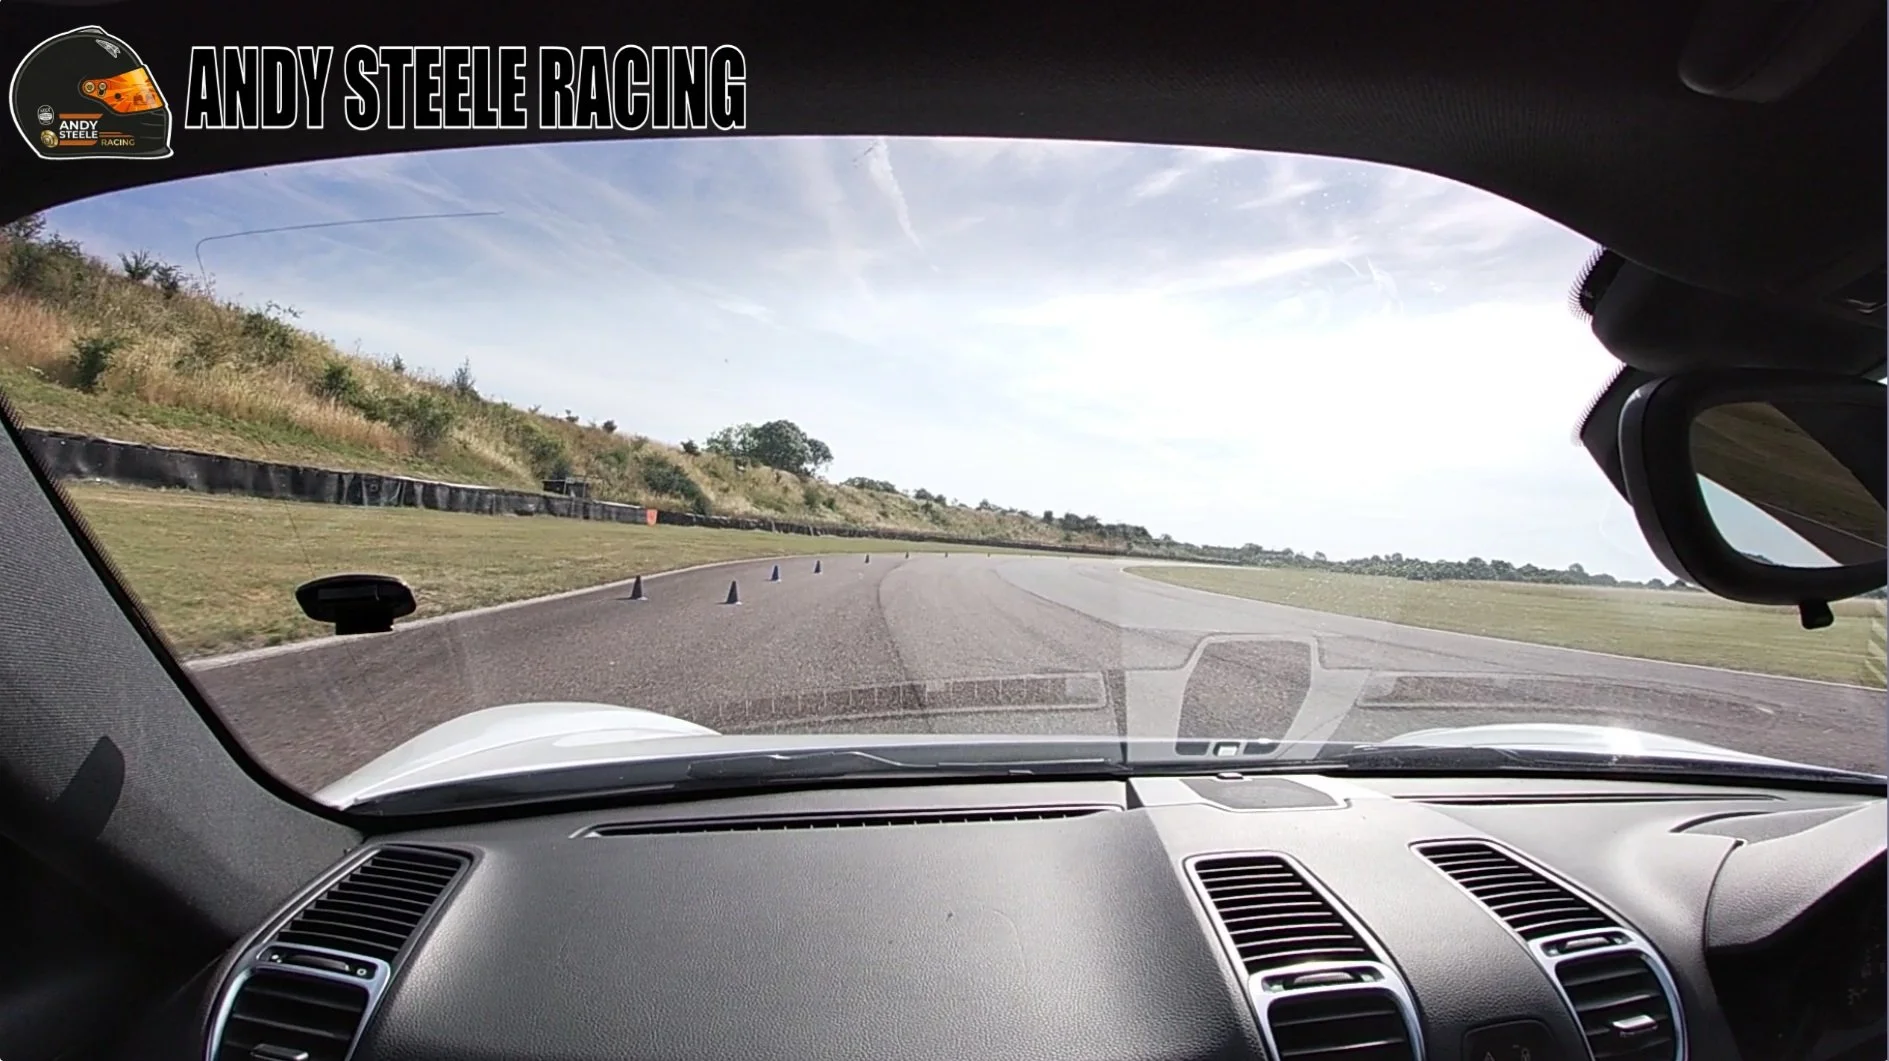
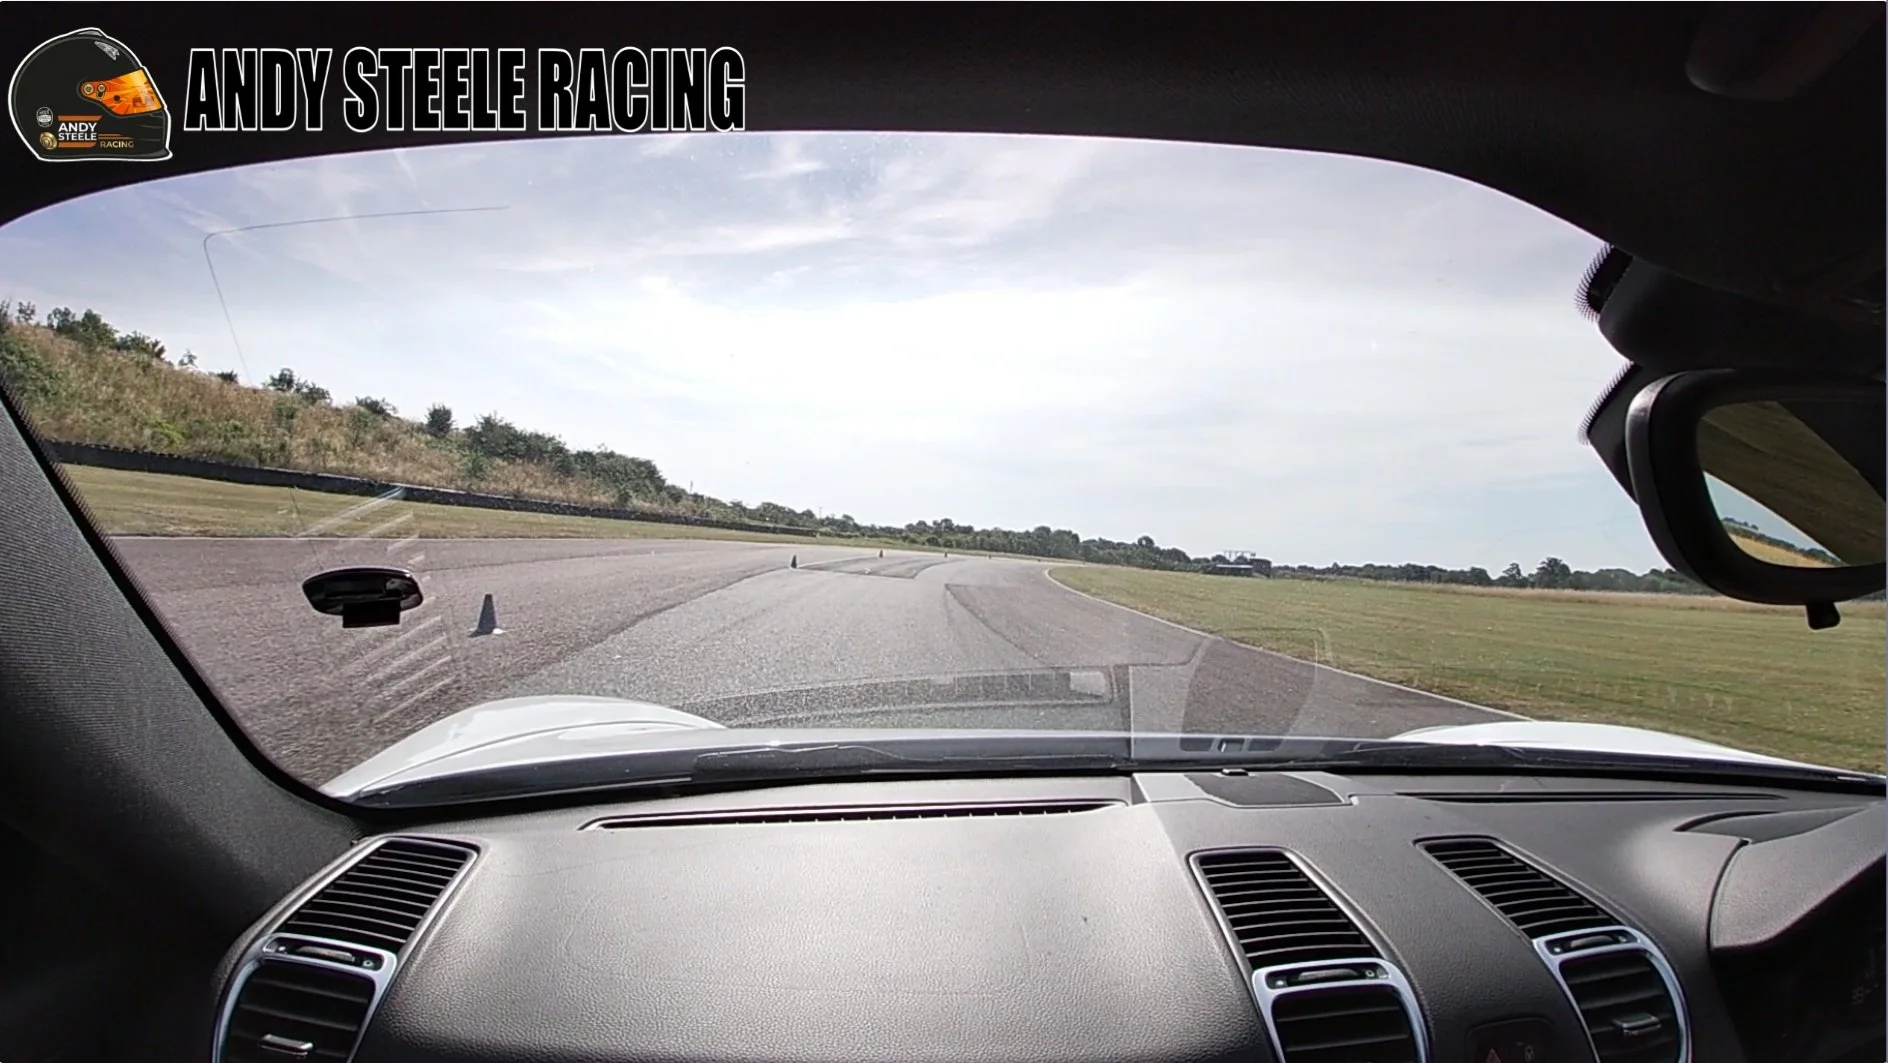
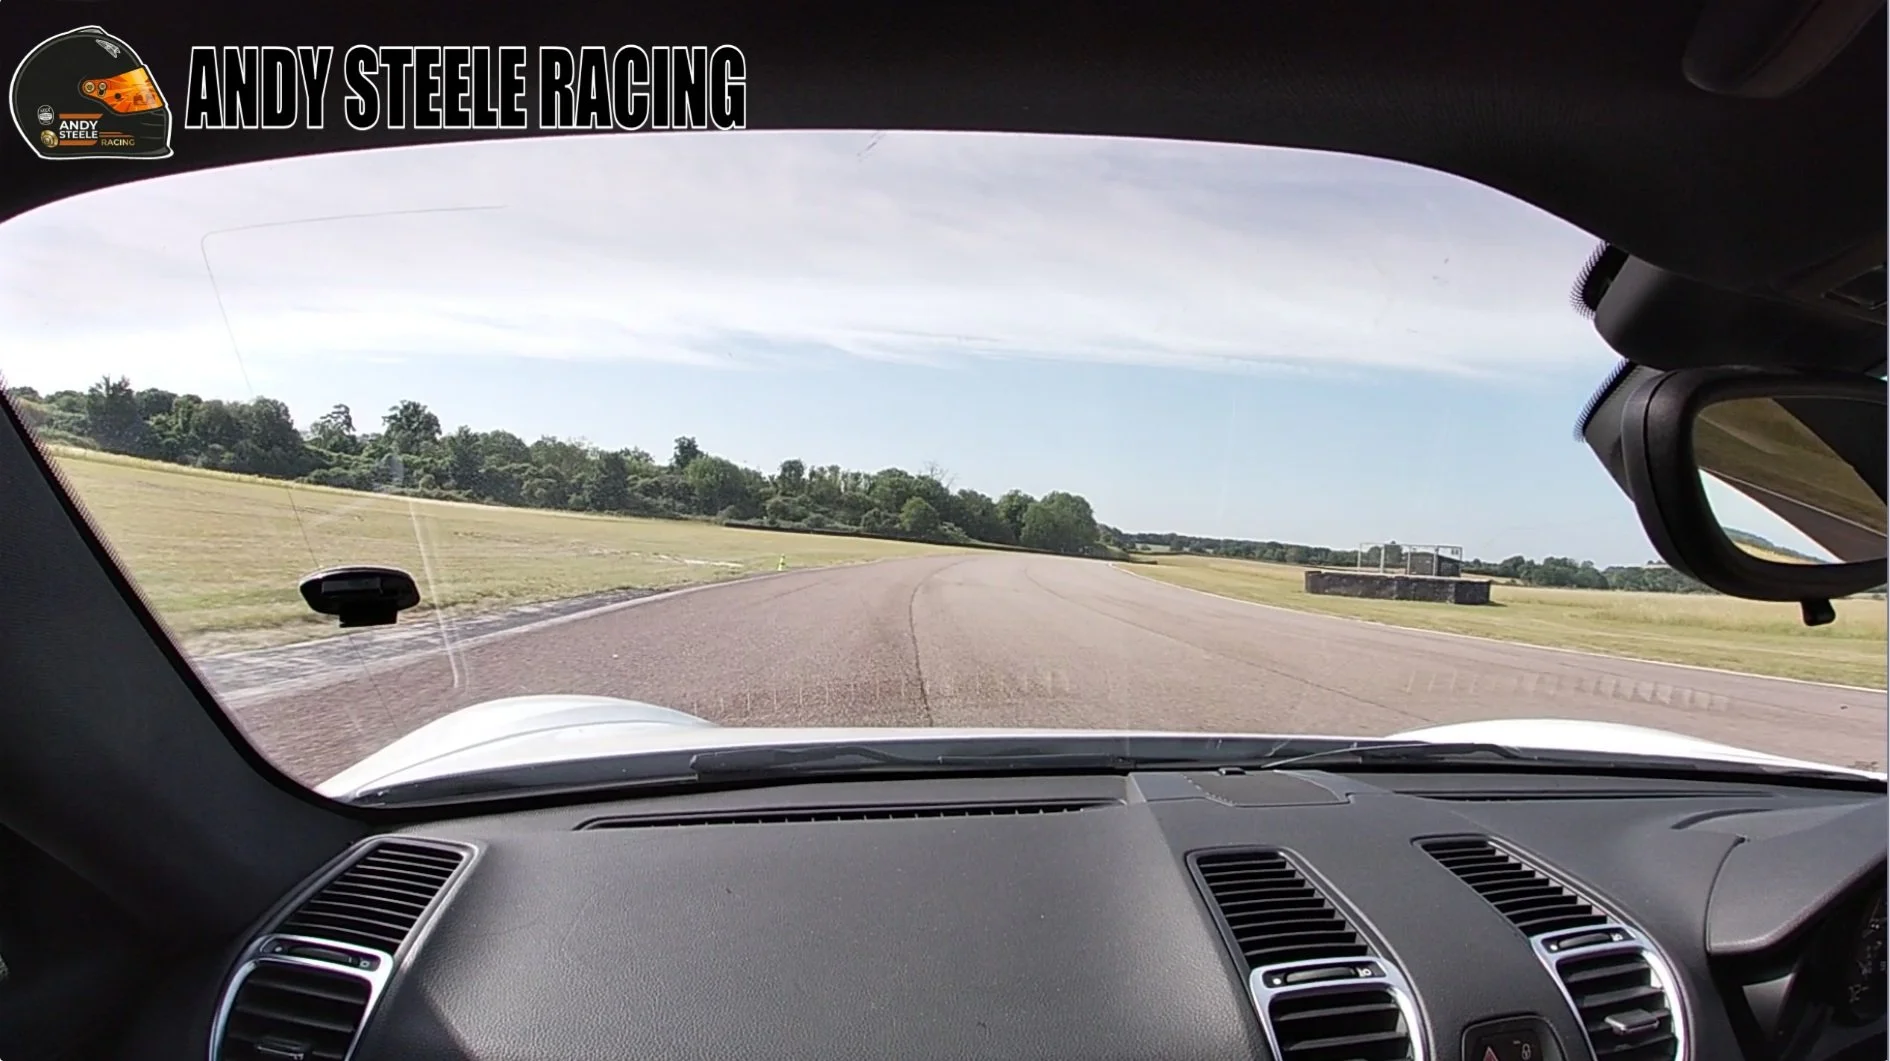
As we exit Goodwood, the circuit continues to curve to the right, through a slight right hand kink, as we`re over at the left hand side, its tempting to bring the car across to the right through this kink, but its followed by the very fast right hander of Church, so through the kink allow the car to go no further than to the middle of the track, then get back to the left hand side. As we approach Church we drop down hill slightly, here we need a gentle brush on the brakes as we should be carrying good speed from Goodwood and having continued to accelerate towards Church. An early gently brake is preferable to a short sharp brake, as we want to keep the car as stable as possible, a sharp stab on the brakes will shift the weight forwards, just as we want to turn in, making the rear of the car light, and inducing oversteer. Hence, an early brush on the brakes well before turn in, helps to keep the car flat and ready for the turn in.
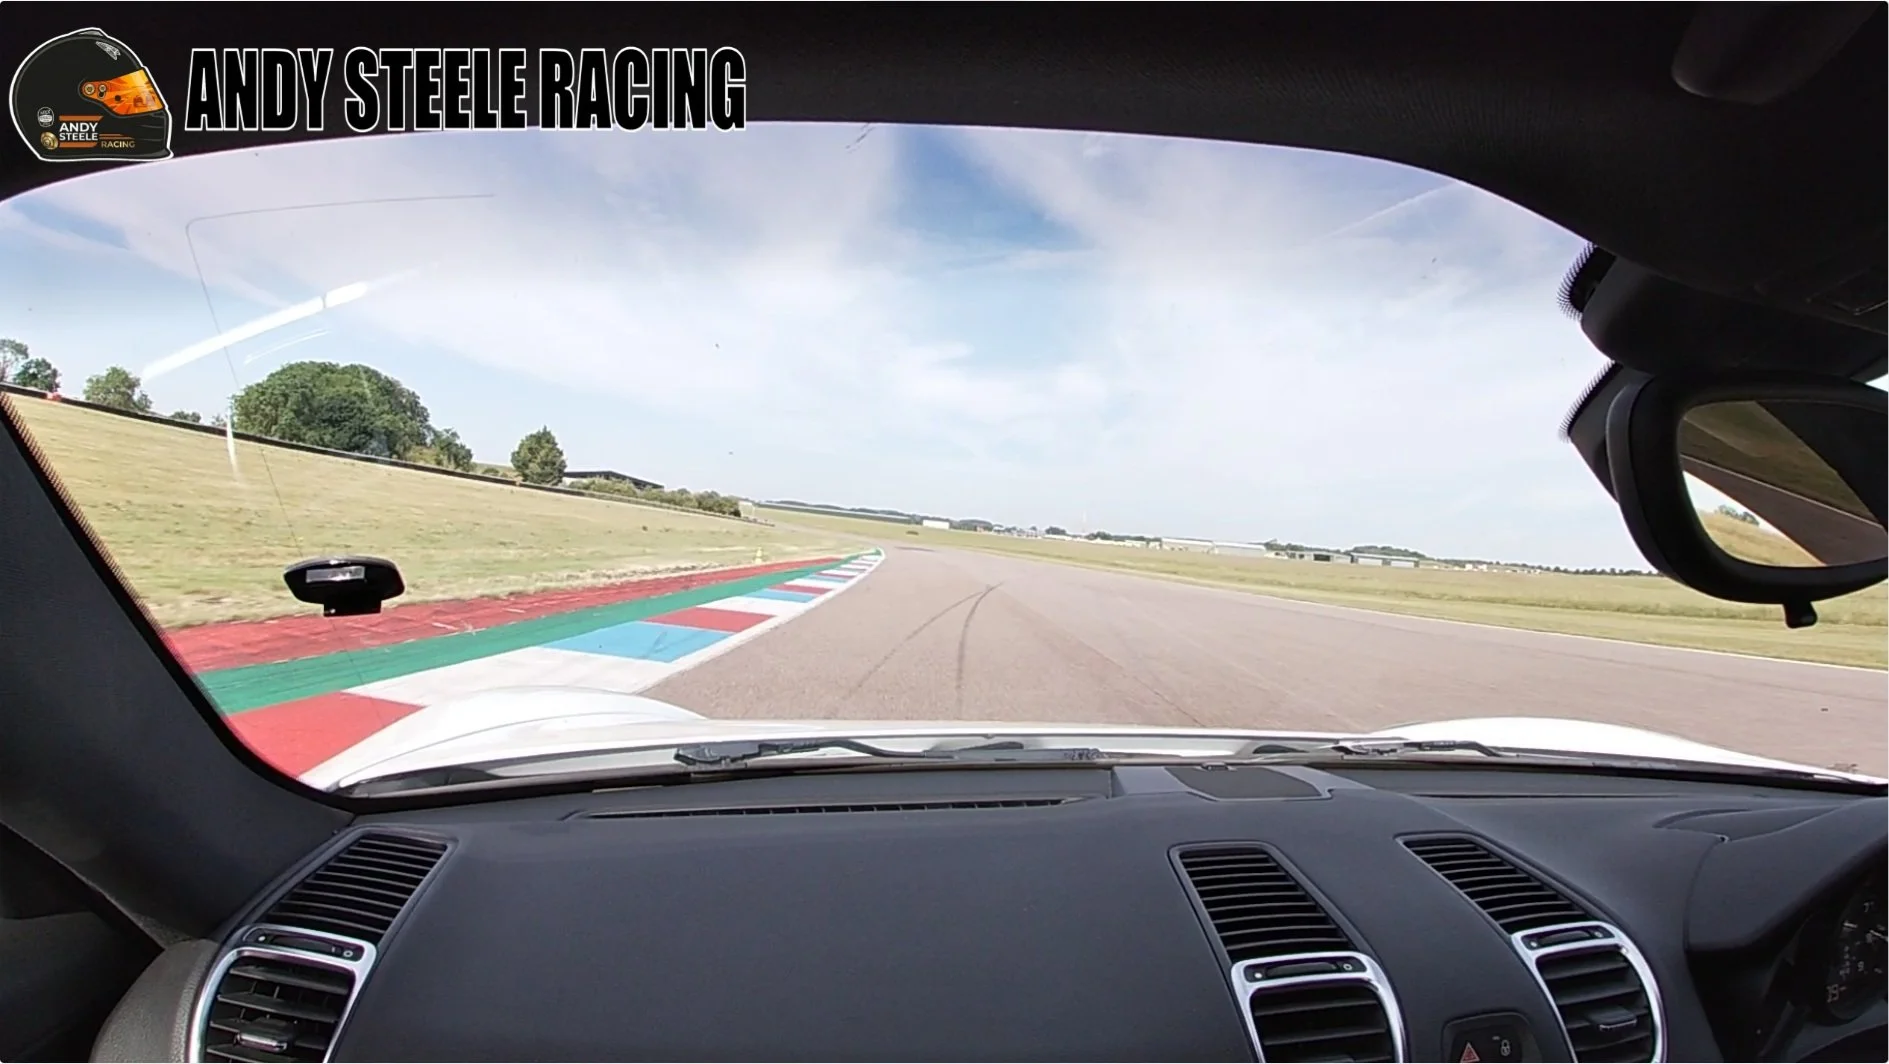
We`ll carry a lot of speed into Church, so need to keep the turn in smooth and progressive. As well as being very fast, Church is a challenging corner, as its off camber, so slopes away towards the outside, if you end up wide this sucks you out to the grass, there is also a bump just on the apex, which unsettles the car at the point you think you want to start accelerating out of the corner. We`re focused on an apex around the point of the marshals post, and the painted curb on the inside of the corner, wait until after the bump to be getting on the power, then use the width out to the curb on exit, you should be back to full power by this point.
Church is a massive confidence corner, its worth progressively building speed lap after lap, but you`ll find there is a lot of grip, you just need to focus on smooth inputs to carry the speed at turn in point to the apex. As we exit Church we head on to the flat out back section, the more speed you can carry through Church the faster you`ll be down here, and this is where you`ll reach your top speed on the lap, before we prepare for the big stop into to the chicane.
The Slow Bit - Club Chicane
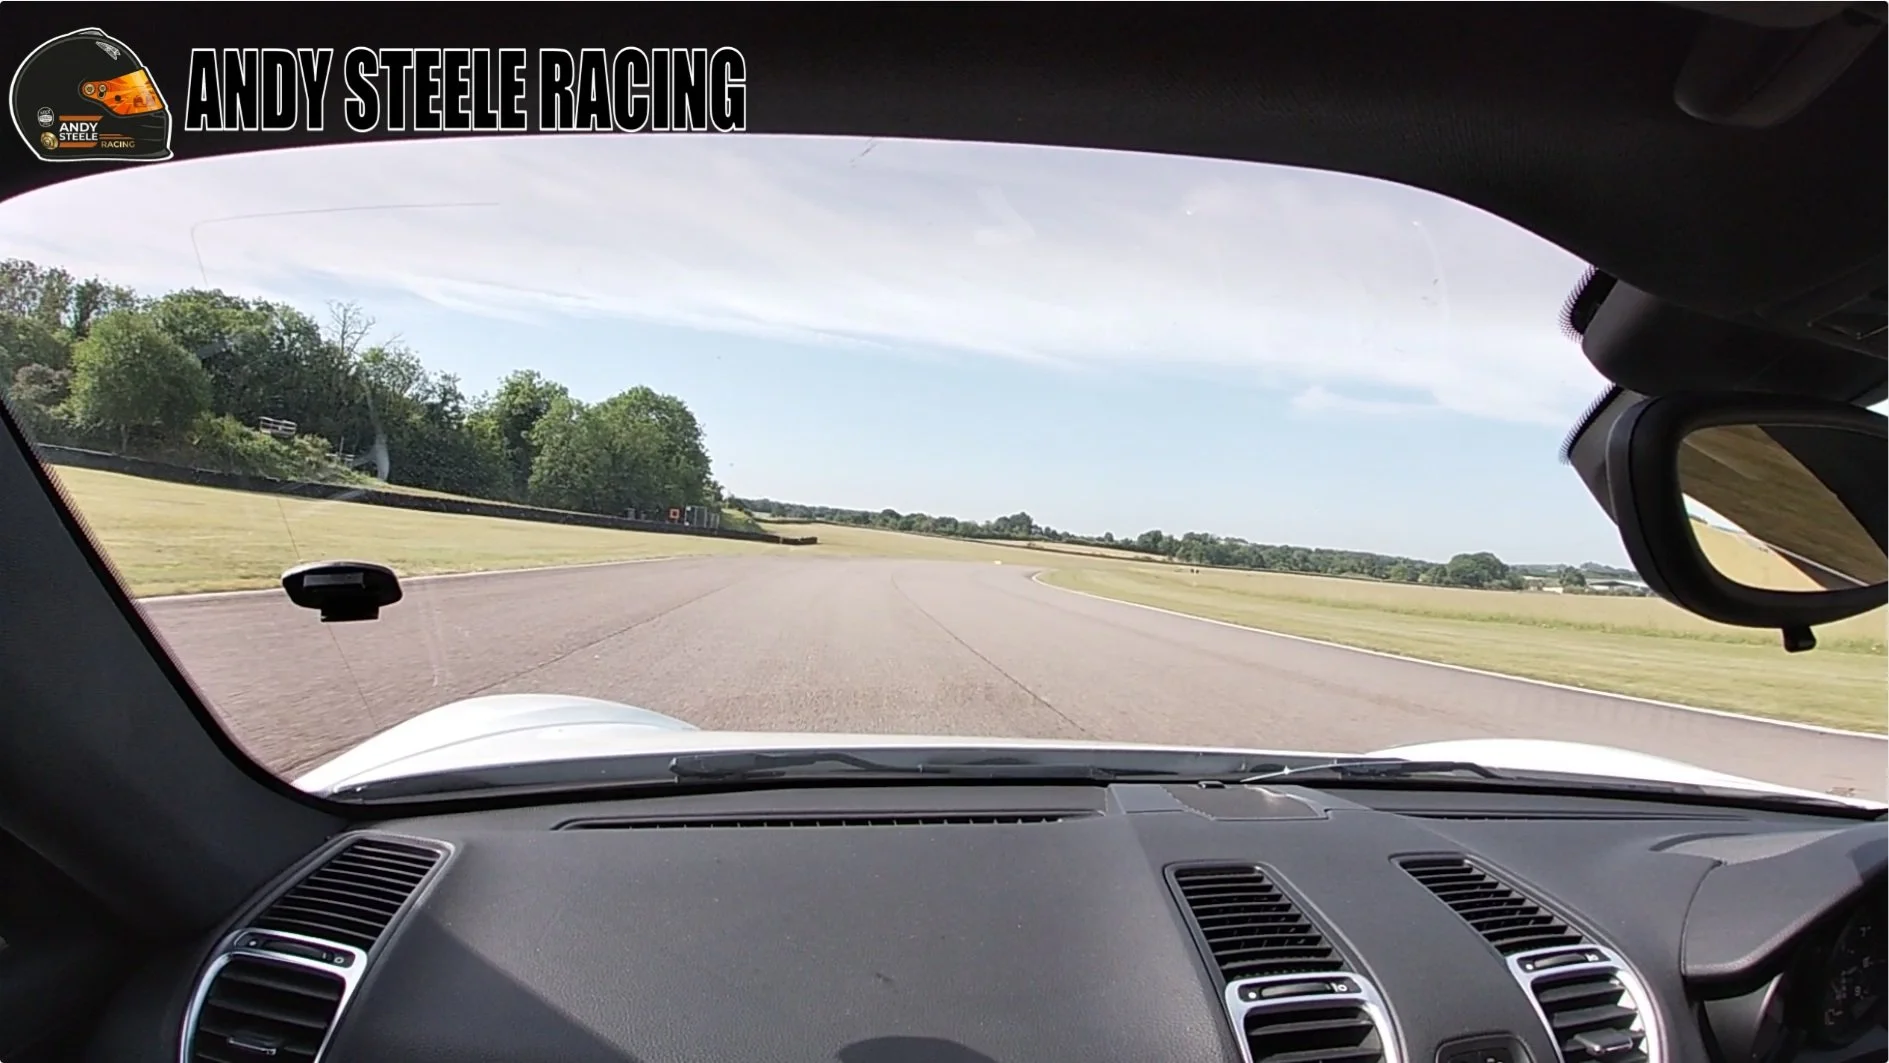
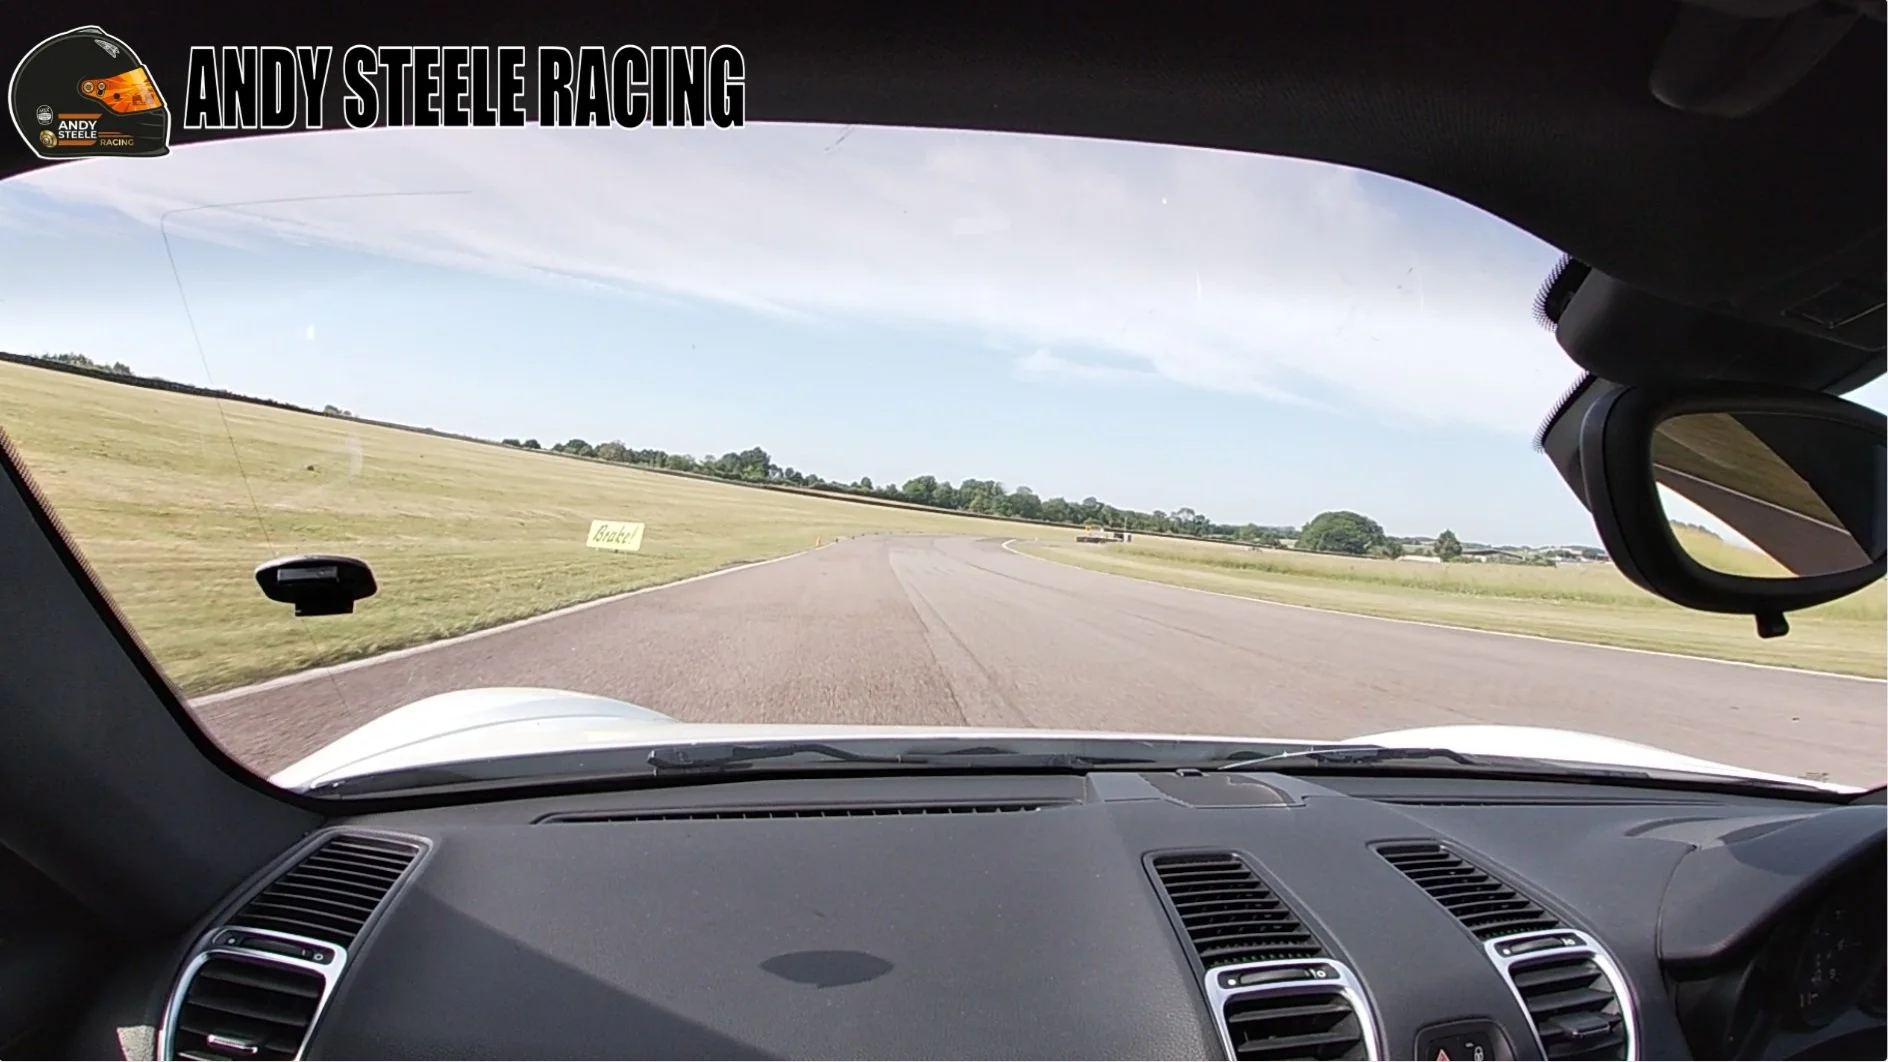
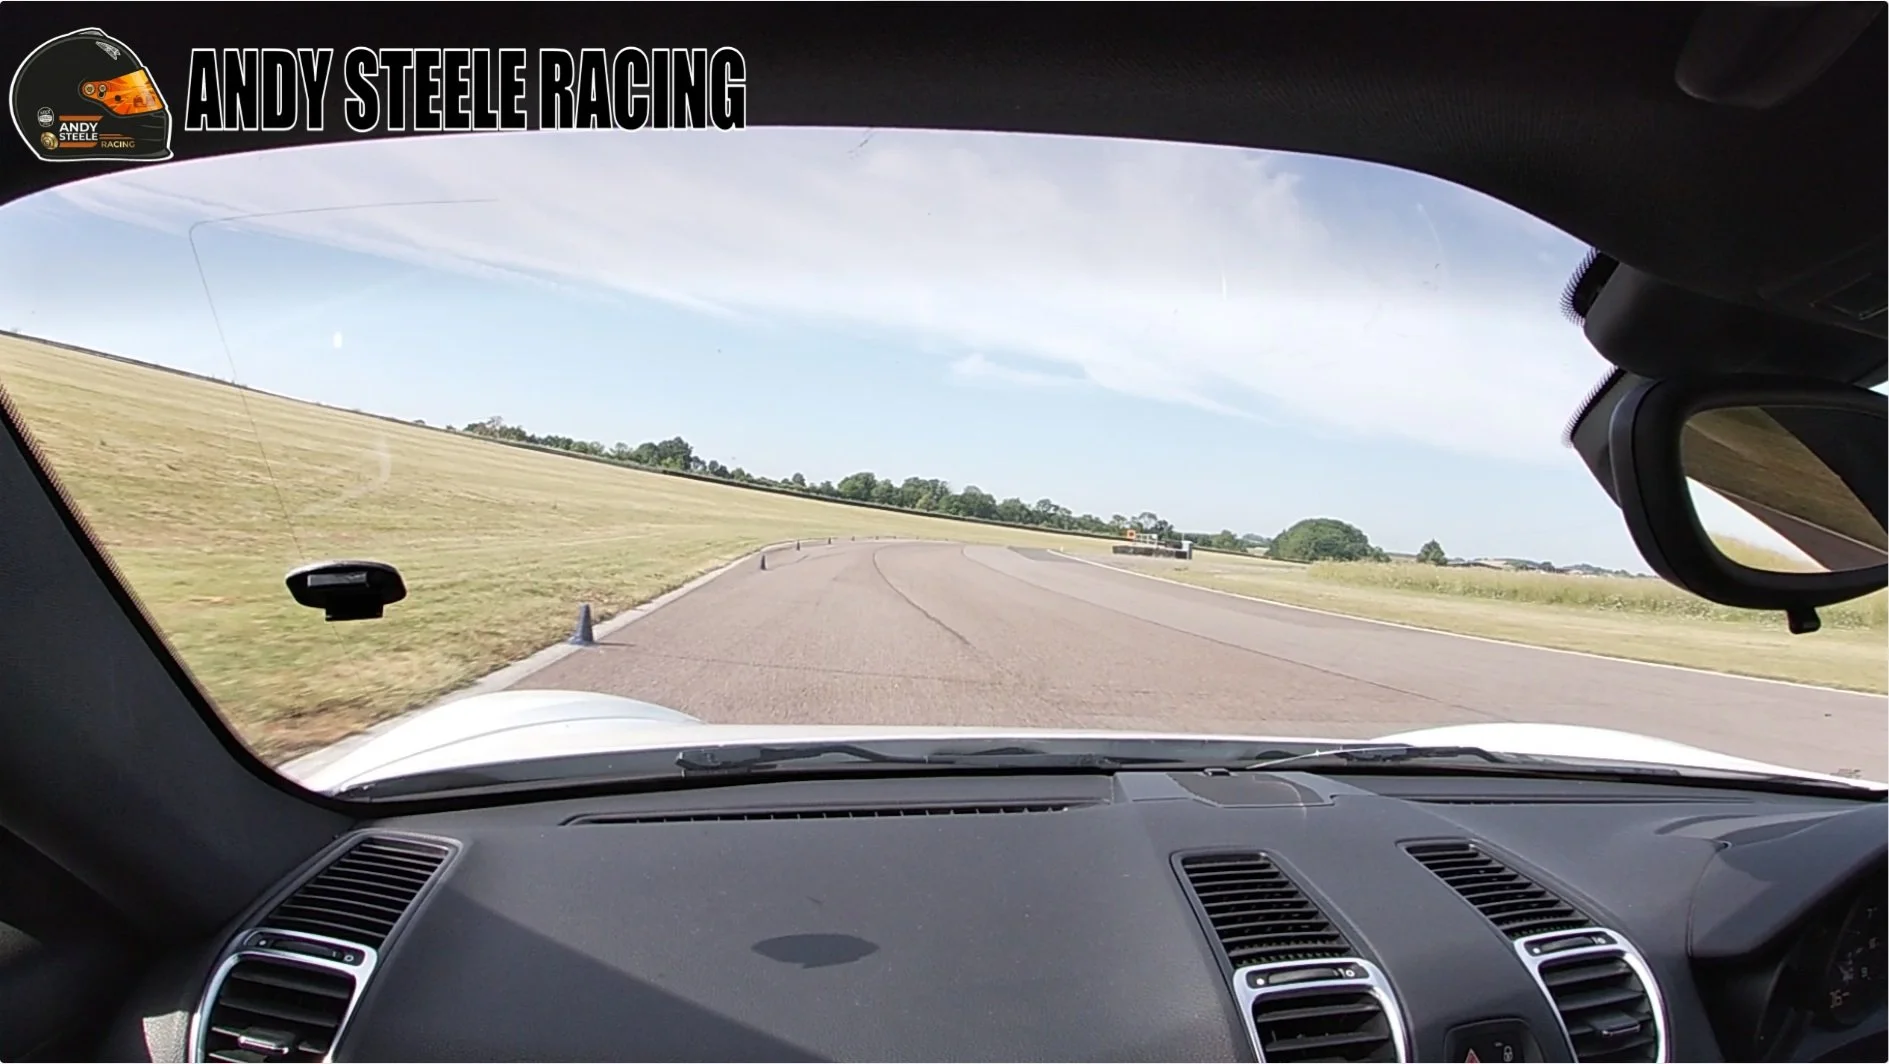
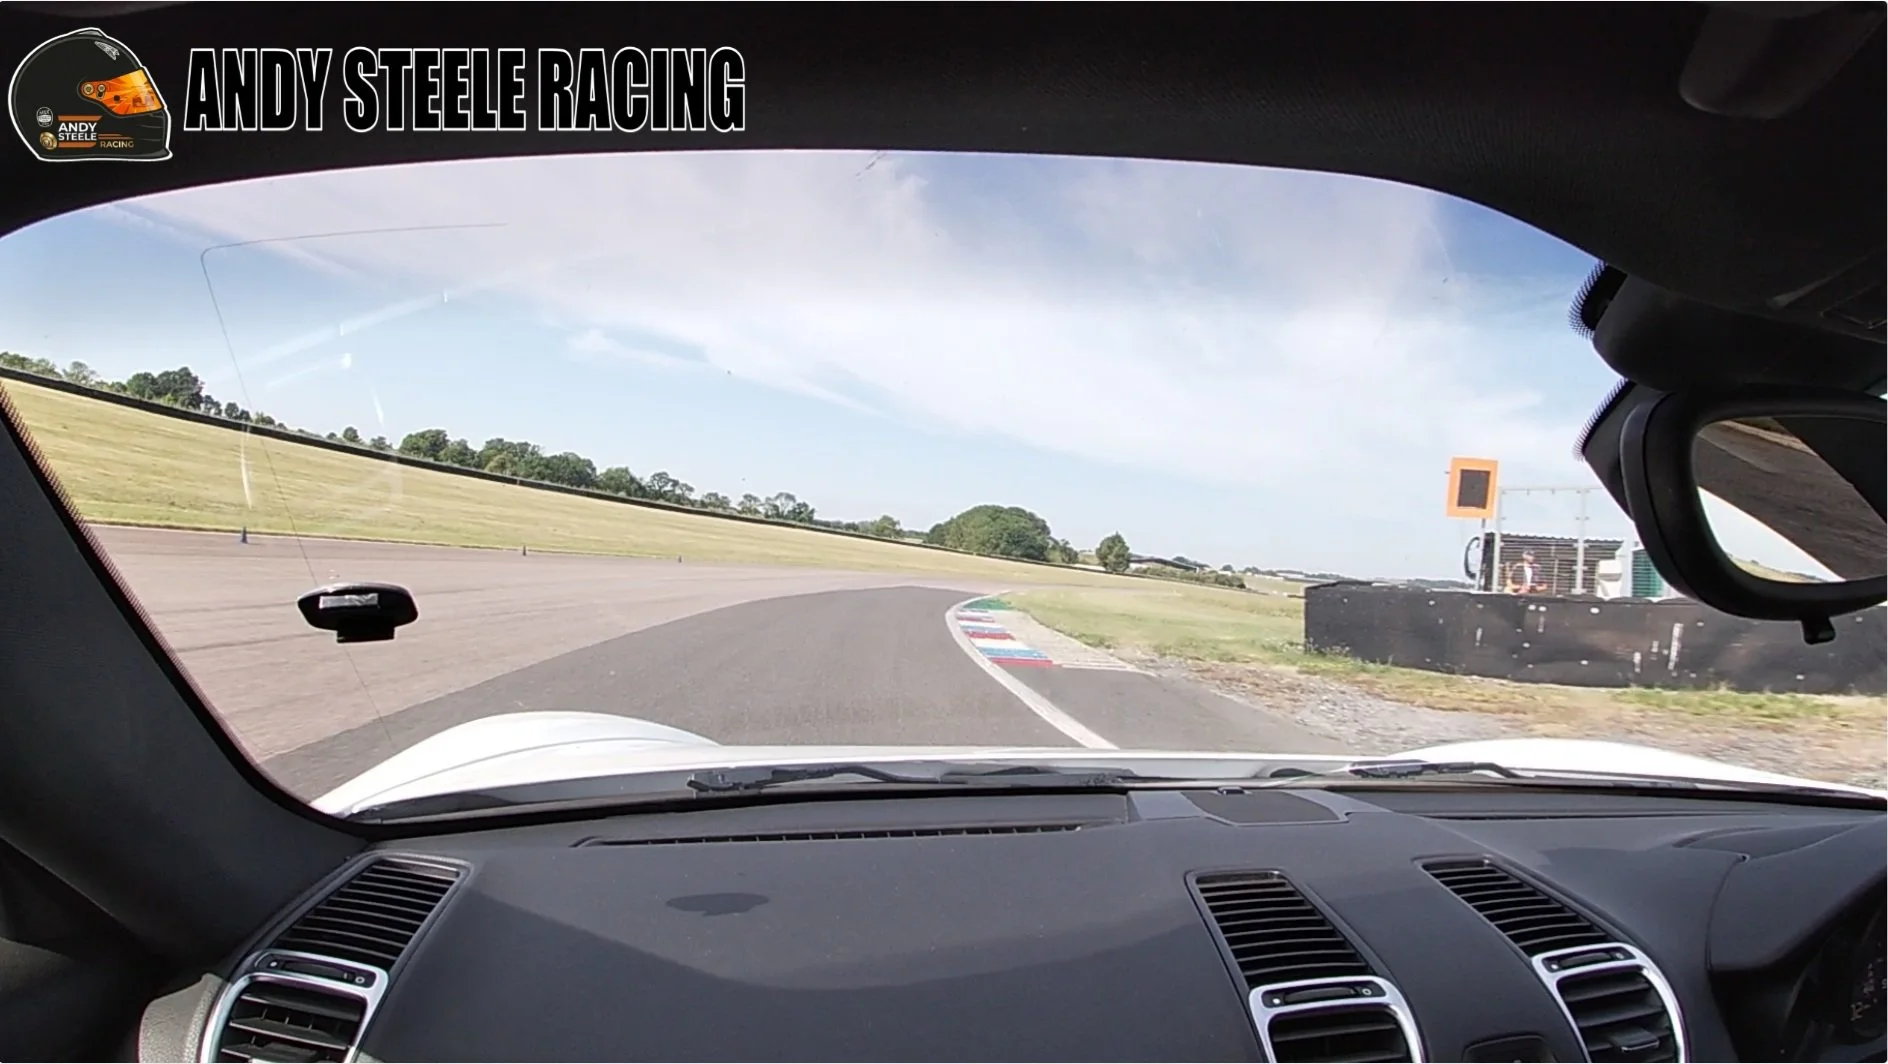
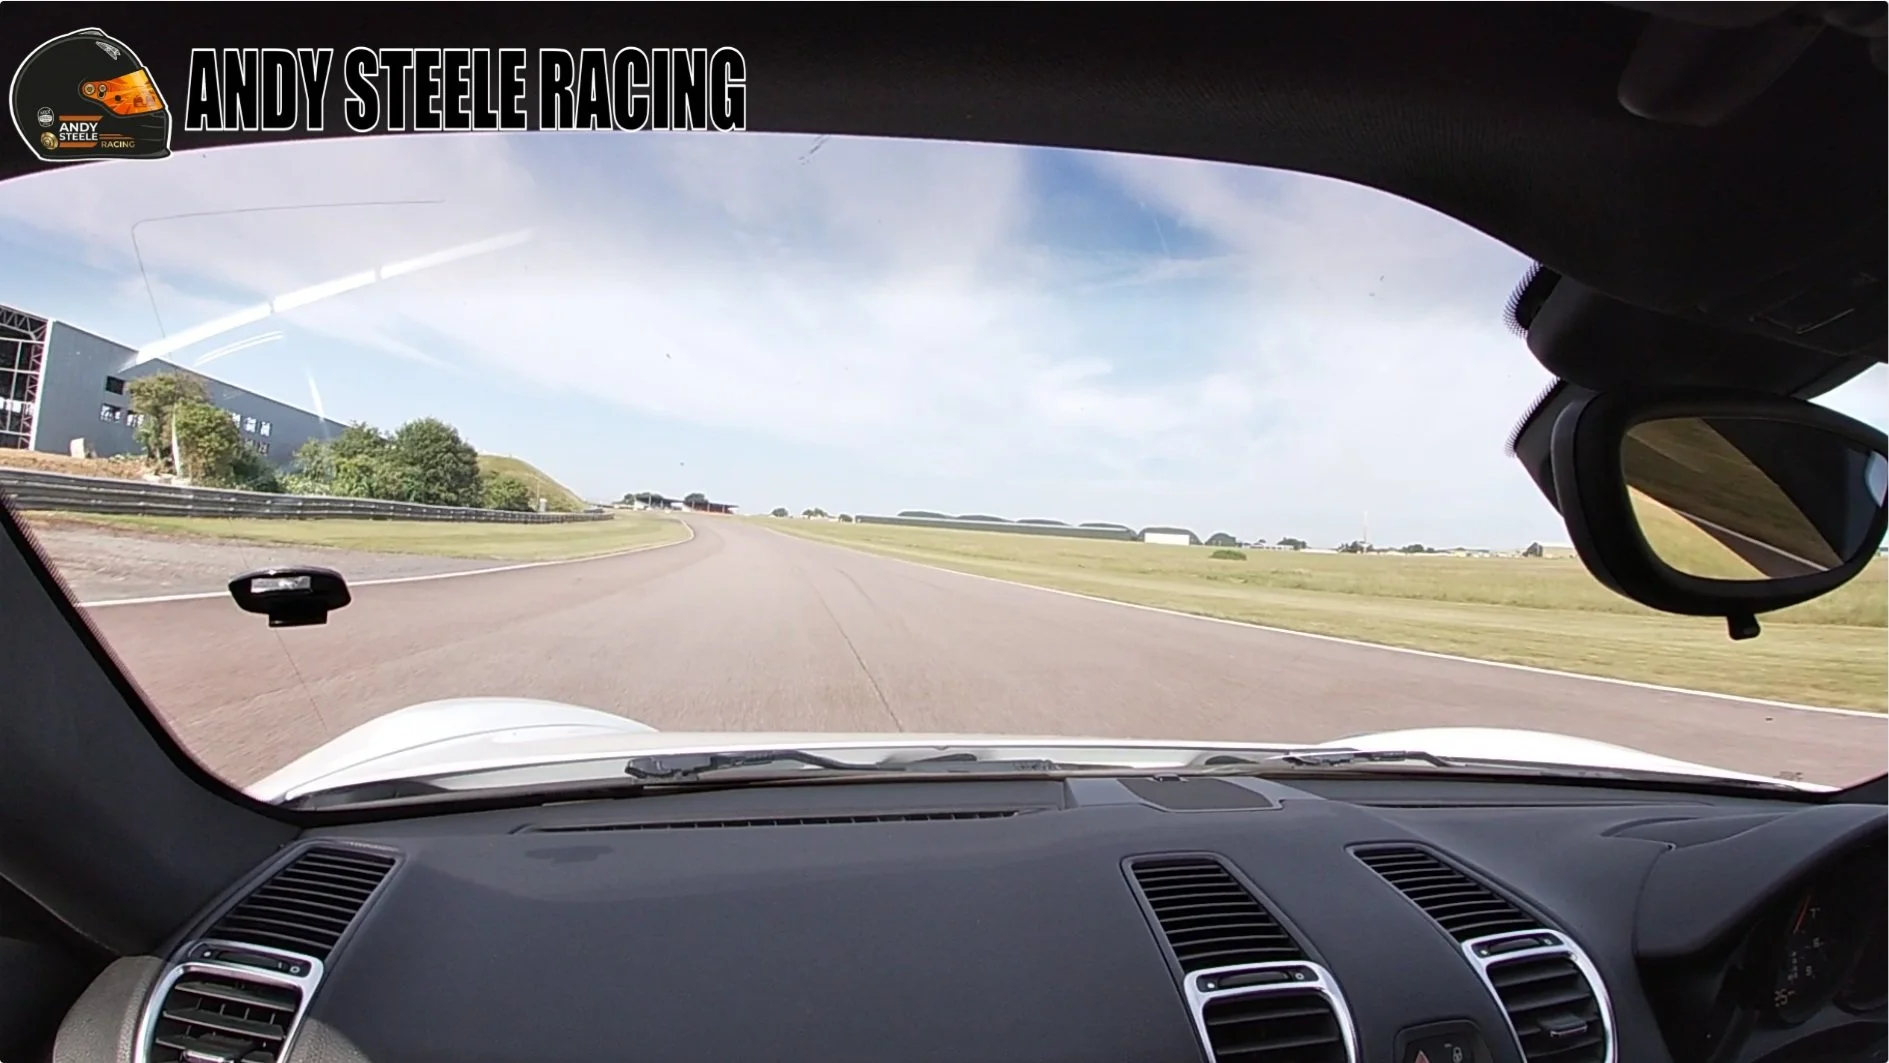
Out of Church, we are flat out along the back stretch, we`re coming past the airfield on our right, and the track curves very slightly to the left. The best position for the car here is to be fairly central on the track. As we begin to approach the Chicane, we come up a very slight hill, Woodham Hill, and as the circuit completes the left curve, bring the car to the left to prepare for the braking zone. You`ll be at your fastest speed on the lap at this point and we`re approaching the slowest part of the circuit, so need to prepare for a very firm and long braking zone. Use the grandstands as a visual reference point, these are on the outside of the circuit at the Chicane, to track your approach.
There are 2 lines we`ll consider here, firstly what we refer to as the ‘school line’ (as we initially teach at the racing school), focusing on braking in a straight line which is inherently more stable, and secondly the approach that’s taken more in racing, which follows the black tyre marks, which has us braking and turning the car into the chicane entry, which is less stable.
For the straight line braking, after bringing the car to the left, get the car straight and pointing to the outside of the circuit, as it then starts to curve to the right approaching the Chicane. Keep the car straight while on the brakes and let the outside of the circuit come to you, before the wide turn in to the Chicane, you can let the car go all the way to the outside of the track before turn in. With this wide entry to the first part of the Chicane, as you come through the right hander, you should be able to get the car fully onto the lighter coloured tarmac to the right, this helps open up the left hander in the middle of the chicane, from the left hand apex, we can then accelerate out of the final right hander onto the start/finish.
For the more complex option, we`ll go back to the approach, as we`re getting on the brakes, rather than tracking the straight line to the outside of the track, we`ll also have some right hand steering lock, and following the curving black tyre marks, which brings us on a shallower line into the Chicane. There’s a reason for those black tyre marks, as this approach is asking a lot more from the tyres, and with the braking force putting the weight of the car forwards, the rear end is light, and more likely to start to slide. We have to judge the braking force and steering angle carefully to keep some grip, but as the speed starts to drop, we can slowly increase the steering lock. Staying on the brakes through to the first apex, this tighter entry line means we wont get the car fully onto the lighter coloured tarmac to the right, and makes the entry to the middle left hander tighter. We can trail brake all the way to the left hand apex, to keep the weight forwards and help turn the car, and again from this point accelerate out through the final right hander.
As we come out of the Chicane, if going round for another lap, use all the width out to the painted curb, but if you can coming into the pits, the pit entry comes up very quickly after the Chicane exit, so go slower out of the Chicane, and keep the car to the right.
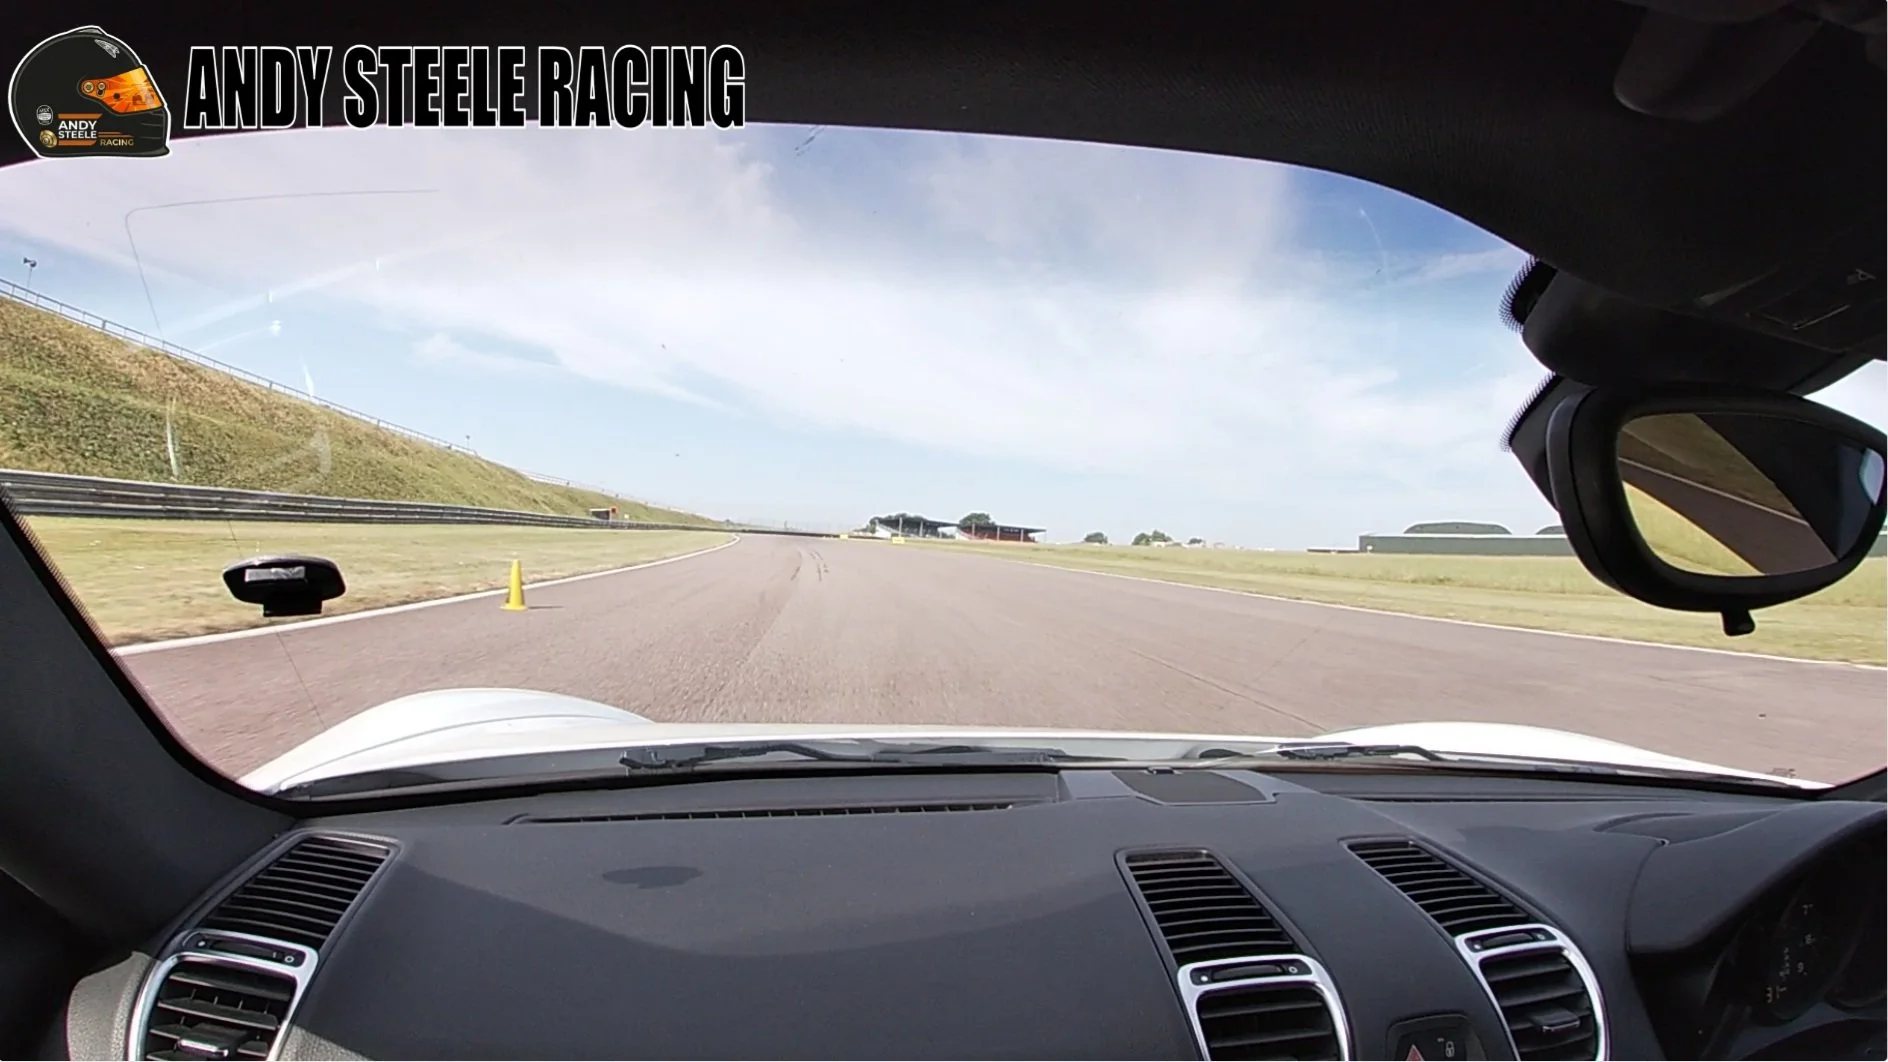
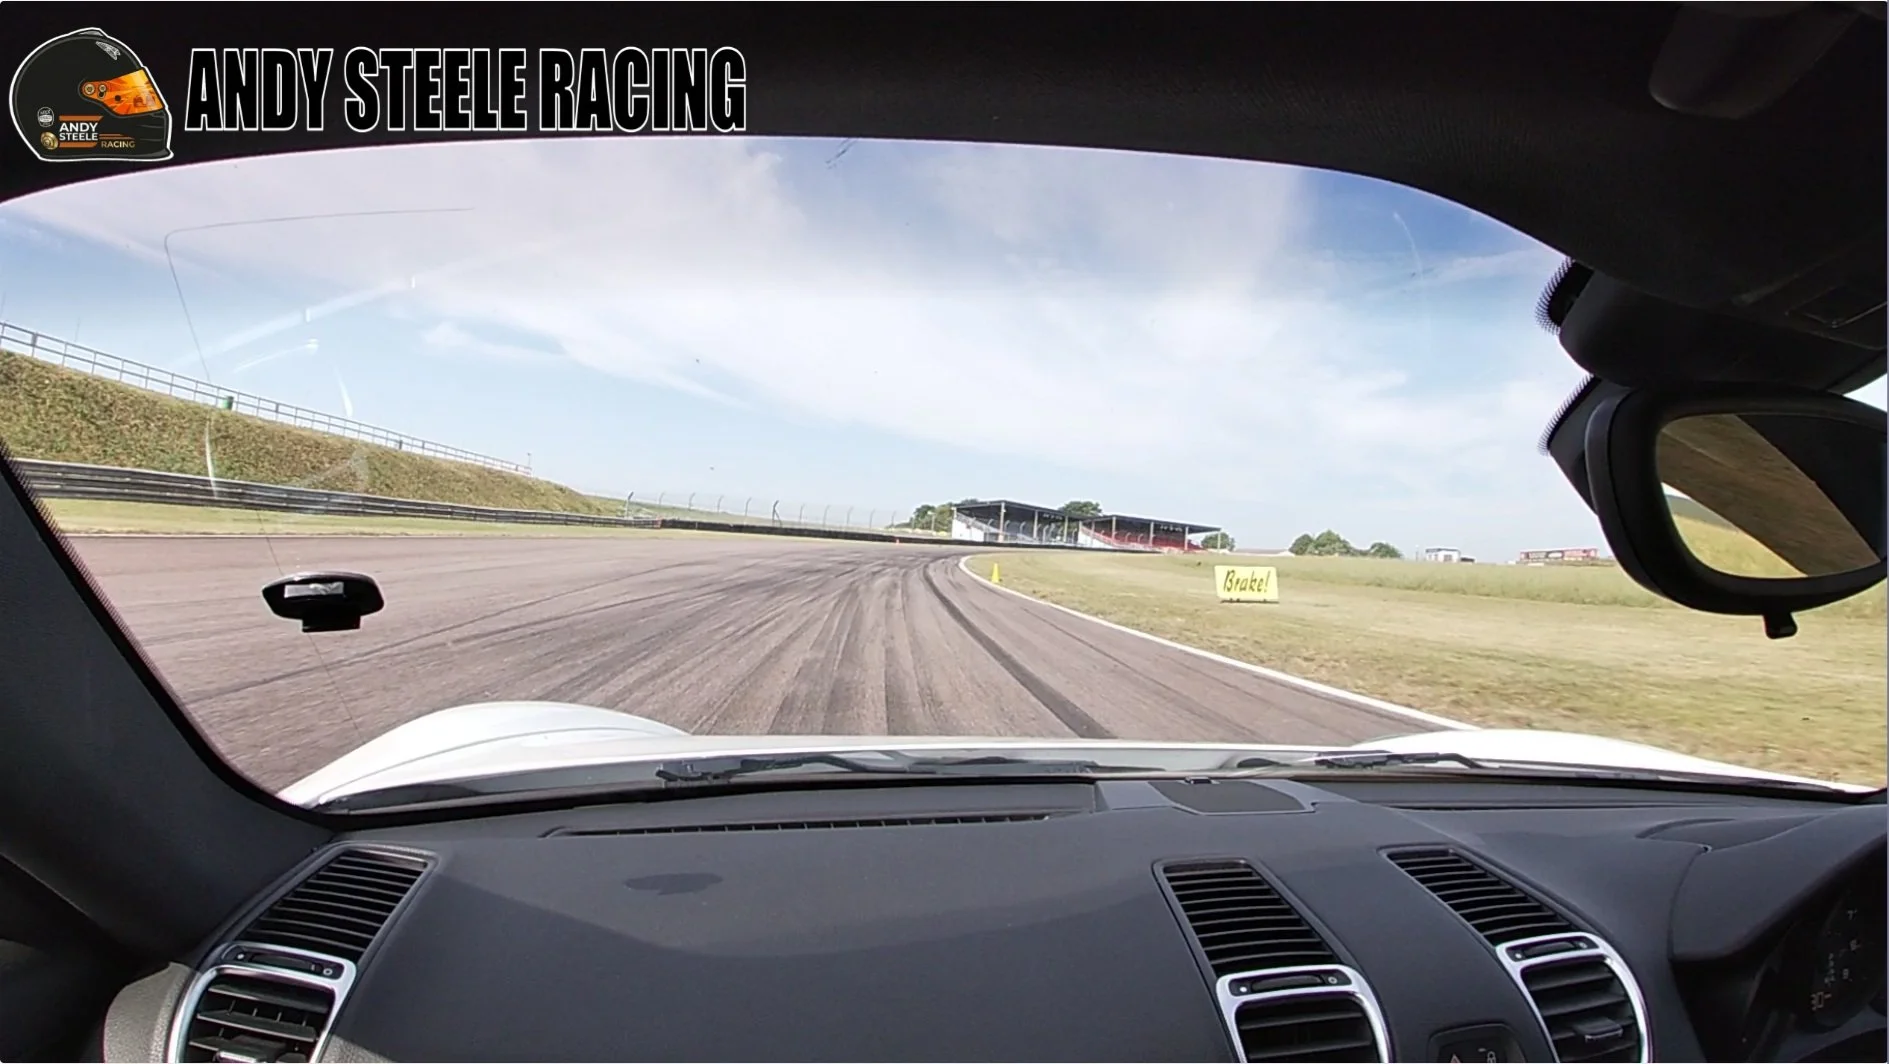
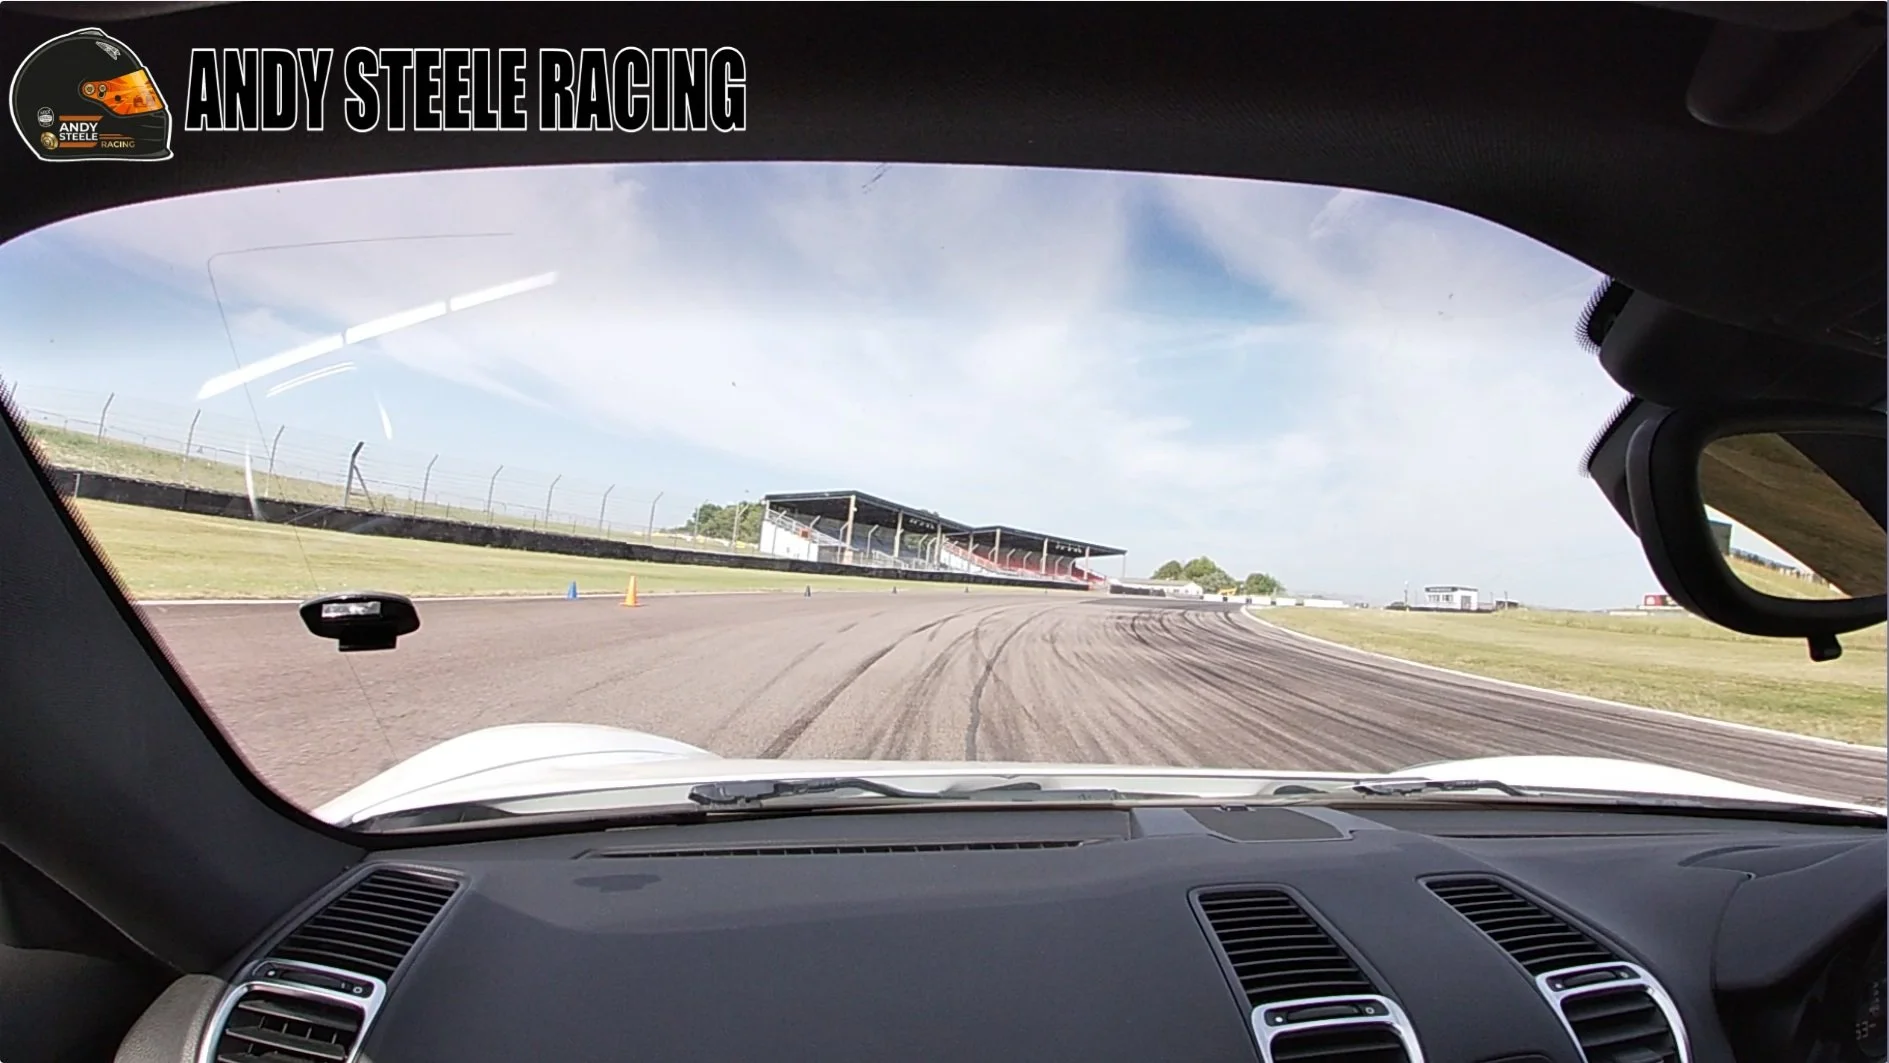
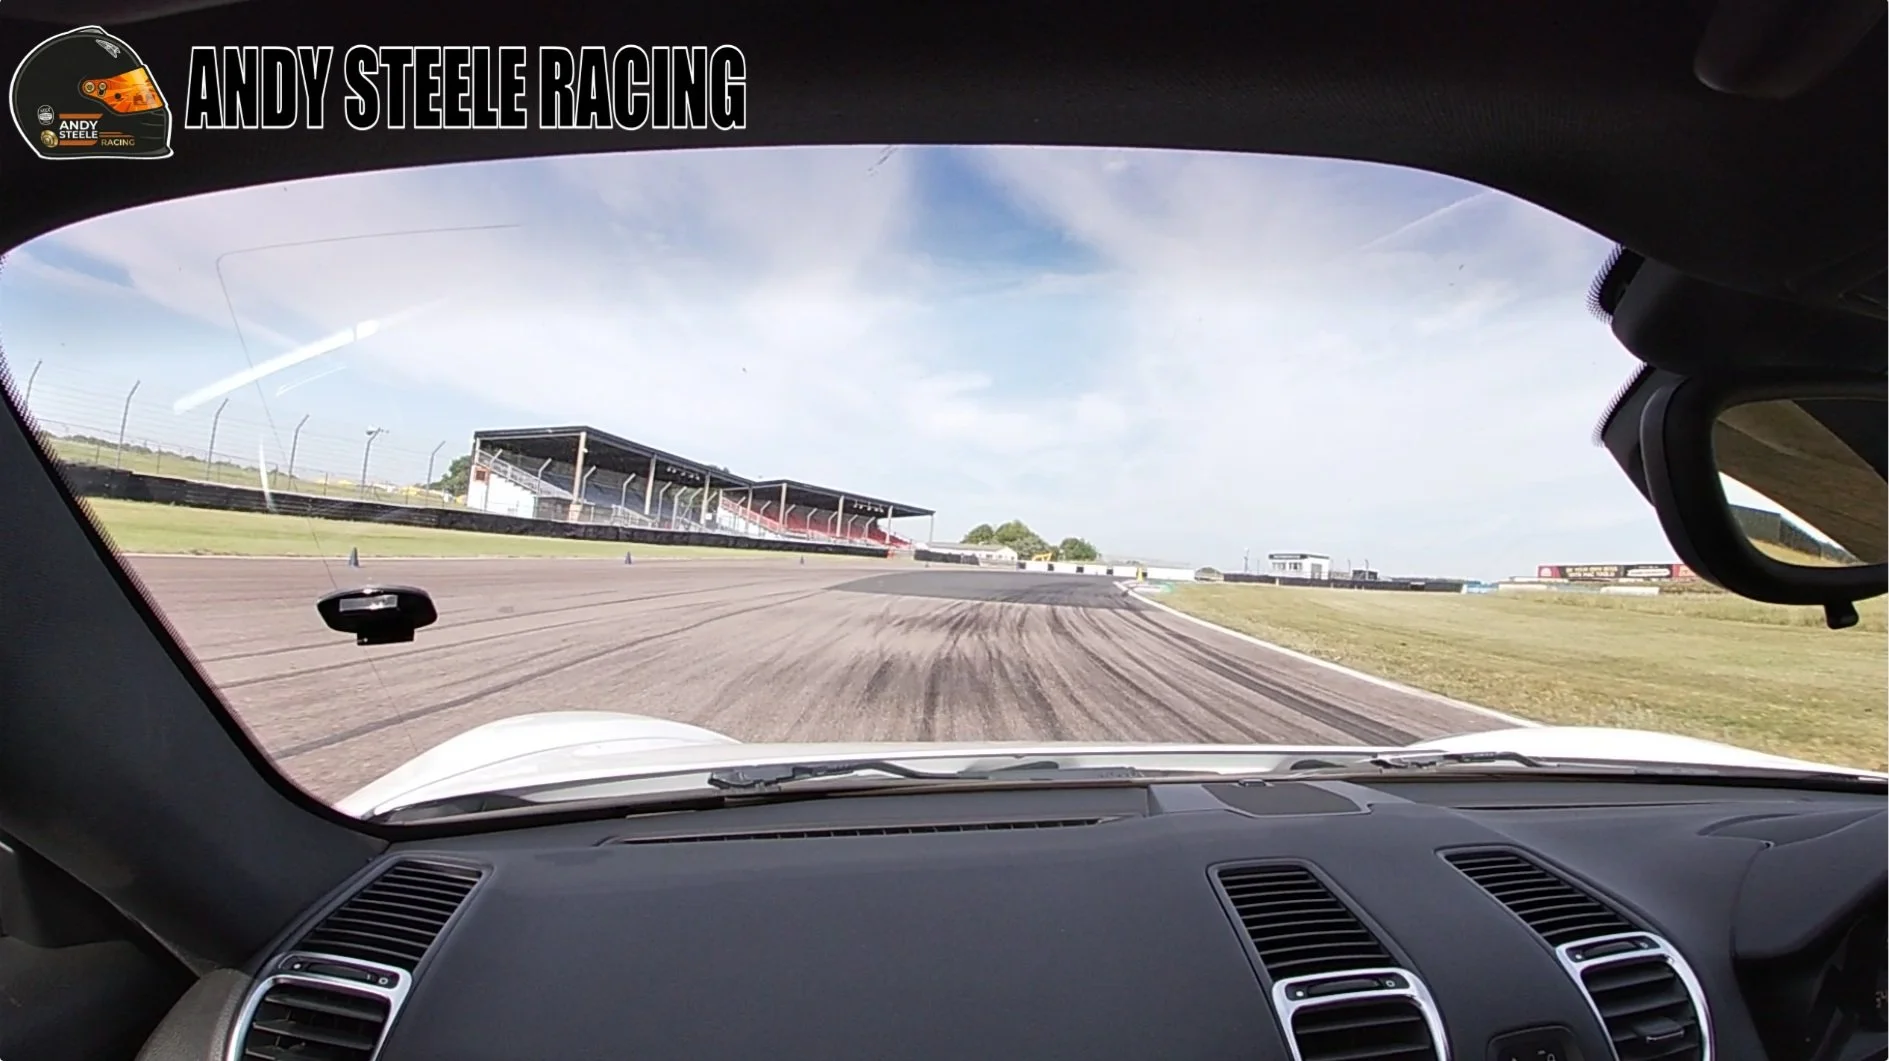
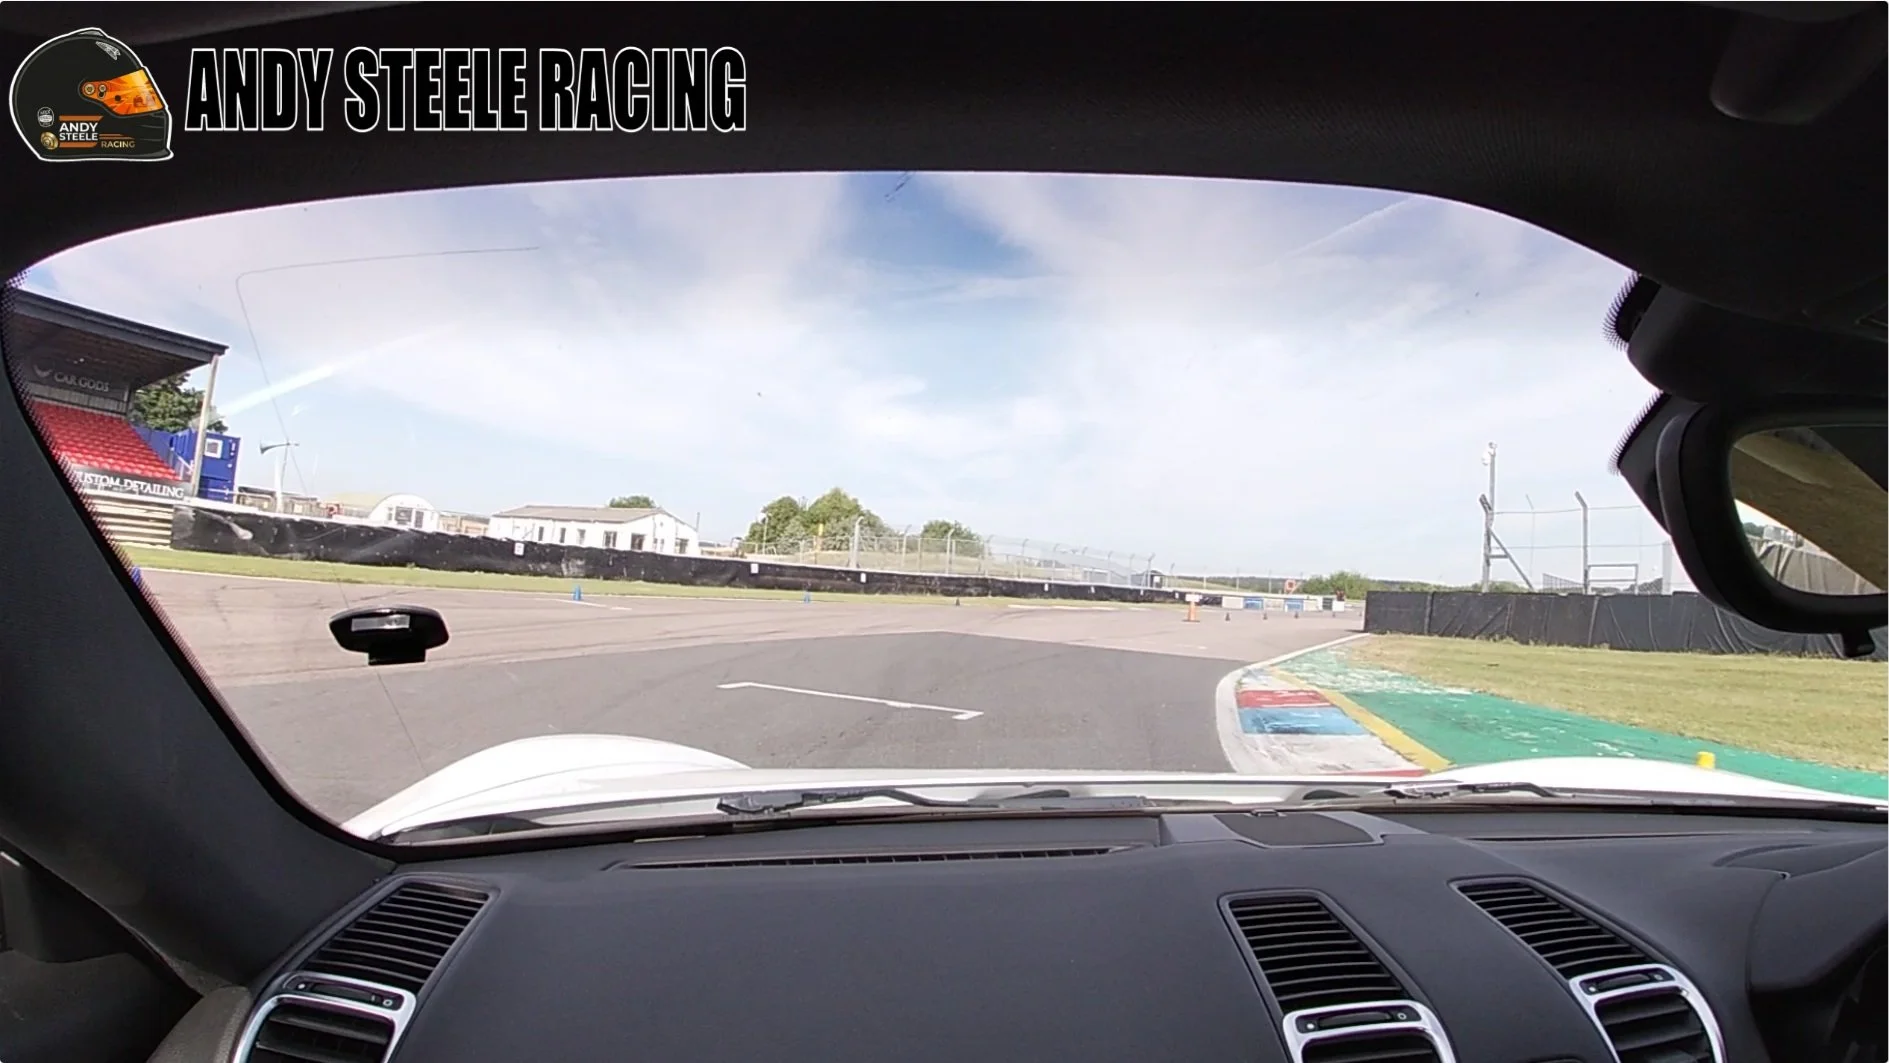
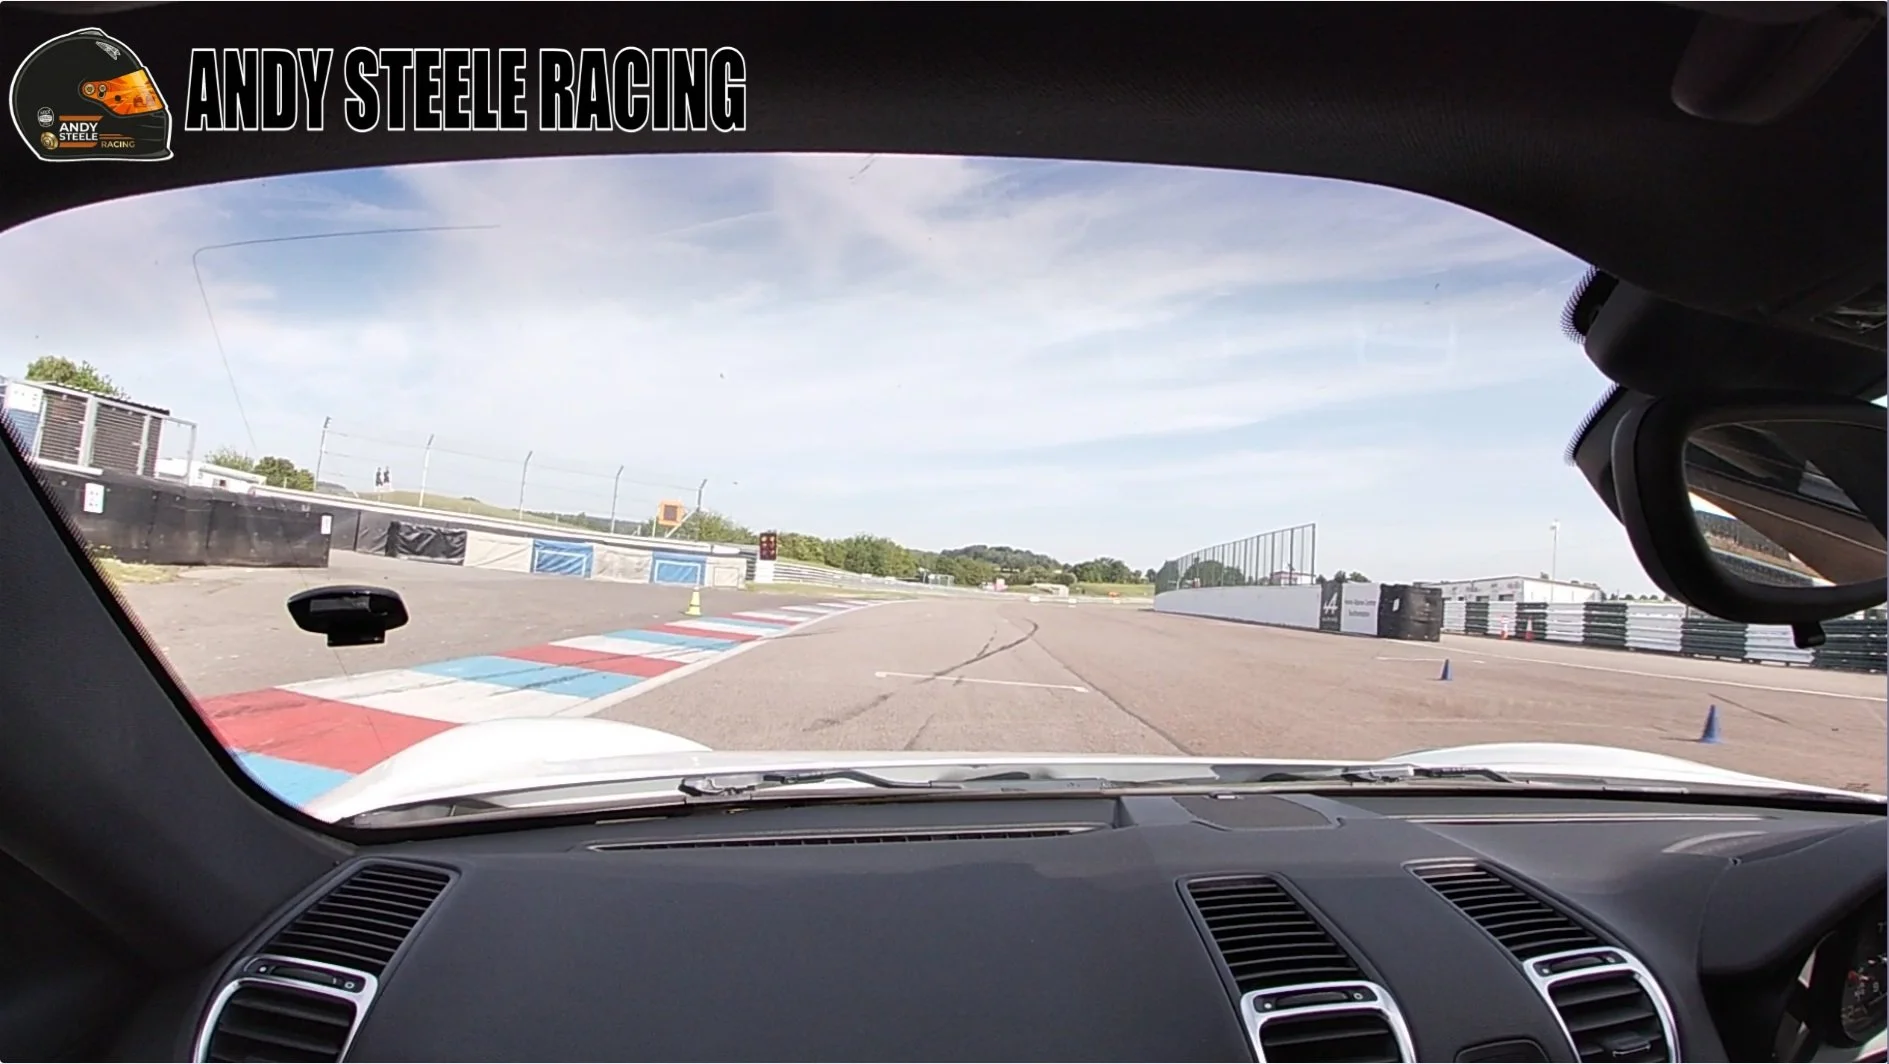
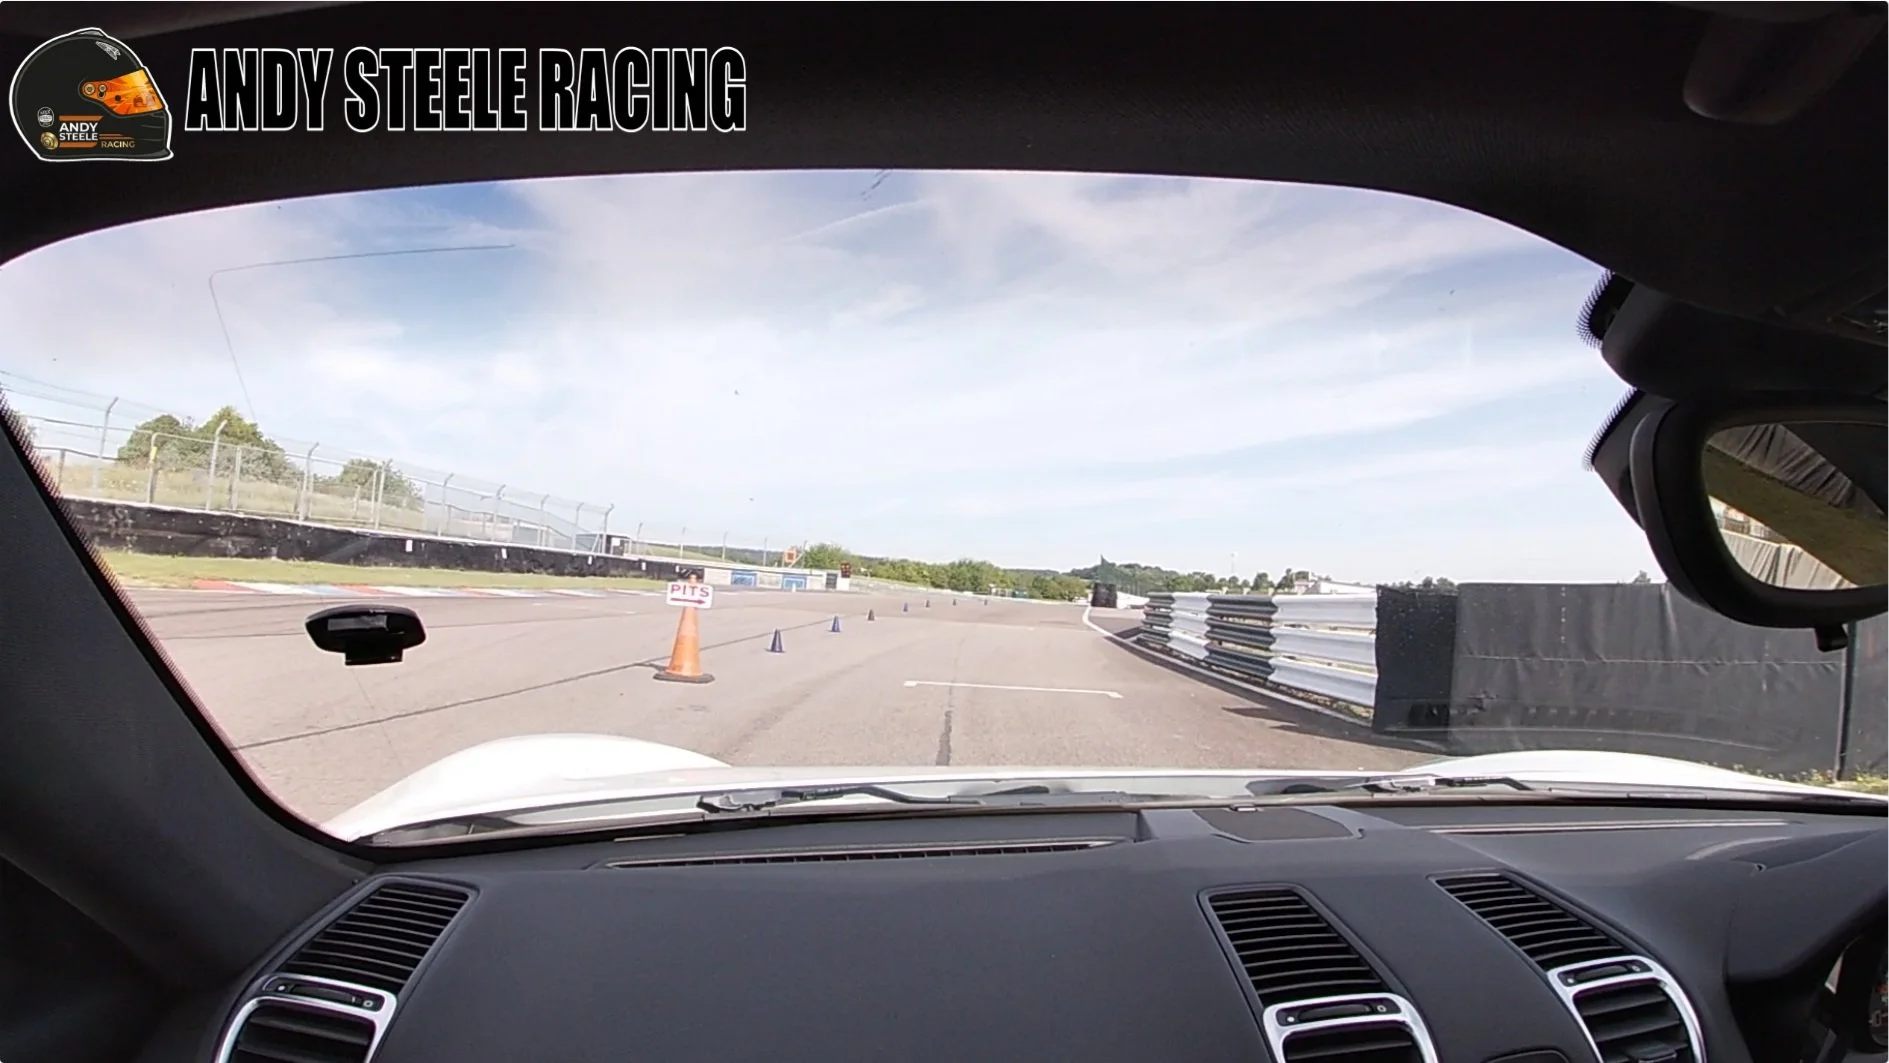
Video Guides
To help, here’s a couple of video guides, one with my voice over and annotation, and then the basic laps, as used for the images above.
